
Managing Projects
DataArts Insight allows you to edit and delete projects. This section describes the process of editing and deleting projects.
Prerequisites
- You have been granted the permission to edit and delete projects.
Notes and Constraints
- Administrator and project owner: have all project permissions and can grant project permissions to other members.
- Common user: can only view joined projects.
Editing a Project
- On the top menu, click Project.
- Locate the desired project, click
 , and select Set. The project settings slide-out panel is displayed (Figure 2).
Figure 1 Editing a project
, and select Set. The project settings slide-out panel is displayed (Figure 2).
Figure 1 Editing a project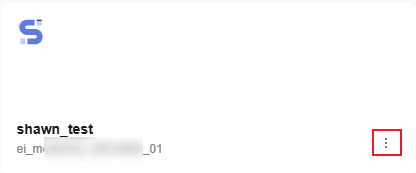
- On the Basic Information tab page, you can edit parameters such as the project name, enterprise project, and description (Table 1).
Table 1 Basic information parameters Parameter
Description
My Project Name
The project name can contain up to 50 characters. Only letters, numbers, parentheses (()), square brackets ([]), slashes (/), backslashes (\), vertical bars (|), and underscores (_) are allowed.
ID
DataArts Insight project ID.
Enterprise Project
Enterprise project the project belongs to.
Description
Add a description to the project. You can enter information such as the purpose and use cases of the project, making it easier for future management. Enter a maximum of 512 characters.
Creator
User who creates the project.
Created
Time when the project is created.
Owner
Owner of the project, who has the same permissions as the administrator.
Allows users to view all data in a dataset when the row-level permission is not enabled.
- Check this parameter to view all data in the dataset when row-level permissions are not enabled. When row-level permissions are enabled, check this parameter to view data with row-level permissions.
- Unchecking this parameter means that all data in the dataset cannot be queried when row-level permissions are not enabled, and the dashboards, large screens, and intelligent analysis assistants that rely on the dataset cannot query the data.
- Click the Member Information tab. On this tab page, you can view all users and user groups within the project. You can click Add Member in the upper right corner to add a user or user group.
Figure 3 Member information

- Click the OBS Bucket Settings tab. For details, see Configuring an OBS Bucket.
Figure 4 OBS bucket settings


Deleting a Project
- On the top menu, click Project.
- In the My Projects list, locate the project you want to delete, click
 , and select Delete.
 - In the displayed Delete My Project dialog box, click OK.

Note that this operation is irreversible and all resources under the project will be permanently removed, including all data sources, dashboards, and other resources. Please proceed with caution.
Setting a Project as the Default
- On the top menu, click Project.
- In the My Projects list, locate the project you want to set as the default, click
 , and select Set as default project.
- You can set only one project as the default. Once the setting is successful, the default project is preferentially displayed on the Workspace page and in the My Projects list of the Intelligent Q&A page.
- When the Q&A page is refreshed, if the URL contains workspaceId, the selected project in the My Projects list is the one in the URL.
Pinning a Project
- On the top menu, click Project.
- On the displayed My Projects page, locate the project you want to pin and click
 . Once pinned, the project is automatically moved to the top of the list for quick viewing and operation.
Figure 5 Pinning a project
. Once pinned, the project is automatically moved to the top of the list for quick viewing and operation.
Figure 5 Pinning a project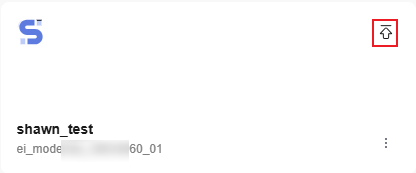
Feedback
Was this page helpful?
Provide feedbackThank you very much for your feedback. We will continue working to improve the documentation.See the reply and handling status in My Cloud VOC.
For any further questions, feel free to contact us through the chatbot.
Chatbot


