Configuring CSE
CAE provides Cloud Service Engine (CSE) with service registry, service governance, and configuration management. It allows you to quickly develop microservice applications and implement high-availability O&M.
Prerequisites
You have created a microservice engine instance. For details, see Creating a ServiceComb Engine.
Binding a Microservice Engine

- Only microservice engines in the Available state can be bound.
- Multiple microservice engines cannot be bound at the same time.
- The microservice engine to be bound must be in the same VPC as the environment.
- Log in to CAE.
- Choose Component Configurations.
- Select the target component from the drop-down list in the upper part of the page.
Figure 1 Selecting a component

- Click Configure in the Cloud Service Engine (CSE) module.
- Select a microservice engine.
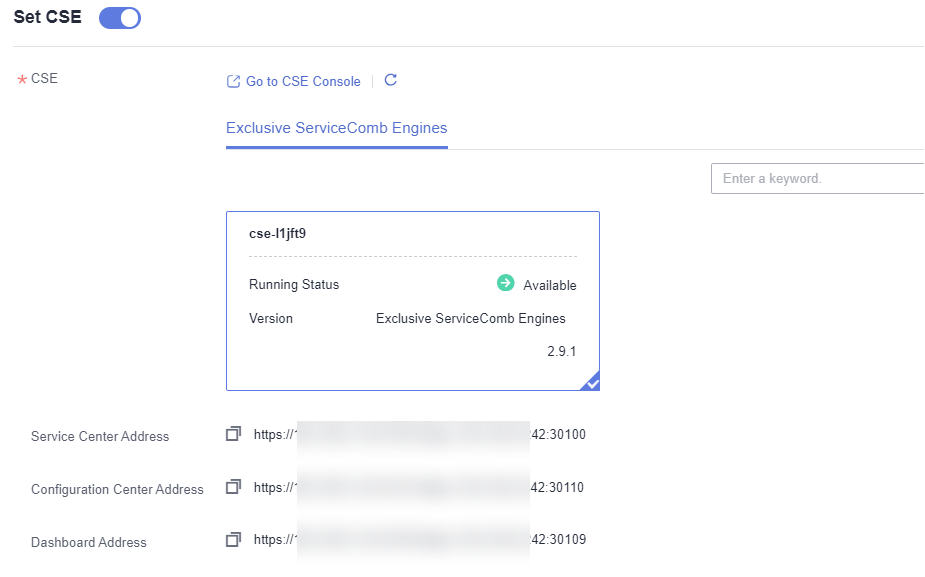
- Click Exclusive ServiceComb Engines. Select a ServiceComb engine.
Figure 2 Exclusive ServiceComb engines

- If the existing microservice engines do not meet service requirements:
- Click Go to CSE Console to create a microservice engine. For details, see Creating a ServiceComb Engine.
- Select the created microservice engine.
- Click Exclusive ServiceComb Engines. Select a ServiceComb engine.
- Click Save.
- Make the configurations take effect.
- If the component has been deployed, click Activate Settings in the upper part of the page. In the dialog box displayed on the right, confirm the configurations and click OK for the configurations to take effect.
- If the component has not been deployed, click Set and Deploy Component in the upper part of the page. In the dialog box displayed on the right, click OK. After the deployment is complete, the configurations take effect.

- After the ServiceComb engine is bound, you can view microservice running metrics and govern microservices based on real-time dashboard data. For details, see Using ServiceComb Engines.
- After the Nacos engine is bound, you can manage the services registered with the Nacos engine. For details, see Using Nacos Engines.
Viewing Microservice Engine Configurations
- Log in to CAE.
- Choose Component Configurations.
- Select the target component from the drop-down list in the upper part of the page.
- Click Configure in the Cloud Service Engine (CSE) module.
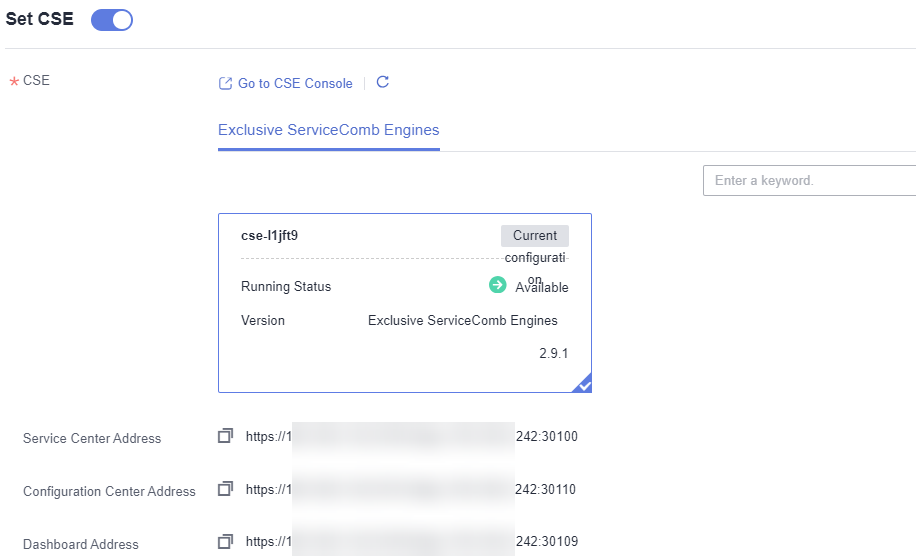
- View the microservice engine configurations, such as the name, status, version, private IP address, and binding status.
The bound microservice engine is labeled with Current Configuration.
Figure 3 Microservice engine configurations
Modifying Microservice Engine Configurations
- Log in to CAE.
- Choose Component Configurations.
- Select the target component from the drop-down list in the upper part of the page.
- Click Configure in the Cloud Service Engine (CSE) module.
- Select the target microservice engine and click Save.
- Click Activate Settings in the upper part of the Component Configurations page.
- In the displayed dialog box, confirm the configurations and click OK for the configurations to take effect.
Unbinding a Microservice Engine
- Log in to CAE.
- Choose Component Configurations.
- Select the target component from the drop-down list in the upper part of the page.
- Click Configure in the Cloud Service Engine (CSE) module.
- Click
 to disable CSE settings.
 - Click Save.
- In the displayed dialog box, enter SWITCHOFF and click OK.
- Click Activate Settings in the upper part of the Component Configurations page.
- In the displayed dialog box, confirm the configurations and click OK for the configurations to take effect.
Feedback
Was this page helpful?
Provide feedbackThank you very much for your feedback. We will continue working to improve the documentation.See the reply and handling status in My Cloud VOC.
For any further questions, feel free to contact us through the chatbot.
Chatbot


