Connecting to a GeminiDB Redis Instance on the DAS Console
DAS makes DB instance management secure and efficient from a web-based console. By default, you have permissions required for remote login. DAS is recommended for connecting to your instance.
Configuring the Required Permissions
If you have an IAM account, assign DAS FullAccess permissions to all users of the account. For details, see Create User Groups and Assign Permissions.
You can create a custom policy to specify the type of databases that you have permissions for.
- Log in to the IAM console and choose Permissions > Policies/Roles.
Figure 1 Creating a custom policy

- Specify a policy name, policy view, and content.
Figure 2 Configuring a custom policy

Table 1 Custom policy description Parameter
Description
Policy Name
Enter a policy name.
Policy View
Select JSON.
Policy Content
Configure the following policy content:
{
    "Version": "1.1",
    "Statement": [
        {
            "Action": [
                "das:*:*",
                "nosql:instance:list"
           ],
            "Effect": "Allow"
        }
    ]
}
Alternatively, click Select Existing Policy/Role, select DAS FullAccess as a template, and retain only the DB type information. In this example, retain only nosql:instance:list.
Description
Enter a policy description.
Scope
Retain the default settings (project-level service).
- Click OK. You can then view the created custom policy on the Permissions page.
Figure 3 Viewing the created policy

- Create a user group.
Figure 4 Creating a user group

- Authorize the user group created in 4 using the created custom policy.
Figure 5 Authorizing the user group using the created custom policy
 Figure 6 Selecting the created custom policy
- Click the name of the user group and add the required users.
Figure 7 Adding users

Prerequisites
There is an available GeminiDB Redis instance.
Procedure
- Log in to the GeminiDB console.
- In the instance list, locate the target instance and click Log In in the Operation column.
Figure 8 Logging in to a GeminiDB Redis instance

Alternatively, click the instance name to go to the Basic Information page. Click Log In in the upper right corner of the page.
Figure 9 Logging in to a GeminiDB Redis instance
- Enter the password for logging in to the instance.
Figure 10 Login page

If you need to log in again after the password is reset, click Re-login in the upper right corner and use the new password.
Figure 11 Re-login
Follow-up Operations
After logging in to a GeminiDB Redis instance using DAS, you can manage databases.
- Manage relevant databases.
Figure 12 Instance homepage

- Save commands to the execution record.
This function is enabled by default to save the recently executed commands for your later query.
Then you can click the Executed Commands tab on the lower page to view historical commands.
Figure 13 Executed commands
If this function is disabled, the commands executed subsequently are not displayed any longer. You can click
 next to Save Executed SQL Statements in the upper right corner to disable this function.
 - Execute a command.
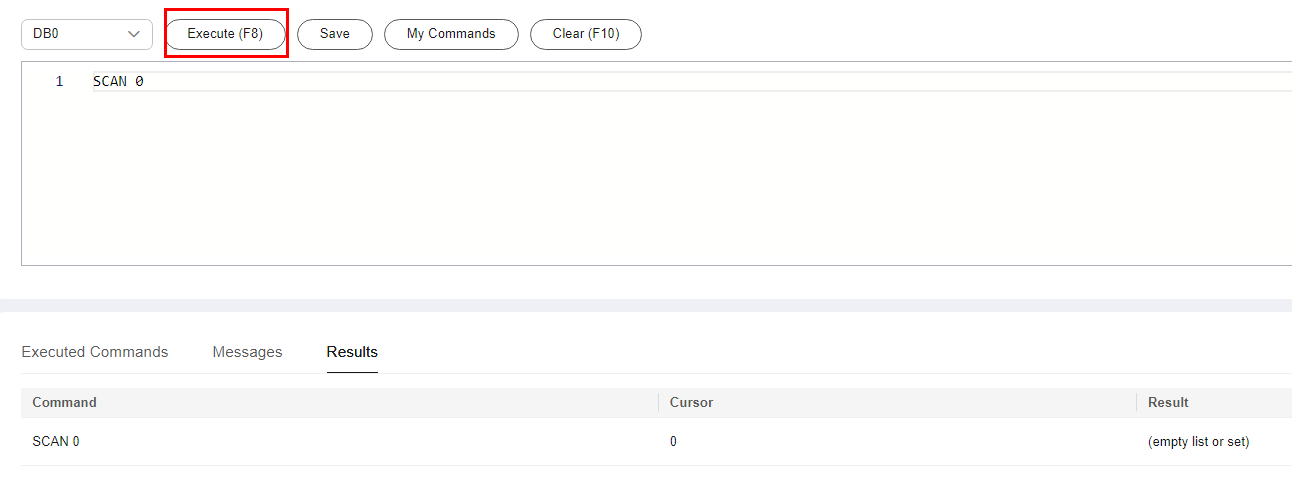
You can enter a command in the command window and click Execute or F8.

- Do not use transactions, Lua scripts, Pub/Sub commands, or other commands that have blocking semantics.
- For an instance that supports multiple databases, you can change the current database on the console, but cannot change it using a SELECT statement.
Figure 14 Executing a command
After a command is executed, you can view the execution result on the Results page.
- Save a command.
You can save a command to all instances, the current instance, or the current database. Then you can view details in My Commands.
Figure 15 Save
- View my commands.
Common commands are displayed the My Commands page.
Set a filter to narrow the scope of commands. If you select All, all commands saved in the current account are displayed.
Figure 16 Filtering commands
Alternatively, enter a command title or statement in the search box to search for the corresponding command.
Figure 17 Searching for a command
On the My Commands page, you can also create, edit, and delete a command or copy it to the command window.
Figure 18 Managing a command
- Clear a command.
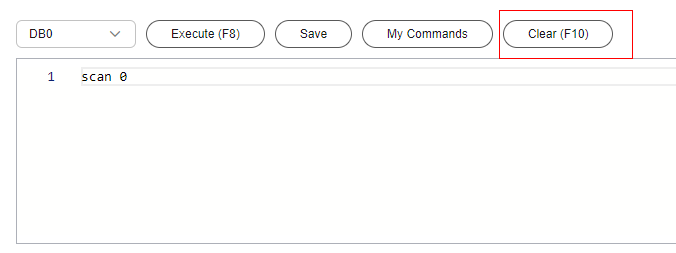
You can also press F10 to clear the command in the command window.
Figure 19 Clearing a command
- Save commands to the execution record.
Other Methods of Connecting to an Instance
Feedback
Was this page helpful?
Provide feedbackThank you very much for your feedback. We will continue working to improve the documentation.See the reply and handling status in My Cloud VOC.
For any further questions, feel free to contact us through the chatbot.
Chatbot


