
Image Modeling
MetaStudio allows customizing your virtual avatars.
Prerequisites
Before creating a virtual avatar customization task, you need to prepare the following items by referring to Procedure:
Video
Watch this video to learn how to create your virtual avatar on the MetaStudio console.
Procedure
- Log in to the MetaStudio console and go to the Overview page.
- Click Go to MetaStudio Console to go to the MetaStudio console.
- Click the Image Modeling card to go to the virtual avatar creation page.
Figure 1 Customizing your virtual avatar

- Upload data for virtual avatar training.
For details, see Table 1.
Table 1 GUI operations Area
Parameter
Description
Upload Virtual Avatar Training Data
Role Name
Enter the role name of the virtual avatar.
Example: Sara
Training Video
Upload a qualified human-recorded video from the local PC.
Supported video: MP4/MOV, 4K, 5–6 minutes, ≥ 1080p, 16:9 (landscape) or 9:16 (portrait, recommended), with the person in the video standing upright
Video Background
If you select Remove, you can change the background when creating a virtual avatar video.
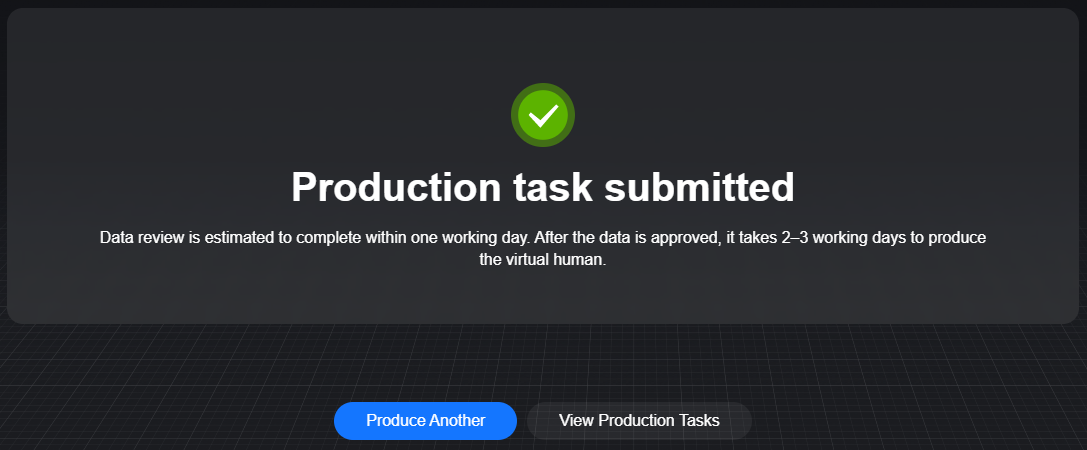
- Click Submit.
After the data is uploaded, the message Production task submitted appears, as shown in Figure 2.
Model review and modeling take about seven working days.
To rectify the H.265 video upload failure, see What If H.265 Training Video Submission Fails on Some Browsers?
- You can click View Production Tasks to view the virtual avatar customization task list.
Figure 3 Task list

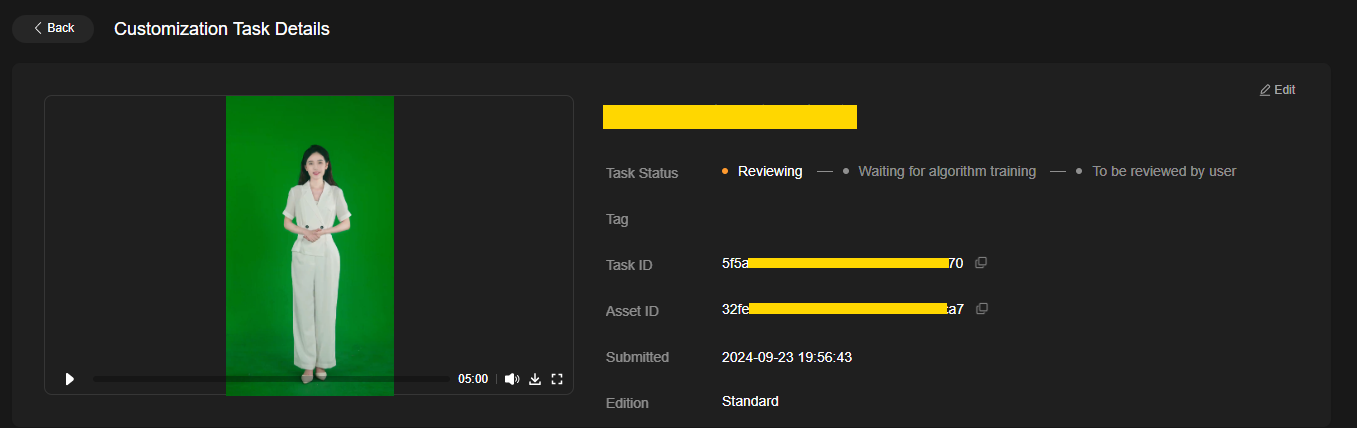
- Click View Details in the Operation column of the task to go to the Customization Task Details page, as shown in Figure 4.
View the review progress of the virtual avatar customization task. The status is Reviewing. After the virtual avatar customization task is submitted, it will be reviewed within one working day.
- After the task is approved, the task status changes to Algorithm training ongoing.
After the virtual avatar customization task is approved, algorithm training will be completed within three days. Then a virtual avatar image will be generated.
Figure 5 Virtual avatar customization tasks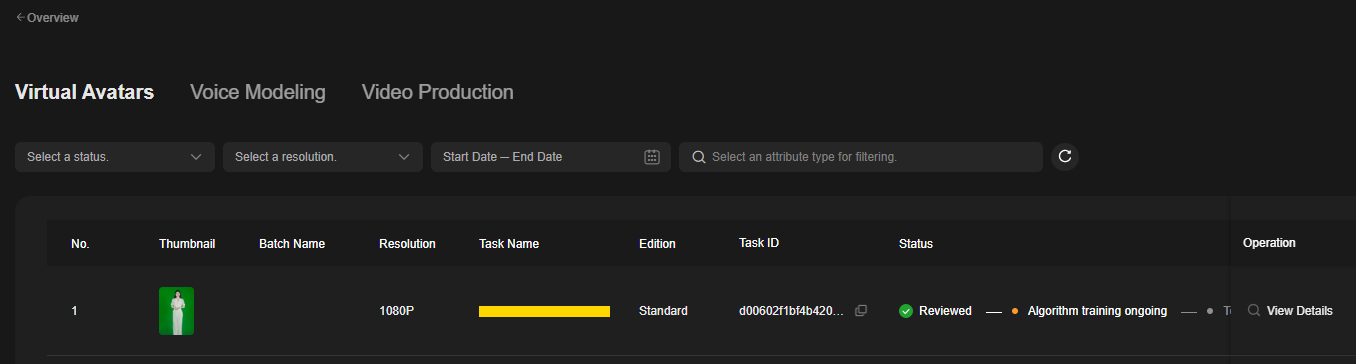
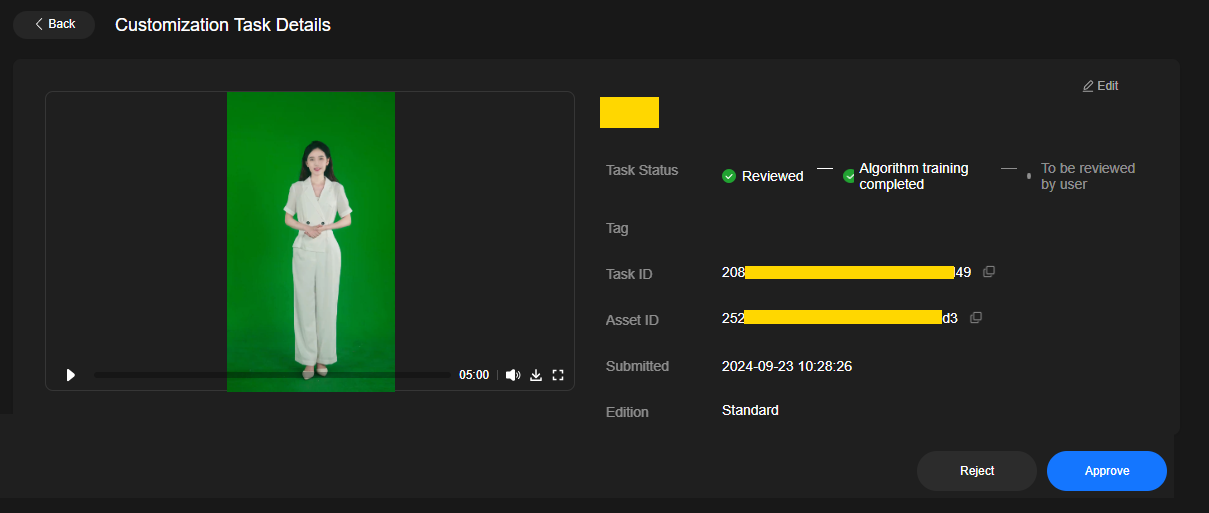
- After the training is completed, the task status changes to Algorithm training completed, as shown in Figure 6.
- If the trained virtual avatar image meets the requirements, click Approve in the lower right corner. In the dialog box displayed, click OK. The virtual avatar has been generated.
Feedback
Was this page helpful?
Provide feedbackThank you very much for your feedback. We will continue working to improve the documentation.See the reply and handling status in My Cloud VOC.
For any further questions, feel free to contact us through the chatbot.
Chatbot


