
Querying Data with SQL Statements
Data Lake Insight (DLI) is a serverless data processing and analysis service fully compatible with Apache Spark, Trino, and Apache Flink ecosystems. It frees you from managing any server. DLI supports standard SQL and is compatible with Spark and Flink SQL. It also supports multiple access modes, and is compatible with mainstream data formats.
This section describes how to use SQL statements to query data.
Step1 Log In To the Console
Procedure
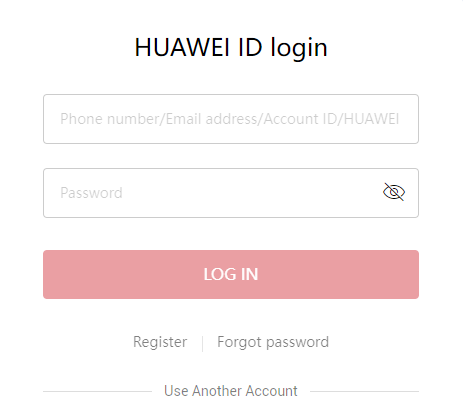
① Log in to the management console.
② Click the service list and choose Analytics > Data Lake Insight.
Note
For details about how to register a HUAWEI CLOUD account, see Registering a HUAWEI CLOUD Account and Authorizing Services.
1
Log In To the Console

View Image


Step2 Select a Queue
Procedure
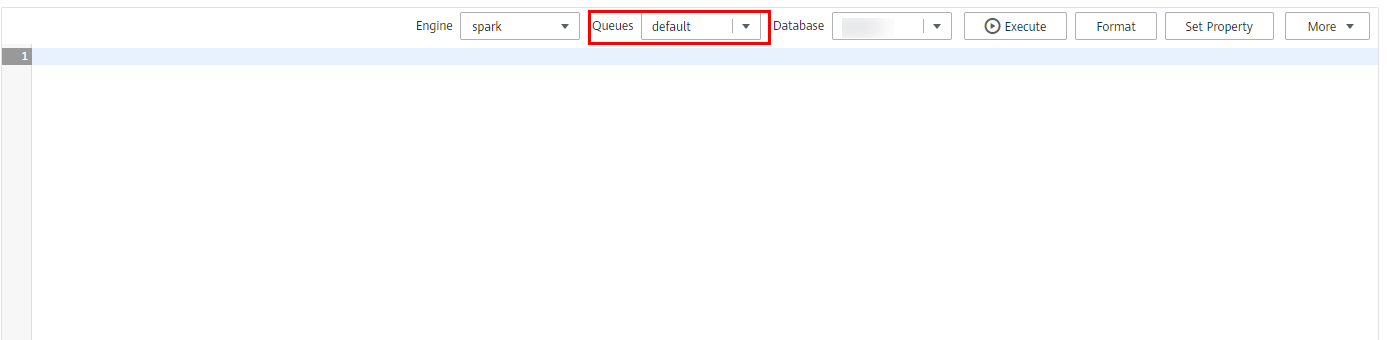
① Click SQL Editor in the navigation pane, or go to the Job Management > SQL Jobs page and click Create Job in the upper right corner. The SQL Editor page is displayed.
② On the displayed page, select the default queue.
Note
The default queue is a shared queue. The resources are allocated on demand and expanded automatically. This queue is used if you are not sure about the queue size or there is no available space for creating a queue. For details about how to create a queue, click Learn more.
2
Select a Queue
View Image
Step3 Create a Database
Procedure
①In the SQL statement editing area, enter a database creation statement.
For example, execute the following statement to create database DB1:
CREATE DATABASE DB1
② Choose More > Verify Syntax. After you pass the verification, click Execute. View the execution result in the View Result tab below the editing area.
3
Create a Database

View Image
Step4 Create a Table
Procedure
① In the SQL statement editing area, choose DB1 from the drop-down list box of Database.
② Enter a table creation statement. For example, execute the following statement to create table Table1 whose data is stored in OBS file path obs://dli/dli/data.csv:
create table table1 (id int, name string) using csv options (path 'obs://dli/dli/data.csv')
Note: The data must be uploaded to the OBS file path before you create the table. Assume that the table data is as follows:
id name
1 Michael
2 Andy
3 Justin
③ Verify the syntax and click Execute. View the execution result in the View Result tab below the editing area.
4
Create a Table

View Image
Step5 Run a Query Statement
Procedure
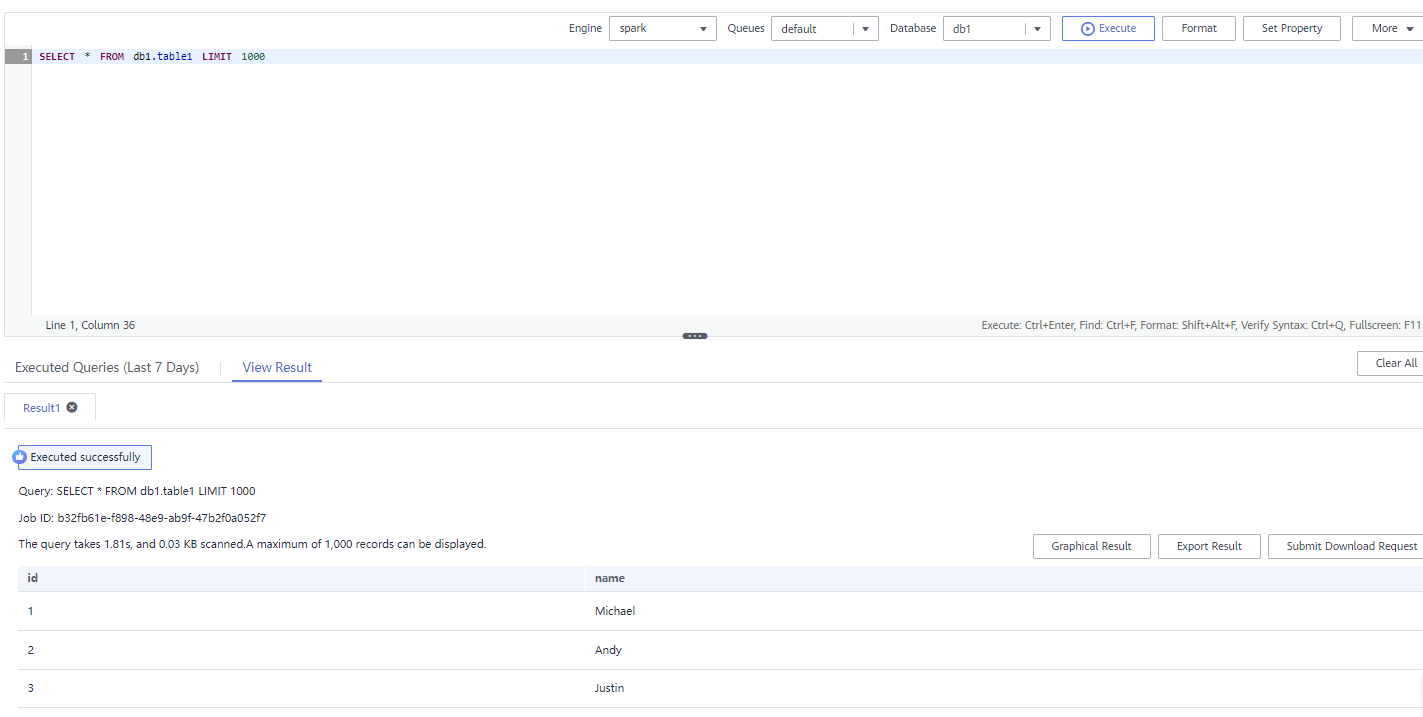
①In the SQL statement editing area, enter a query statement.
For example, run the following statement to query 1000 records in Table1 of the DB1 database:
SELECT * FROM db1.table1 LIMIT 1000
② Verify the syntax and click Execute. View the execution result in the View Result tab below the editing area.
5
Run a Query Statement
View Image
Feedback
Was this page helpful?
Provide feedbackThank you very much for your feedback. We will continue working to improve the documentation.See the reply and handling status in My Cloud VOC.
For any further questions, feel free to contact us through the chatbot.
Chatbot


