
Scenario 2: Requesting for Disk-based DES
-
Disk-based DES is applicable to TB-scale data migration.
-
If the data volume is small and you have disks with external USB interfaces, SATA interfaces, or SAS interfaces, you can apply for the disk-based DES service to efficiently transfer data to HUAWEI CLOUD.
-
This document uses the data migration of an organization in Guangdong province as an example to describe how to use the disk-based DES.
Step 1: Creating a Bucket
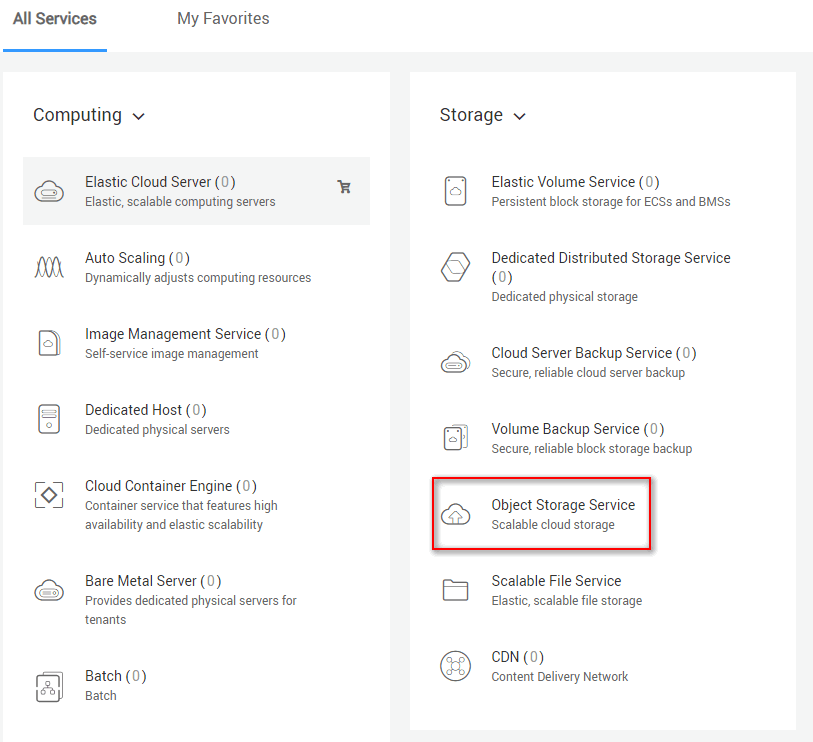
1. Log in to HUAWEI CLOUD console. Choose Storage > Object Storage Service.
2. On OBS Console, click Create Bucket.
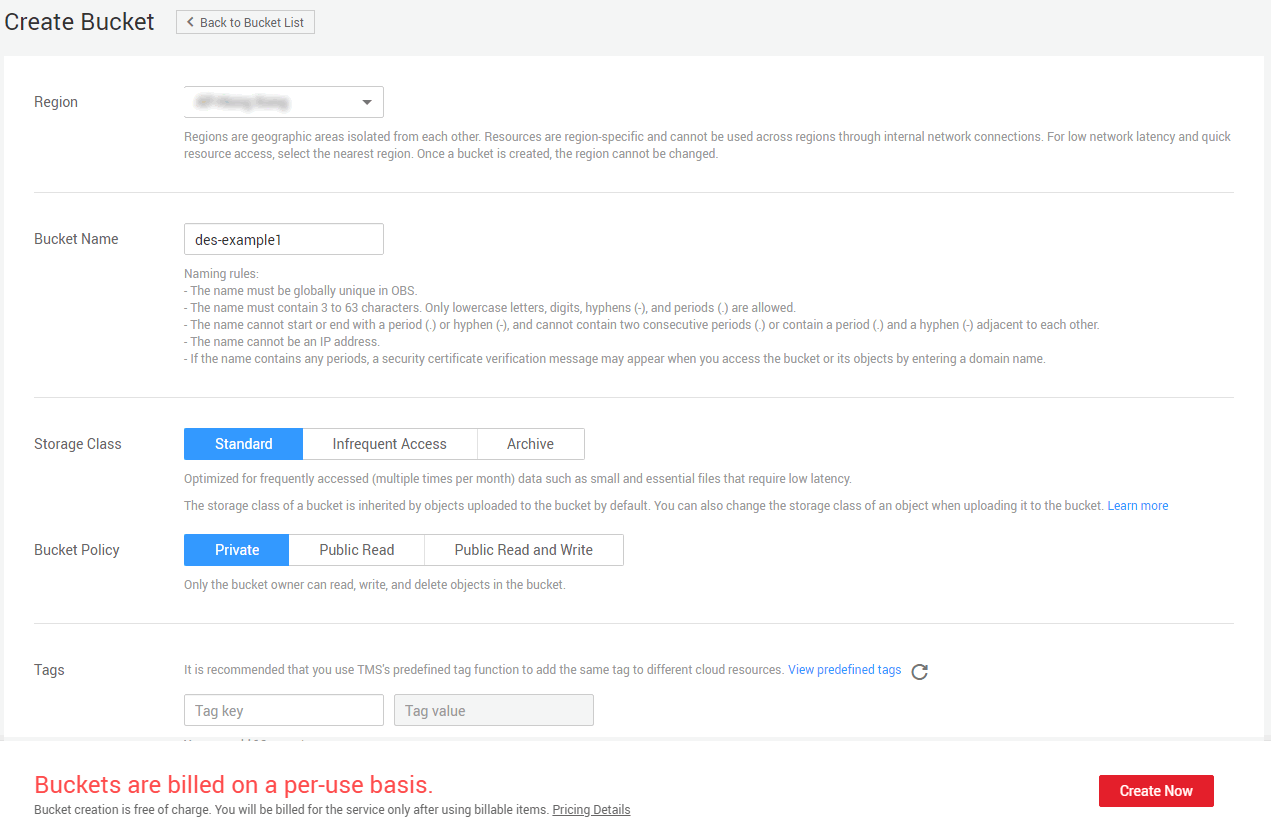
3. Configure basic information for the bucket.

Note
1. Before creating a DES service order, create a bucket on OBS.
2. User data is stored in OBS buckets.
1
Selecting Object Storage Service.
2
Clicking Create Bucket.

3
Configuring bucket basic information.

View Image
Step 2.1: Requesting for Disk-based DES
1. Log in to HUAWEI CLOUD console. Choose Storage > Data Express Service.
2. Select Data Center from the drop-down list on the top menu bar.
3. Click Buy DES.
Note
Before using DES, top up the account and subscribe to DES.
1
Clicking Buy DES.

View Image
Step 2.2: Setting Transmission Information
1. Select Import and By Disk and specify the transmission information and contact information.
2. Click Buy Now.
Note
1. Disk File: specifies the name of a folder in the root directory of the disk. Data in this folder will all be transmitted to the specified destination bucket. In this example, customer data is stored in the monitor-folder1 and monitor-folder2 folders. Therefore, the customer needs to click Add to add a row.
2. Destination Bucket: specifies the bucket to which disk data is transmitted. If a destination bucket does not exist, click Create Bucket to create one. Try again after the bucket is created.
3. Import Directory: specifies the target directory in the destination bucket.
4. Add Delivery Address: To create a new address, you need to enter information including the Contact, Delivery Address, Address Details, Mobile Number, and SMS Verification Code.
1
Setting transmission information.

View Image
Step 2.3: Submitting the Application After Confirming the Configuration Information
After confirming that the service order details are correct, click Buy Now to submit the service order. If information under Order Details is incorrect, you can click Previous to modify order information, and then return to the order detail page and click Submit.
1
Confirming configuration information.

View Image
Step 2.4: Confirming Successful Service Order Submission
1. A message is displayed, indicating that the service order is submitted successfully.
2. You can also view the service order status by clicking View Service Order List.
Note
1. After a service order is created successfully, the status of the service order is Disk to be sent. In different operation phases, the service order may be in different states. Click here to view the detailed service order statuses.
2. If the status of a service order is Disk to be sent, you can modify or cancel the order by selecting More in the Operation column of the service order.
1
Successful service order submission.
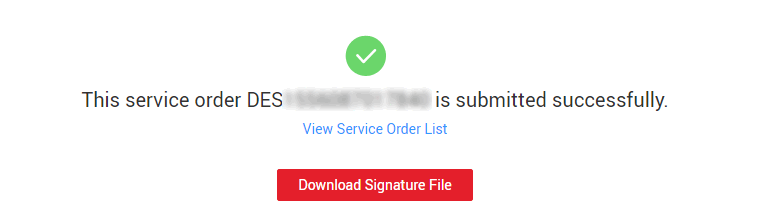
2
Viewing service order list.

View Image
Step 2.5: Downloading the Signature File
You can download the signature file on the page indicating that the order is submitted successfully or on the service order list
Note
A signature file is the unique identifier of the disk in the service order, ensuring that data in the disk can be uploaded as instructed in the corresponding order. After downloading a signature file, save it to the root directory of the disk.
1
Downloading the signature file.

View Image
Step 3: Copying Data to a Disk
Data needs to be copied to the disk.
Note
In this example, the user disk is mounted to the PC as disk H. Data in the monitor-folder1 and monitor-folder2 folders is copied to disk H. The disk you send to the Huawei data center contains the user data file and one disk signature file.
1
Copying data to a disk.

View Image
Step 4: Mailing the Disk to a Huawei DC
In the service list, click the order ID and check the DC Address, DC Contact, and DC Phone Number in Service Order Details, and mail the disk.
1
Checking the mailing address.

View Image
Step 5: Starting Data Transmission
1. Log in to DES Console.
2. Click Enter access key (AK/SK) under More in the Operation column of the service order.
Note
1. Access Key ID (AK): specifies the access key ID used when the back-end server uploads data to the OBS bucket.
2. Secret Access Key (SK): specifies the security key ID used when the back-end server uploads data to the OBS bucket.
3. If you do not have any AK/SK, click the username in the upper right corner of the homepage of the management console, and click My Credentials in the drop-down list. On the My Credentials page that is displayed, click Add Access Key in the lower part of the Manage Access Key tab page.
1
Entering the access key (AK/SK)-01.

2
Entering the access key (AK/SK)-02.

View Image
Step 6: Viewing Data Transmission Results
1. Log in to DES Console.
2. Find the order in Service order completed, click Download Transmission Report under More in the Operation column of the order.
3. View the report and check whether all data is transmitted successfully.
Note
After data transmission is complete, you can also view data transmission results on OBS Console.
1. Log in to OBS Console.
2. Click the name of the bucket that stores the target data. On the Summary page that is displayed, you can view the total storage capacity and object quantity of the current bucket.
3. Click Object and view all uploaded objects in the object list.
1
Viewing the data transmission result.

View Image
Feedback
Was this page helpful?
Provide feedbackThank you very much for your feedback. We will continue working to improve the documentation.See the reply and handling status in My Cloud VOC.
For any further questions, feel free to contact us through the chatbot.
Chatbot


