
Getting Started
If you are new to Git, go to Getting Started with Git-Based CodeArts Repo to learn how Git and CodeArts Repo work.
If you have used Git for version management, we will show you a quick overview of CodeArts Repo functions.
Creating a Repository
The following procedure describes how to create a repository using a template.
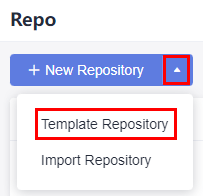
- Go to a target project and choose Repo from the navigation pane.
- Click
 next to New Repository and select Template Repository from the drop-down list.
- On the Select Template page, enter a keyword for fuzzy search and select a template as required.
- Click Next. On the Basic Information page, enter basic repository information.
Table 1 Parameters for creating a repository using a template Parameter
Mandatory
Remarks
Repository Name
Yes
The name must start with a letter, digit, or underscore (_) and can contain periods (.) and hyphens (-), but cannot end with .git, .atom, or period (.). The name can contain a maximum of 200 characters.
Project
Yes
- A repository must be associated with a project.
- If there is no project under the account or you click Create Project in the Project drop-down list, the Create Project dialog box is displayed and you can create a basic project.
(For a basic project, only CodeArts Repo and CodeArts Check can be used. Other services are neither enabled nor displayed. You can change a project to a basic project on the project settings page.)
NOTE:If you create a repository in a project, the project is selected for Project by default, and the Project parameter is hidden on the repository creation page.
Description
No
Enter the description of your repository.
Permissions
No
- Make all project developers automatic repository members.
A project manager is automatically set as the repository administrator, and A developer is set as a common repository member. When members of the two roles are added to the project, they are added to the repository member list by automatic synchronization. You can view the list.
Visibility
Yes
The options are as follows:
- Private
Only repository members can access and commit code.
- Public
Read-only for all visitors and hidden from repo list and search result. You can select an open-source license as the remarks.
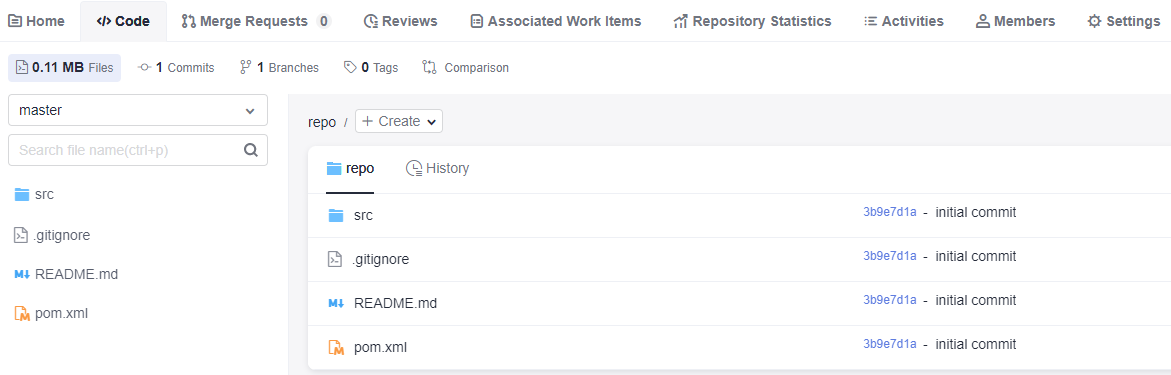
- Click OK. The repository is created and the repository list is displayed.
We are done with the repository. Let's create a branch then.
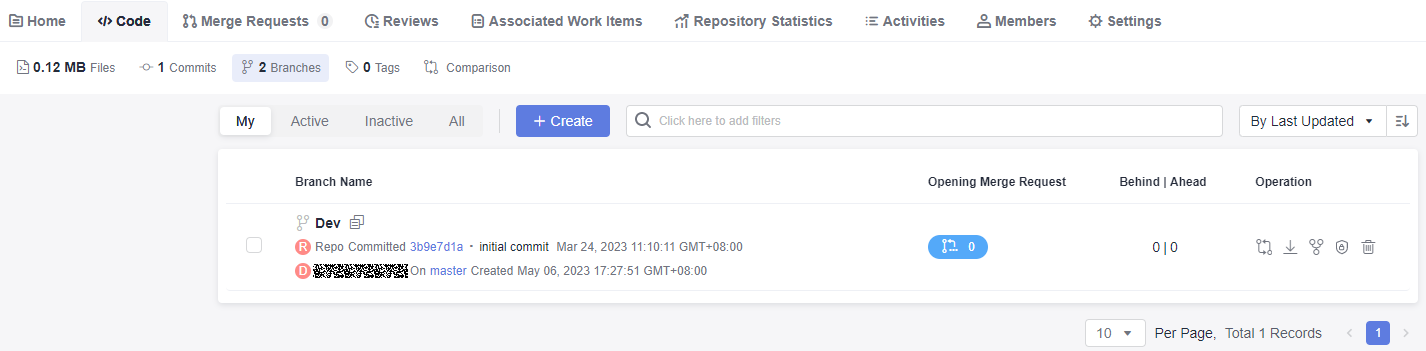
Creating a Branch
Branch is the most commonly used method in version management. Branches isolate tasks in a project to prevent them from affecting each other, and can be merged for version release.
- Click a repository to go to the details page.
- Switch to the Branches tab page under the Code tab page. Branches in the remote repository are displayed.
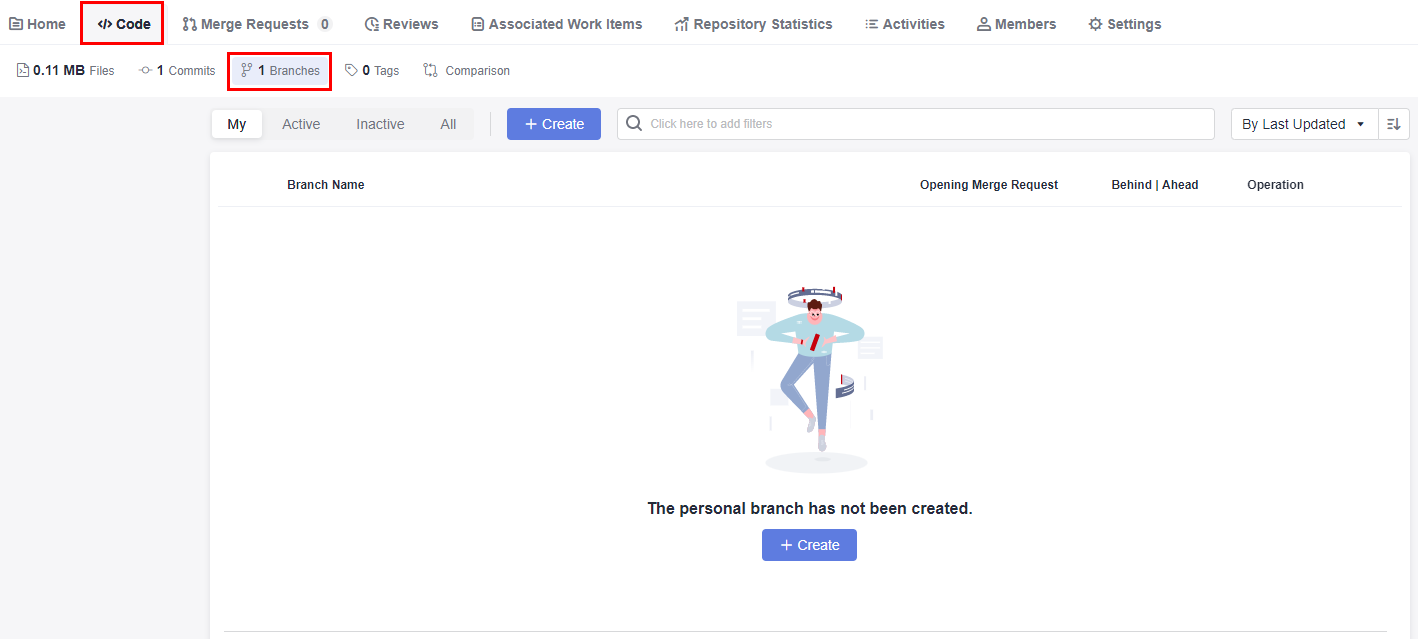
- Click Create. In the displayed dialog box, select a version (branch or tag) based on which you want to create a branch and enter the branch name. You can associate the branch with an existing work item.
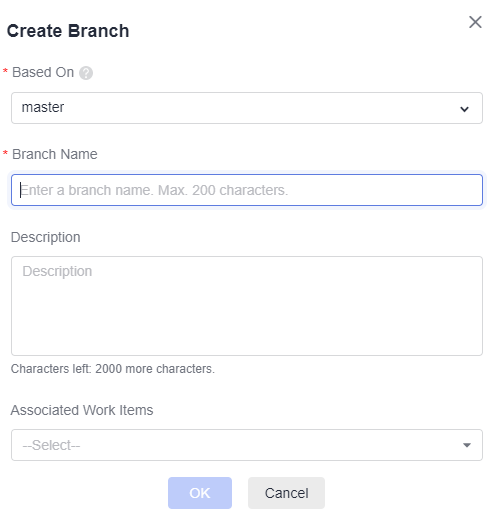
Table 2 Parameter description Project
Mandatory
Remarks
Based On
Yes
Create a branch based on an existing branch or tag.
Branch Name
Yes
Name of the new branch
Description
No
Description of the new branch
Work Items to Associate
No
Specify the work items to associate with this new branch.
- Click OK. The branch list is displayed.
We are done with the branch. Creating a file is our next step.
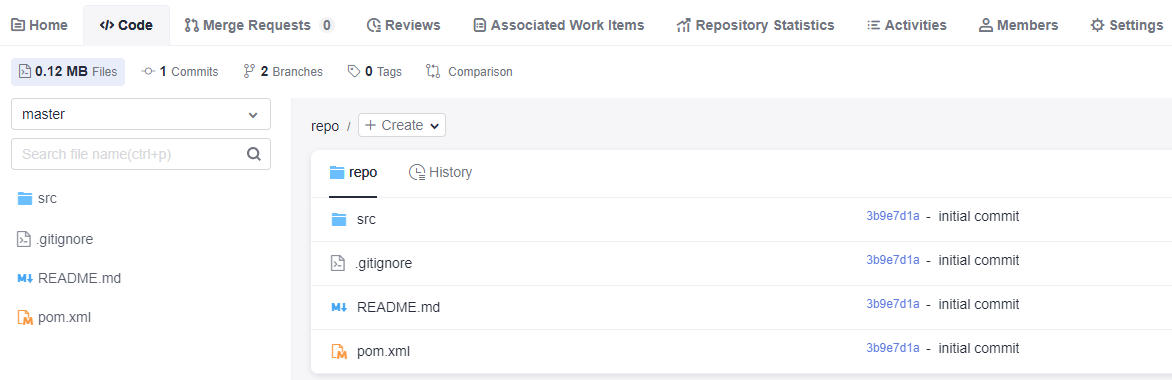
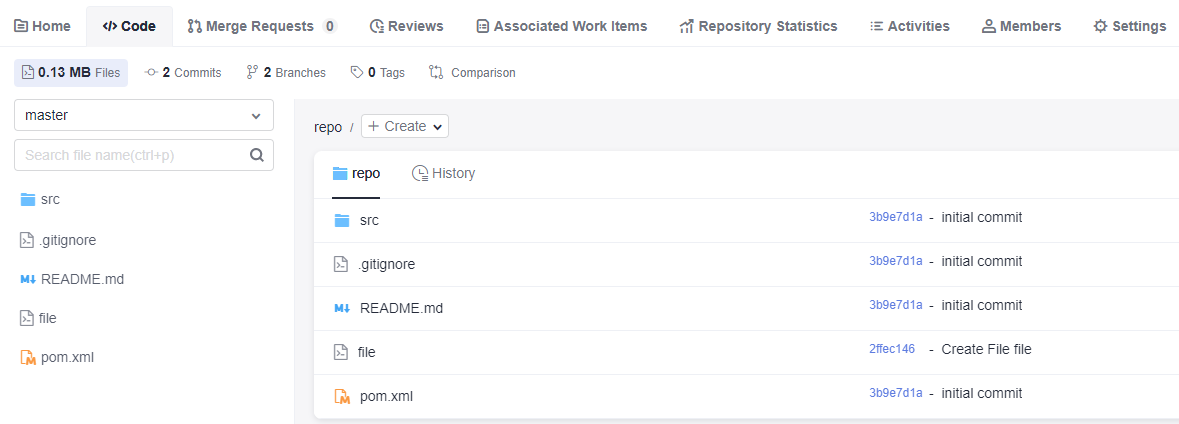
Creating a File
- Click a repository to go to the details page.
- Place the cursor on the folder name and click
 or
or  . Then click Create File.
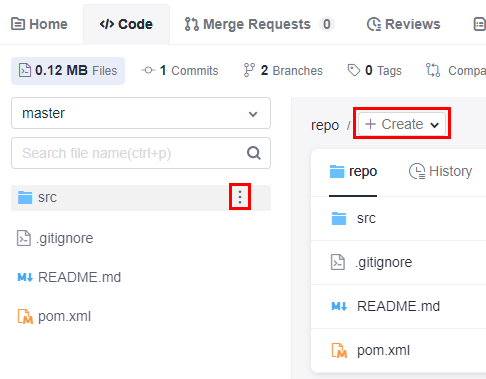
- Set the following parameters as required:
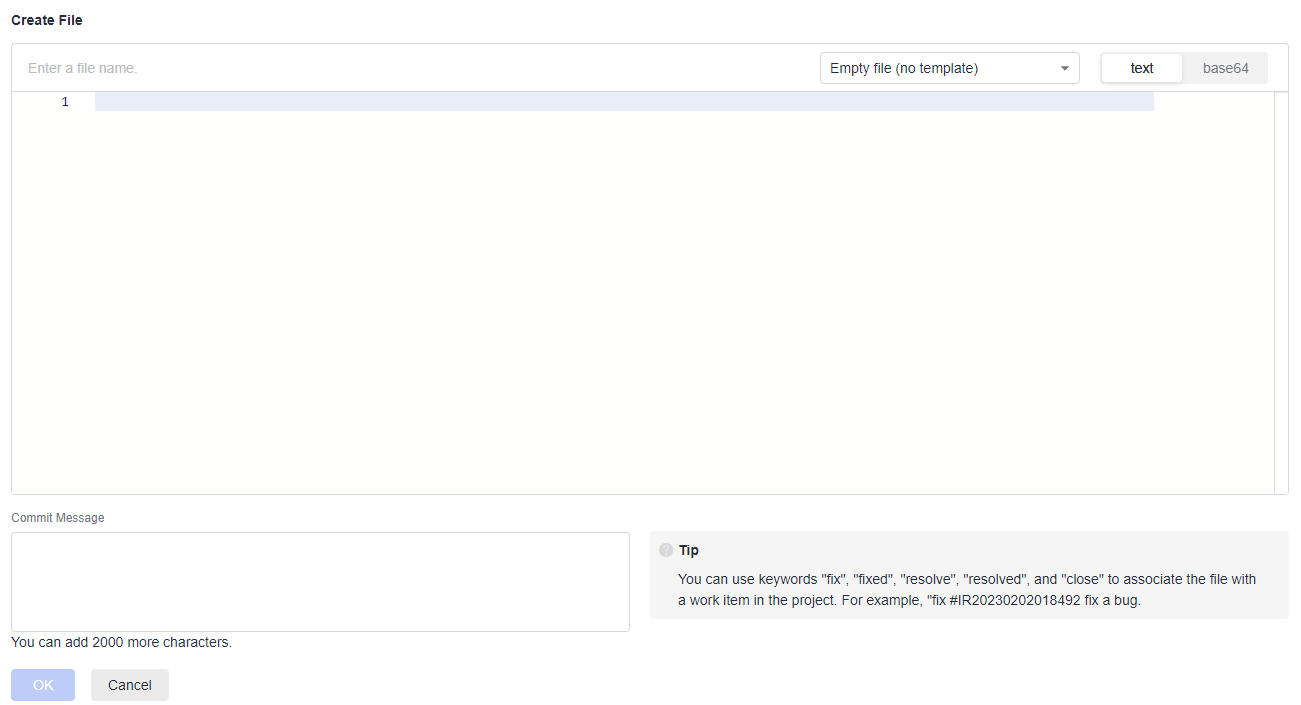
Table 3 Parameter description Project
Mandatory
Remarks
File name
Yes
Name of the new file
Empty file (no template)
Yes
You can select multiple template types. By default, no template is used.
text/base64
Yes
The value can be text (default) or base64.
File content
No
Content of the new file
Commit Message
Yes
It automatically synchronizes the file name and can be customized. You can associate work items here.
- Click OK. The file is created and the file list is displayed.
You have created a file. Next, you can create a request for merging the two branches.
Creating a Merge Request
CodeArts Repo supports development of multiple branches and establishes configurable review rules for branch merging. When a developer initiates an MR, some repository members can be selected to participate in code reviews to ensure the correctness of the merged code.
- Click a repository to go to the details page.
- Switch to the Merge Requests tab page, click New, and select the branches to be merged.
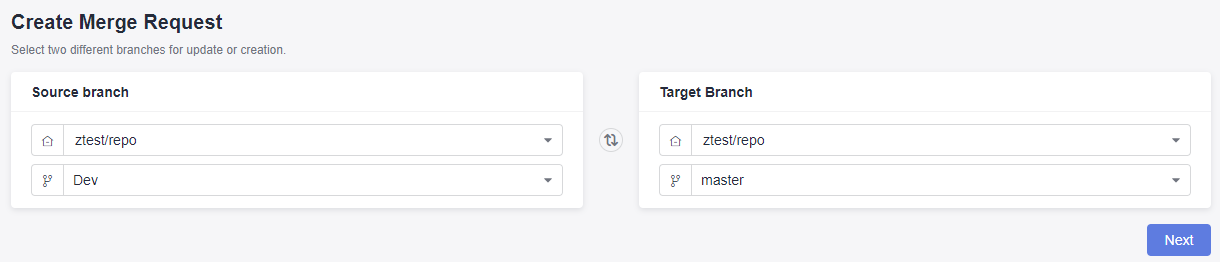
- Click Next. The system checks whether the two branches are different.
- If there is no difference between the two, the system displays a message and the request cannot be created.
- If the branches are different, the following Create Merge Request page is displayed.
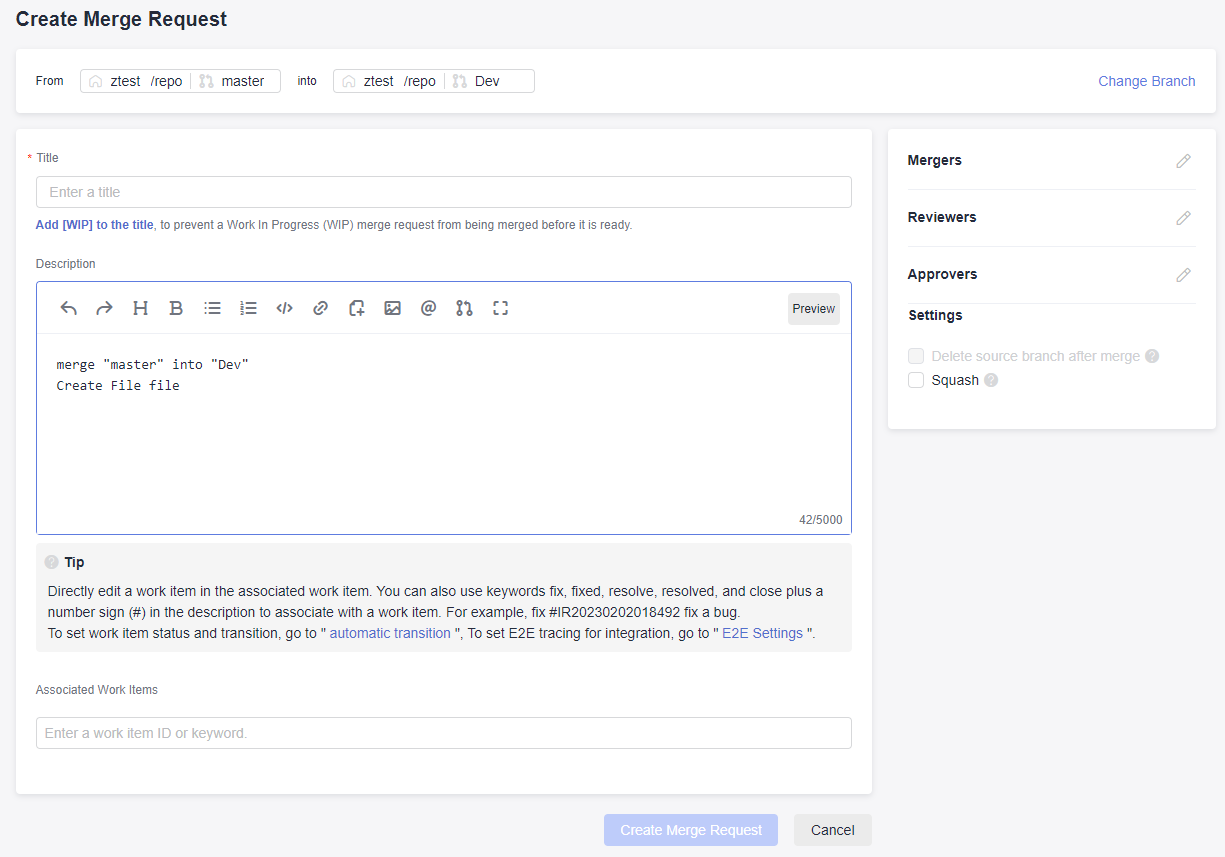
The lower part of the Create Merge Request page displays differences of the two branches and commit records of the source branch.
- Set the parameters according to the following table.
Table 4 Parameter description Parameter
Description
Change Branch
Click to return to the previous step and change the branch to be merged.
Title
Enter the MR title.
Description
A default description is generated based on the merge and commit messages of the source branch. You can modify the description as required.
Associated Work Items
You can associate a merge action with a work item to automatically change the status of the work item.
Mergers
Mergers have permissions to merge branches (by clicking the merge button) when all approvers approve MRs and all discussed issues are solved (or you can set the rule to allow merge with issues unsolved). They can also close the MR.
Reviewers
Specified to participate in the merge branch review and can raise questions to the initiator.
Approvers
Appointed to participate in the merge branch review. You can provide review comments (approved or rejected) or raise questions to the initiator.
Delete source branch after merge
You can choose whether to delete the source branch after merge. The preset status in the MR settings is initially used.
Squash
Squash is to merge all change commit information of an MR into one and keep a clean history. When you focus only on the current commit progress but not the commit information, you can use squash merge.
Enabling Squash keeps the history of the basic branch clean, with meaningful commit messages, and can be restored more easily if necessary.
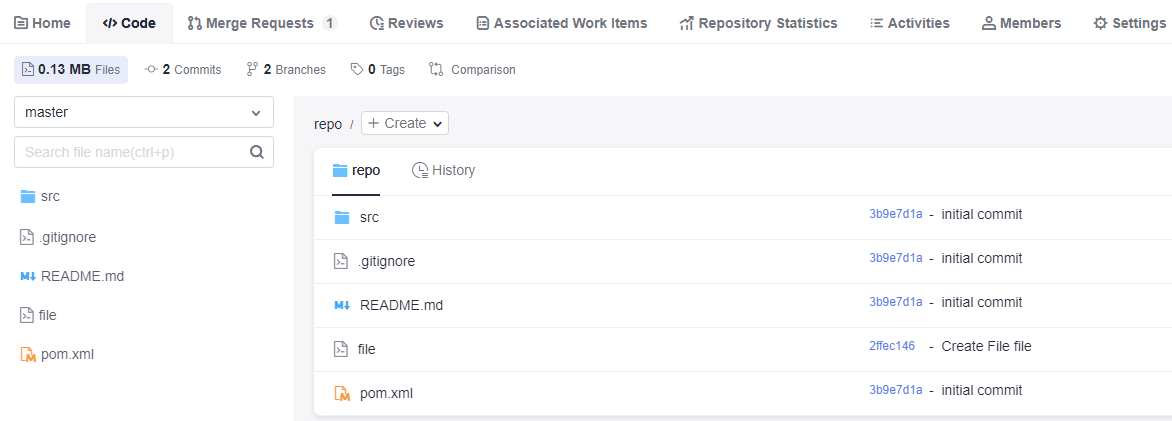
- Click Create Merge Request to submit the MR. The Details page is displayed.
Merging a Request
- Click a repository to go to the details page.
- Switch to the Merge Requests tab page and click the name of the target merge request. The merge request details page is displayed.

- Ask reviewers and approvers to do their jobs.

Table 5 Merge conditions Merge Condition
Description
Code merge conflicts
When a merge conflict occurs between the source and target branch code, resolve the conflict before performing the next operation. For details about how to resolve a code conflict, see Resolving Code Conflicts in an MR.
Review comment gate
After an initiator resolves the review comments of all reviewers or approvers, the gate is passed.
NOTE:The gate function takes effect only after you choose Settings > Policy Settings > Merge Requests and select Merge after all reviews are resolved.
Pipeline gate
When the latest commit or pre-merged commit starts and successfully executes the pipeline, the gate is passed. For details see Configuring a Pipeline.
E2E ticket number not associated
After an MR is associated with a work item, the gate is passed.
NOTE:To enable the gate function, choose Settings > Policy Settings > Merge Requests and select Must be associated with CodeArts Req.
Review gate
When the number of reviewers reaches the minimum number, the gate is passed.
Approval gate
When the number of approvers reaches the minimum number, the gate is passed.
- Ask the merger to merge the request after an initiator meets the preceding conditions. Otherwise, the merger can close the request.
We are now done with this tutorial. You can explore more functions.
Feedback
Was this page helpful?
Provide feedbackThank you very much for your feedback. We will continue working to improve the documentation.See the reply and handling status in My Cloud VOC.
For any further questions, feel free to contact us through the chatbot.
Chatbot


