Clearing Disk Space Using the System Built-in Cleanup Tool
Scenarios
This topic shows how to use the disk cleanup tool provided by the Windows OS to clean up disks with insufficient space.
In this document, Windows Server 2016 Standard 64bit is used as the sample server OS. The method for cleaning up disk space varies depending on the server OS. This document is used for reference only. For detailed operations and differences, see the corresponding OS documents.
Procedure
- On the server desktop, click the start icon in the lower left corner.
The start menu is displayed.
- In the navigation pane on the left, choose Windows Administrative Tools > Disk Cleanup.
The Disk Cleanup: Drive Selection window is displayed.
Figure 1 Disk Cleanup: Drive Selection
- Select the target disk from the drop-down list. In this example, disk (C:) is selected.
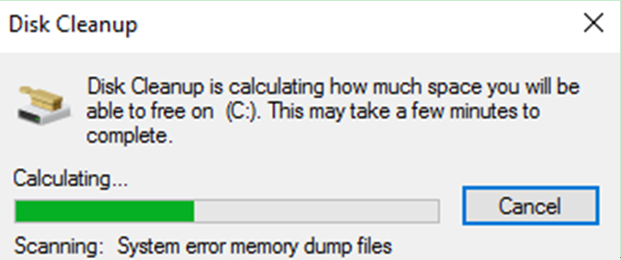
The Disk Cleanup window is displayed, and the system automatically calculates the space that can be freed on disk (C:).
Figure 2 Disk Cleanup
- After the automatic calculation is complete, select the files to be deleted on the displayed window and click OK.
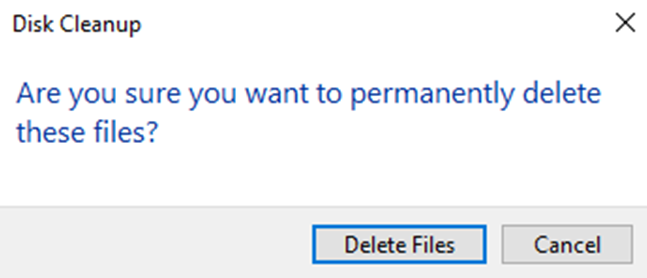
A confirmation dialog box is displayed.
Figure 3 Deletion confirmation
- Click Delete Files to clean up the disk space.
Feedback
Was this page helpful?
Provide feedbackThank you very much for your feedback. We will continue working to improve the documentation.See the reply and handling status in My Cloud VOC.
For any further questions, feel free to contact us through the chatbot.
Chatbot


