
Using Petal Charts to Display Order Data on Advanced Pages
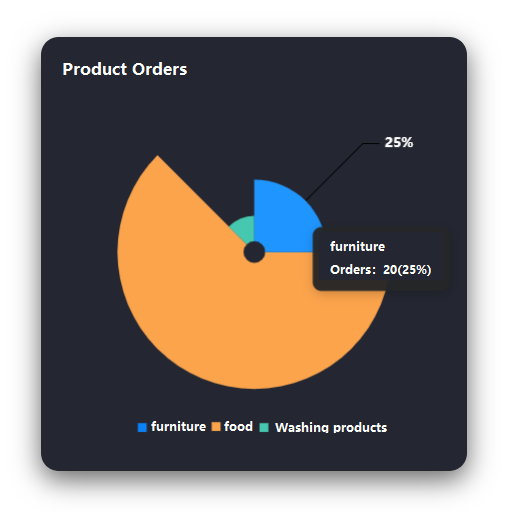
Expected Results
In addition to the static data preset in the system, widgets on an advanced page also display dynamic data, that is, data dynamically generated by calling APIs such as scripts, flows, and objects. For example, you can change the data in a rose pie chart to the data in the order object.
Implementation Methods
- Create a low-code application.
- Apply for a free trial or purchase a commercial instance by referring to Authorization of Users for Huawei Cloud Astro Zero Usage and Instance Purchases.
- After the instance is purchased, click Access Homepage on Homepage. The application development page is displayed.
- In the navigation pane, choose Applications. On the displayed page, click Low-Code or
 .
. When you create an application for the first time, create a namespace as prompted. Once it is created, you cannot change or delete it, so check the details carefully. Use your company or team's abbreviation for the namespace.
- In the displayed dialog box, choose Standard Applications and click Confirm.
- Enter a label and name of the application, and click the confirm button. The application designer is displayed. Figure 2 Creating a blank application

- In the navigation pane, choose Page, and click + next to Advanced Page.
- Click
 and drag the widget_demo_mintui widget from Chart > Pie to the canvas on the right. Figure 3 Dragging a rose pie chart
- Select the rose pie chart and view the data format of the widget in Data. Figure 4 Viewing the data format

- Create an object named productList and add fields and data to the object.
- In the navigation pane, choose Data, and click + next to Object.
- Set Object Name and Unique ID of the object to productList and click the confirm button. Figure 5 Creating the object productList

- Click
 to go to the object details page.
 - On the Fields tab, click Add and add the productName field to the object. Figure 6 Adding the productName field

- On the Fields tab, click Add again to add the productNumber field. Figure 7 Adding the productNumber field

- On the Data tab, click Add to add data to the object. Figure 8 Adding data to an object

- Create a script for reading object data.
- In the navigation pane, choose Logic and click + next to Script.
- Create a blank script named getDataInfo. Figure 9 Creating a script named getDataInfo

- In the script editor, enter the following code:
// Here's your code. import * as db from 'db'; @useObject (['Namespace __productList__CST']) @action.object({ type: 'method' }) export class SearchScript { @action.method({ input: 'ParamsInput', output: 'ParamsOutput' }) public run(): Object[] { let queryData = this.doSearchScript(); let result: Array<Object> = []; result.push({ dataValue: [{ name: "Orders", value: queryData }] }); console.log("result", result) return result; } private doSearchScript(): Object[] { let sql = "select Namespace__productName__CST as name, Namespace__productNumber__CST as value" + " from Namespace__productList__CST" let query = db.sql().exec(sql) return query; } } - Click
 to save the script. After the script is saved, click
  to activate the script.
- Create an open API.
- In the navigation pane, select Integrations.
- Click + next to the Open API and set open API parameters. Figure 10 Setting open API parameters

Table 3 Parameters for creating an API Parameter
Description
Example
Operation Name
Name of the operation for creating an API. Naming rules:
- Value: 1–40 characters.
- Start with a letter and use only letters, digits, and an underscore (_). Do not end with an underscore (_).
showDataInfo
Version
Version number of the new URL.
1.0.0
URL
New URL. In the URL, /service is a fixed value, and is followed by /App name/Version. The rest can be customized.
/showDataInfo
Type
Type of the new API.
Script
Resource
Select the script called by the API.
Select the script created in 6.
Method
Name of the method called after mapping.
POST
- After the settings are complete, click Save. The API details page is displayed.
- In the API Information area, click
 next to URL to copy the URL. Figure 11 Copying a URL
- Return to the advanced page, select Rose Pie Chart, and set the data bridge under the Data tab. Select Pie Chart Data Bridge for Bridge Instance, select Dynamic Data for Data Type, and set URL to the URL obtained in 7.d.Figure 12 Configuring widget data

- Right-click the rose pie chart widget and choose Setting from the shortcut menu to set the widget title and font size. Figure 13 Setting the widget title

- Click
 to save the advanced page settings. After the page settings are saved, click
  to release the page.
 - After the release is successful, click
 to preview.

Feedback
Was this page helpful?
Provide feedbackThank you very much for your feedback. We will continue working to improve the documentation.See the reply and handling status in My Cloud VOC.
For any further questions, feel free to contact us through the chatbot.
Chatbot


