
Deployment Using the IES
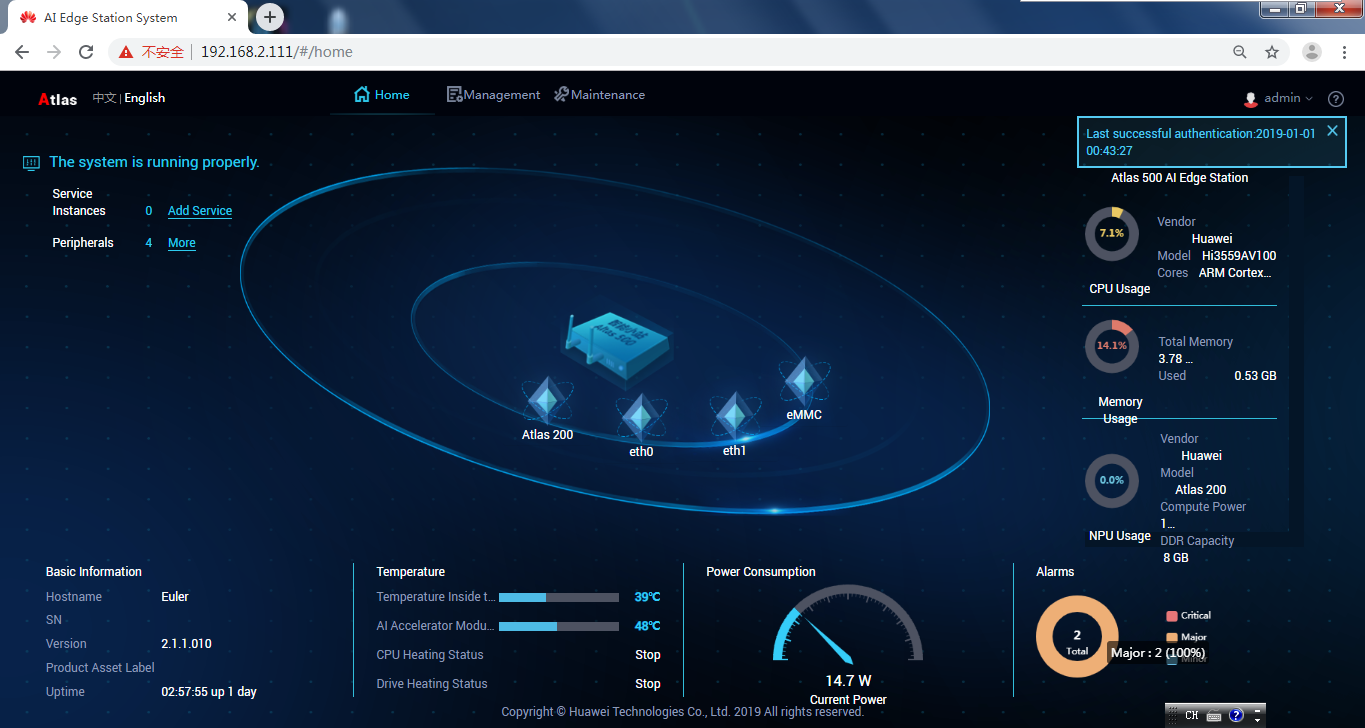
- Open the browser, enter https://Atlas 500 IES IP address in the address box and press Enter and enter the user name and password to log in to the Atlas 500 IES. The default user name is admin, and the default password is Huawei12#$. Figure 1 shows the home page.
- Choose . The page for service instance creation is displayed in the right pane.
- Enter basic information, such as the service instance name and its description.
- Set container information as follows:
- Container Image File: Click
 to upload a file (for example, myapp.tar exported in Creating an Image).

The file size (including the size after decompression) cannot exceed 512 MB. The file can be in the *.tar or *.tar.gz format.
- Click on the right of Additional Configuration File to upload a file and mount the file to the container directory.
An additional configuration file indicates the directory where the configuration and data files of a container service are located. Generally, an additional configuration file is used to store inference model files, images, and video data.
The file size cannot exceed 512 MB. The file can be in the *.tar or *.tar.gz format.
- Resource Restriction
- CPU: Select this option and enter the maximum CPU usage for a container.
- Memory: Select this option and enter the maximum memory capacity for a container.
- AI Compute Power: Select the option to allow the container to use AI compute power.
- Container Image File: Click
- Set environment variables, including the variable name and value.
- To delete an environment variable, click Delete in the Operations column.
- To add an environment variable, click
 .
.
- System environment variables can be configured in the container running environment and can be modified even after the service instance is deployed.
- The values of environment variables are displayed in plaintext. Do not enter sensitive information. If sensitive information is involved, encrypt it to prevent information leakage.
- Configure drive partitions.
- Click
 under Drive Partition Name and select a drive partition name to view the total capacity (GB) and available capacity (GB). Set the host mount point of the drive partition and container mount directory, and select the permission.
 - To delete the drive partition, click Delete in the Operations column.
- Click
 to mount the drive partition.
Set the local drive partition that is mounted to the container to implement persistent data file storage.
- Click
- Configure the container restart policy and container service network.
- The container restart policies include:
- Restart Upon Failure: The system restarts the container only if the container is exited abnormally.
- Not Restart: The system does not restart the container regardless of whether the container is exited normally or abnormally.
- Always Restart: The system restarts the container regardless of whether the container is exited normally or abnormally.
- The available container service network configurations include:
- Host network: Configure the container to directly use the host network.
- Port mapping: Map host ports to container ports.
- To delete a port mapping, click Delete in the Operations column.
- To add a port mapping, click
 .
.
- The container restart policies include:
- Check the configuration and click OK to start the deployment. After the deployment is complete, the new service is displayed in the list.

- The deployment requires a long time. Do not close the page before the deployment result is displayed. Otherwise, the deployment will fail.
Feedback
Was this page helpful?
Provide feedbackThank you very much for your feedback. We will continue working to improve the documentation.See the reply and handling status in My Cloud VOC.
For any further questions, feel free to contact us through the chatbot.
Chatbot


