
Help Center/ Huawei Cloud Astro Zero/ User Guide (No-Code)/ Creating a No-Code Application/ Creating No-Code Applications on Mobile Devices
Updated on 2025-08-21 GMT+08:00
Creating No-Code Applications on Mobile Devices
Drag and drop to create an application from scratch.
- Log in to the no-code workbench by referring to Logging In to the No-Code Workbench.
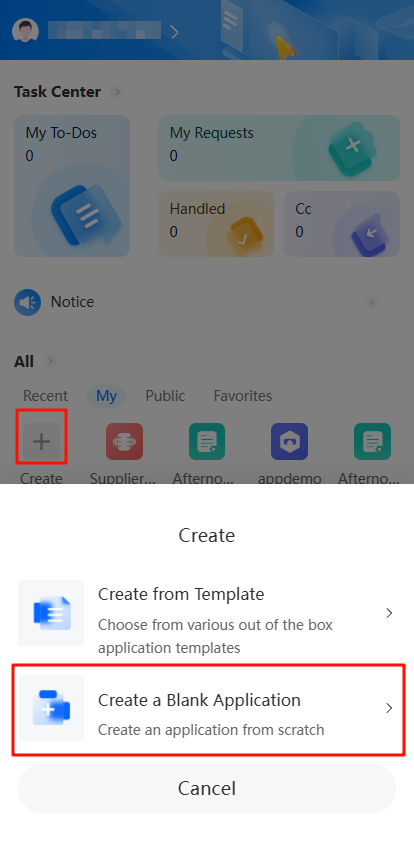
- In the applications area, tap the button to create a blank application. Figure 1 Creating a blank application
- On the displayed page, enter an application name and tap the save and edit button.
- On the navigation settings tab page, tap the button to create a form.
A form is made up of widgets such as text boxes, option buttons, and drop-down lists. It collects user data. You can create multiple forms in an application. Each form is for a data type.
Forms on the no-code workbench gather data for surveys, meeting room bookings, expense claims, meal orders, health check-ins, polls, and other use cases.Figure 2 Creating a form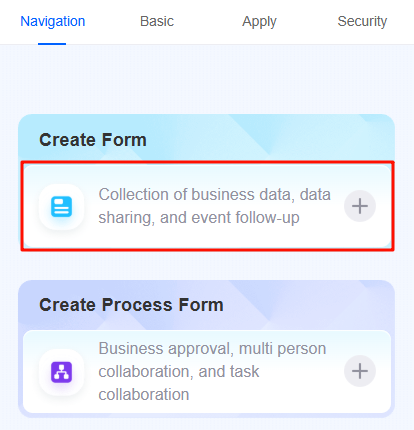
- Enter a form name and tap the create button. The page for editing the form is displayed, as shown in Figure 3.
- On the form editing page, tap the button to add fields and customize the form based.
Every form widget works the same as on a PC. For details, see Setting Form Widget Properties. After a widget is added, click
 next to a field to edit, clone, sort, or delete the field.Figure 4 Managing fields
- Tap the save button.


- Log in to the no-code workbench by referring to Logging In to the No-Code Workbench.
- In the all applications area, tap the create button and choose to create an application from a template. Figure 7 Creating an application from a template

- On the displayed page, enter an application name and tap the save and edit button.
- In the template center, tap Install on the required template. Once installed, you can access the template.Figure 8 Installing a template

- (Optional) Edit an application based on an existing template.
- Tap
 in the lower right corner of the application page. Figure 9 Application details page
- On the displayed page, tap
 and tap the edit button. Figure 10 Tapping the edit button
- In the navigation pane, tap
 next to the target form and tap the edit button. Figure 11 Tapping the edit button
- On the form editing page, make your changes and tap the save button.
- Tap
- Share the form.
- In the lower right corner of the application page, tap
 and select the corresponding form. The form filling page is displayed. Figure 12 Selecting a form
- Tap the share icon and share the form to internal users. Figure 13 Tapping the share icon

- Choose how to share: send a link or a QR code to internal users. Figure 14 Selecting a sharing mode

- In the lower right corner of the application page, tap
Feedback
Was this page helpful?
Provide feedbackThank you very much for your feedback. We will continue working to improve the documentation.See the reply and handling status in My Cloud VOC.
The system is busy. Please try again later.
For any further questions, feel free to contact us through the chatbot.
Chatbot


