Purchasing and Using an Image
KooGallery images can be deployed in quick or customized provisioning mode. The purchase and usage modes vary depending on the deployment mode.
Log in to KooGallery homepage using your Huawei Cloud account and search for the image product you want. Click the product to go to the details page, view the product information, select the desired specification, and click Continue to Submit. On the displayed page, purchase the product based on either of the following provisioning modes.

Quick Provisioning
- Click Buy.
- On the displayed page, perform the following operations:
- Confirm the selected ECS instance.
- Select a network and security group.

You can select a security group recommended by the seller from the drop-down list or click Create Security Group to create one.
- Set a login credential, that is, the ECS login password.

- Read and agree to the agreements.


- You can view the fees of the cloud resources and image at the bottom of the page.
- If you select yearly or monthly billing, fees will be automatically deducted when the resources are created.
- Click Quickly Enable to deploy the image. The ECS console is displayed. You can view the created ECS.

Customized Provisioning
- On the displayed page, click Customize Config.
- On the Buy ECS page, select a billing mode, confirm the selected specification and image, and click Next.


- On the Configure Network page, select a network, security group, and Elastic IP (EIP), and click Next.

- On the Configure Advanced Settings page, set the ECS name and password, and click Next.

- On the Confirm page, confirm the configuration, set the required duration and quantity, read and agree to the agreements, and click Submit.

- On the displayed page, select a payment method and click Pay Now.
Template-based Provisioning
- Read and agree to related agreements and click Enable via Template.

- On the deployment page, configure resource information.
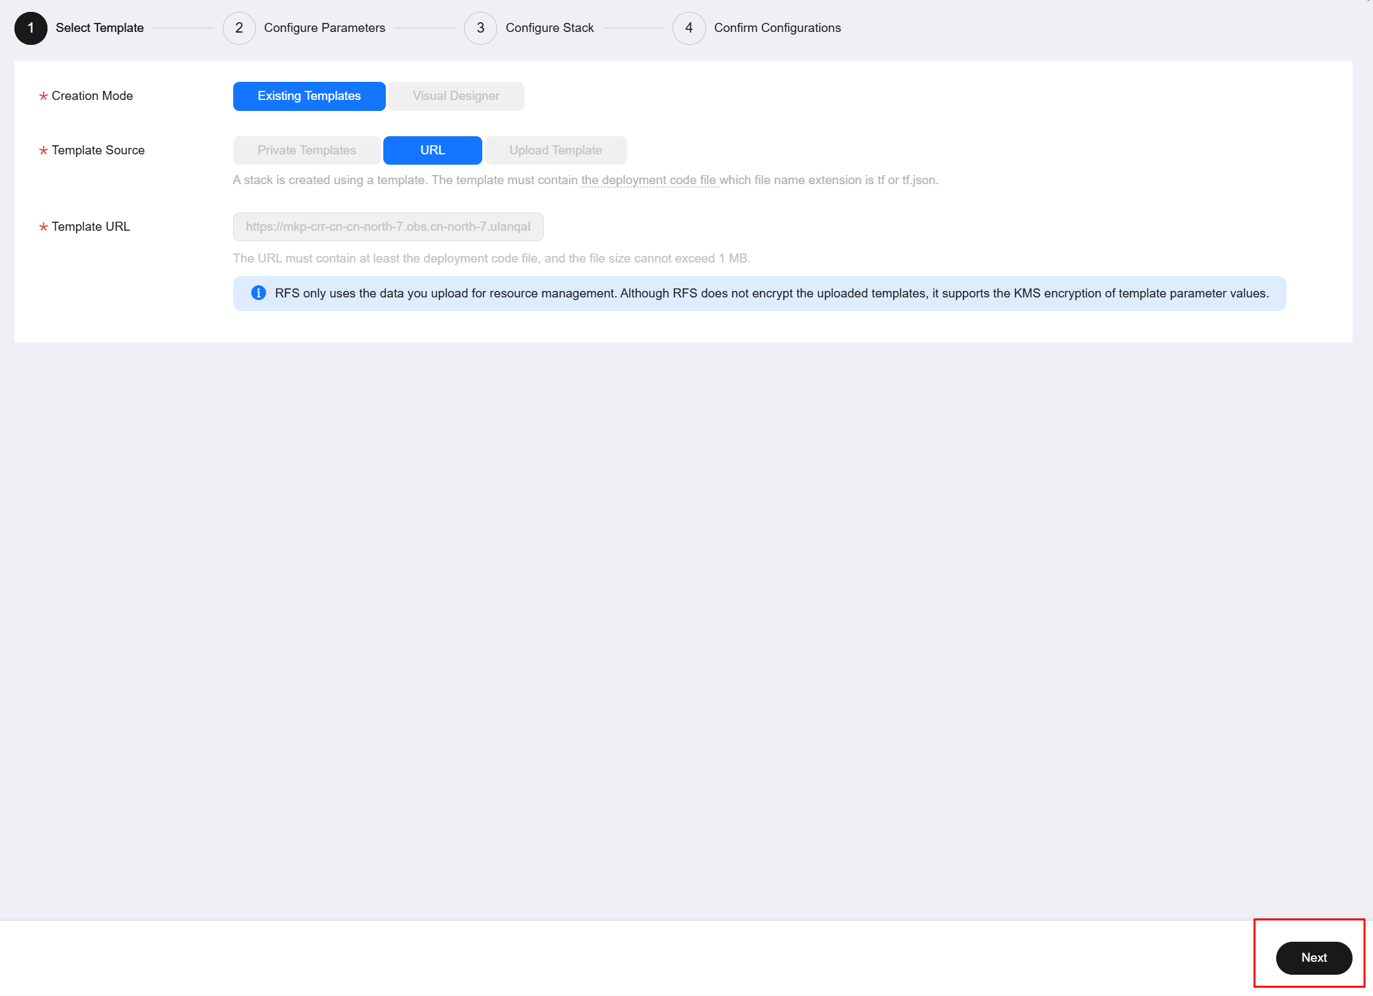
- Confirm the template information and click Next.
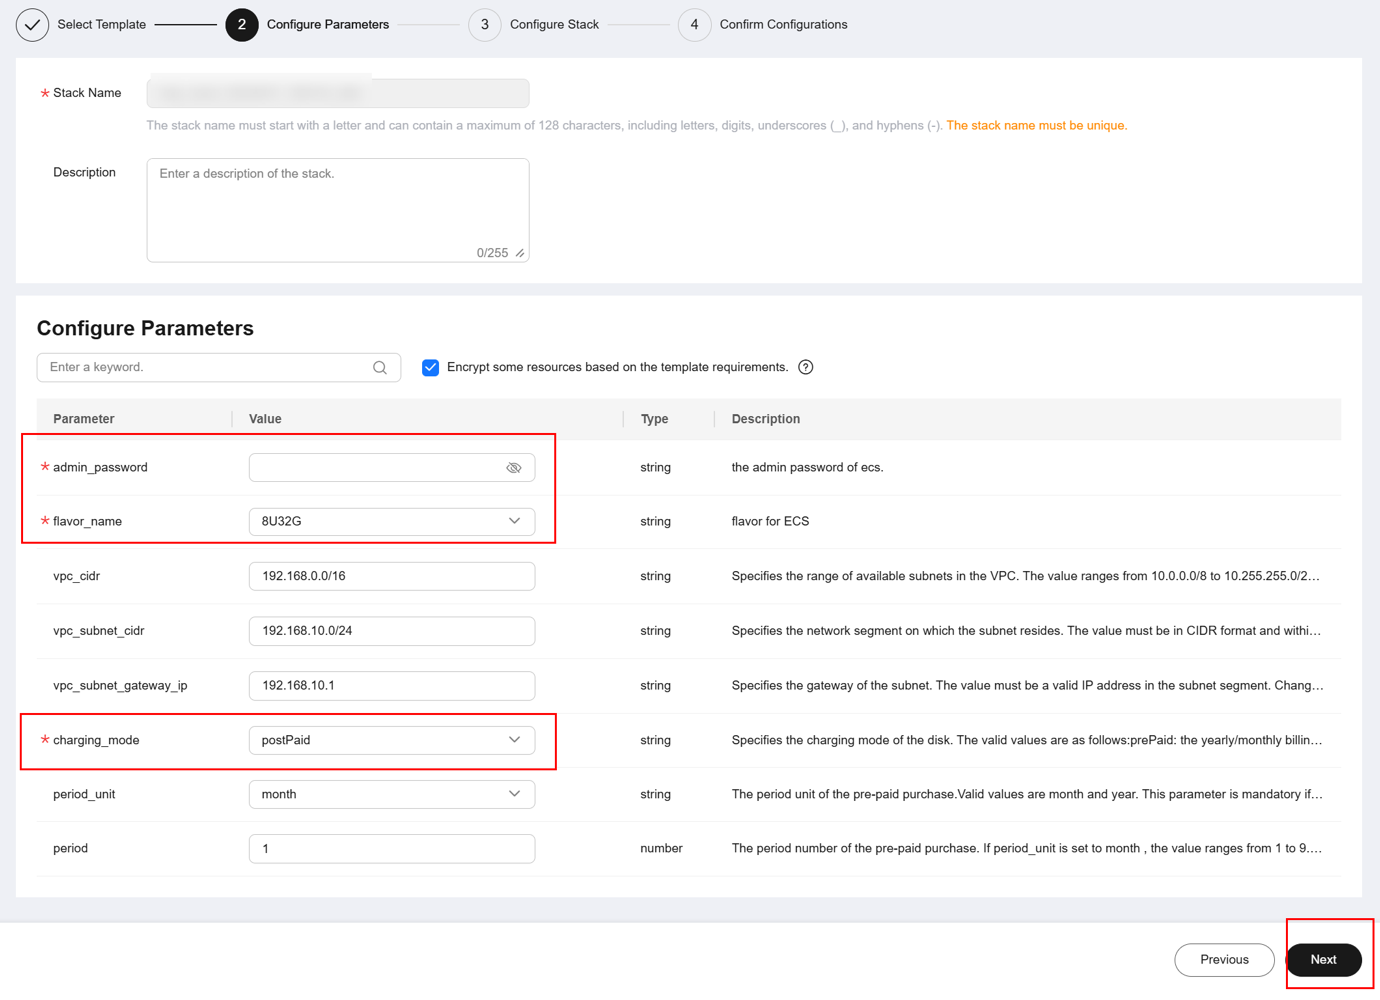
- Set cloud service passwords and modify settings as required. After the configuration is complete, click Next. A dialog box is displayed, asking you to enable encryption. Click OK.
- On the Configure Stack page, configure an IAM agency and click Next.


You can skip agency configuration and click Next to deploy resources using your account permissions.
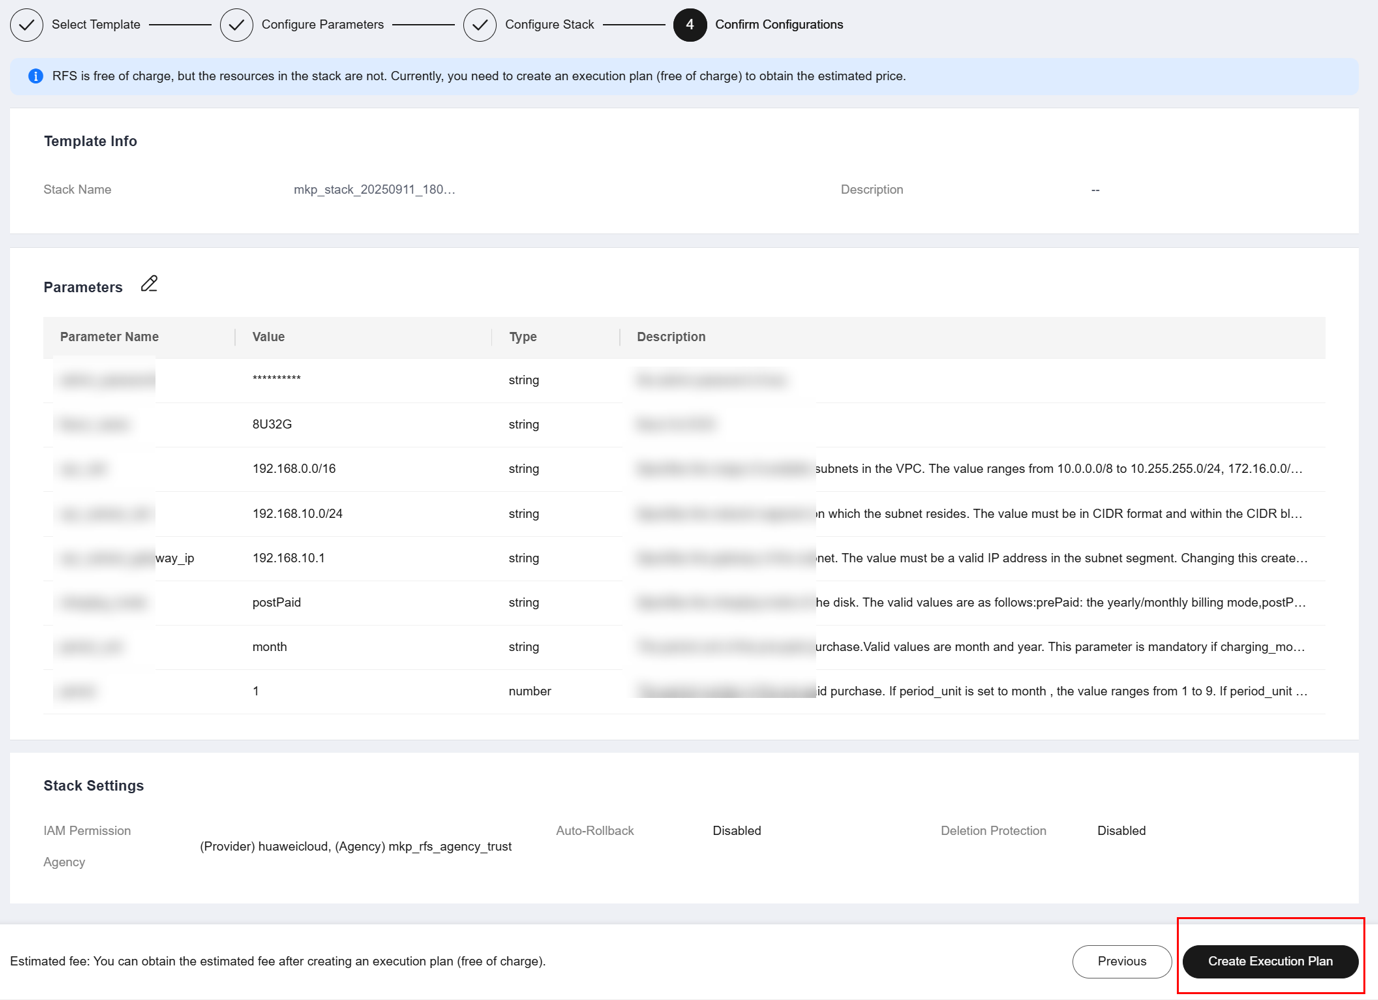
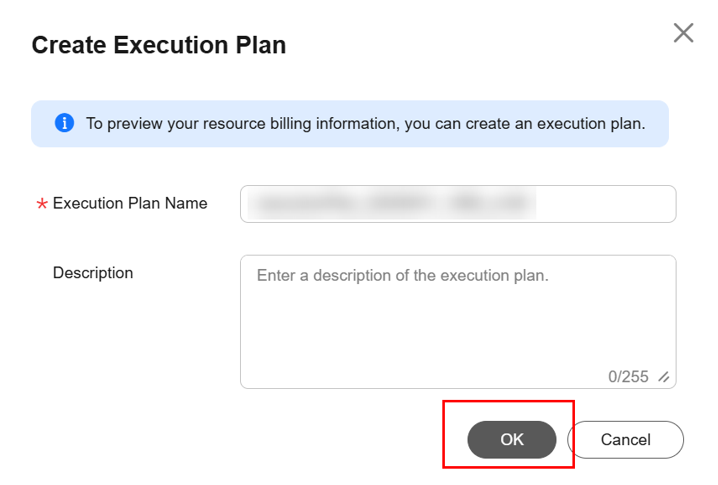
- On the Confirm Configurations page, check the configured parameters. If the parameters are correct, click Create Execution Plan. In the displayed dialog box, click OK.
- Confirm the template information and click Next.
- On the Execution Plans tab, ensure that the account balance is sufficient and click Deploy.


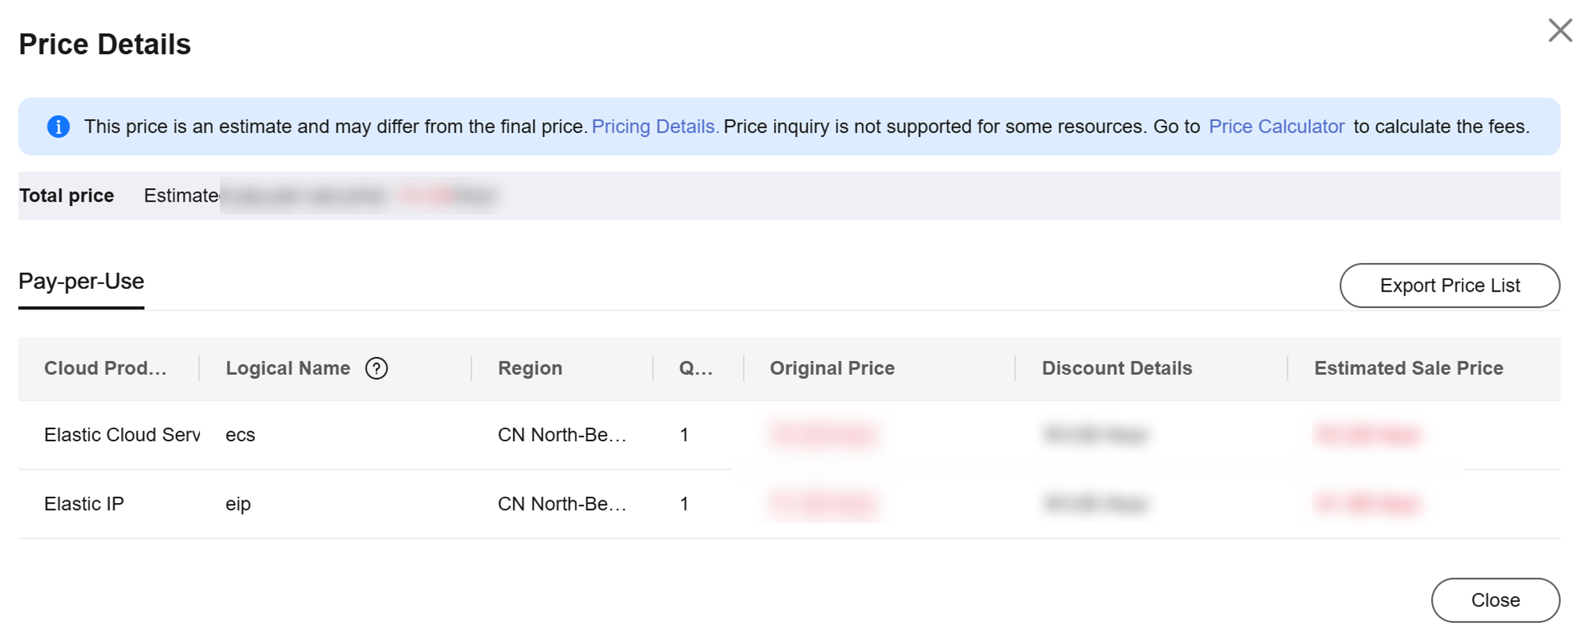
Click View Details under Estimated Price to check resource fee details. For yearly/monthly resources, the system deducts fees after they are created. (Ensure that your account balance is sufficient. Otherwise, resource creation will fail.)

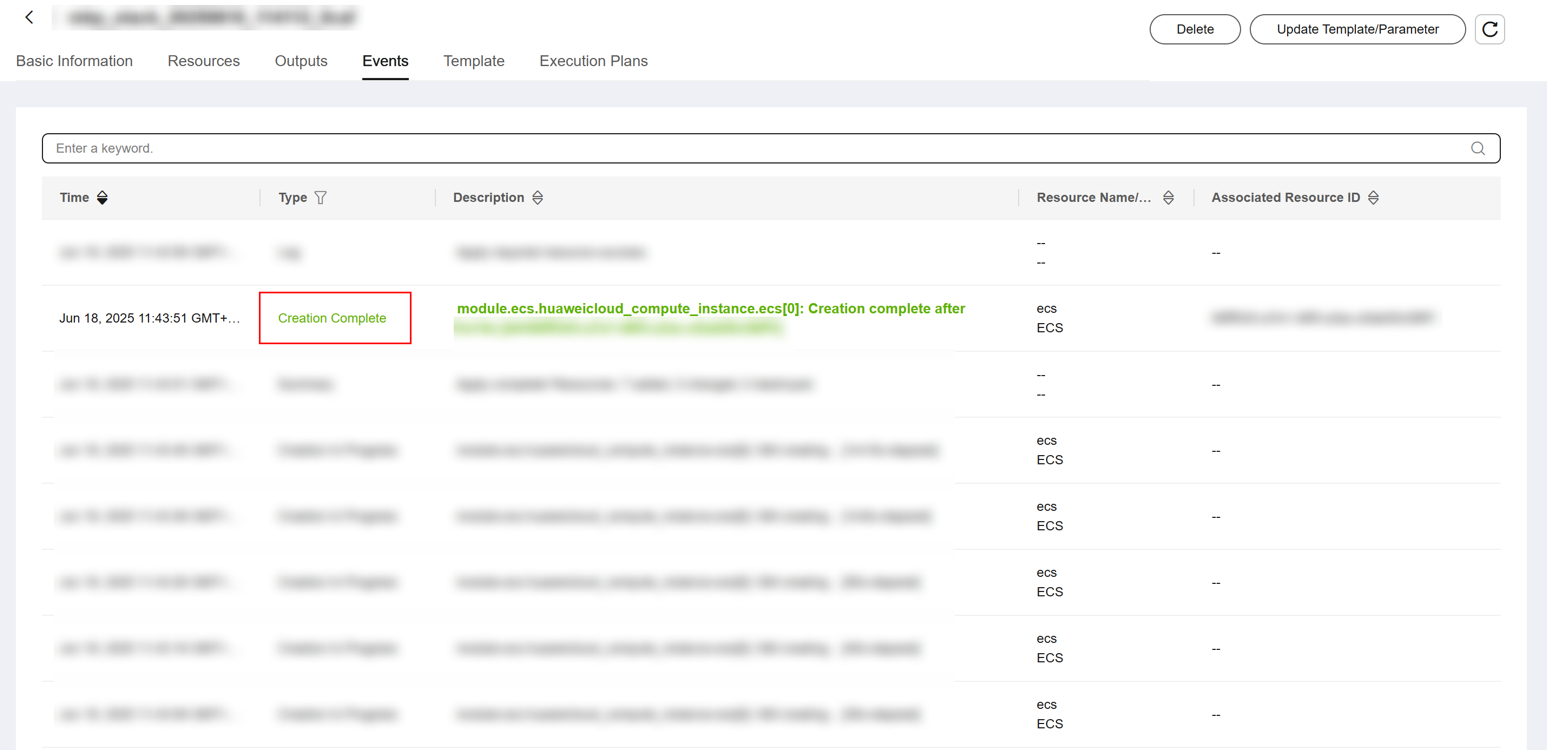
- After the deployment is successful, check the Events and Resources tabs. If the software package is used for website development, a website address is generated.
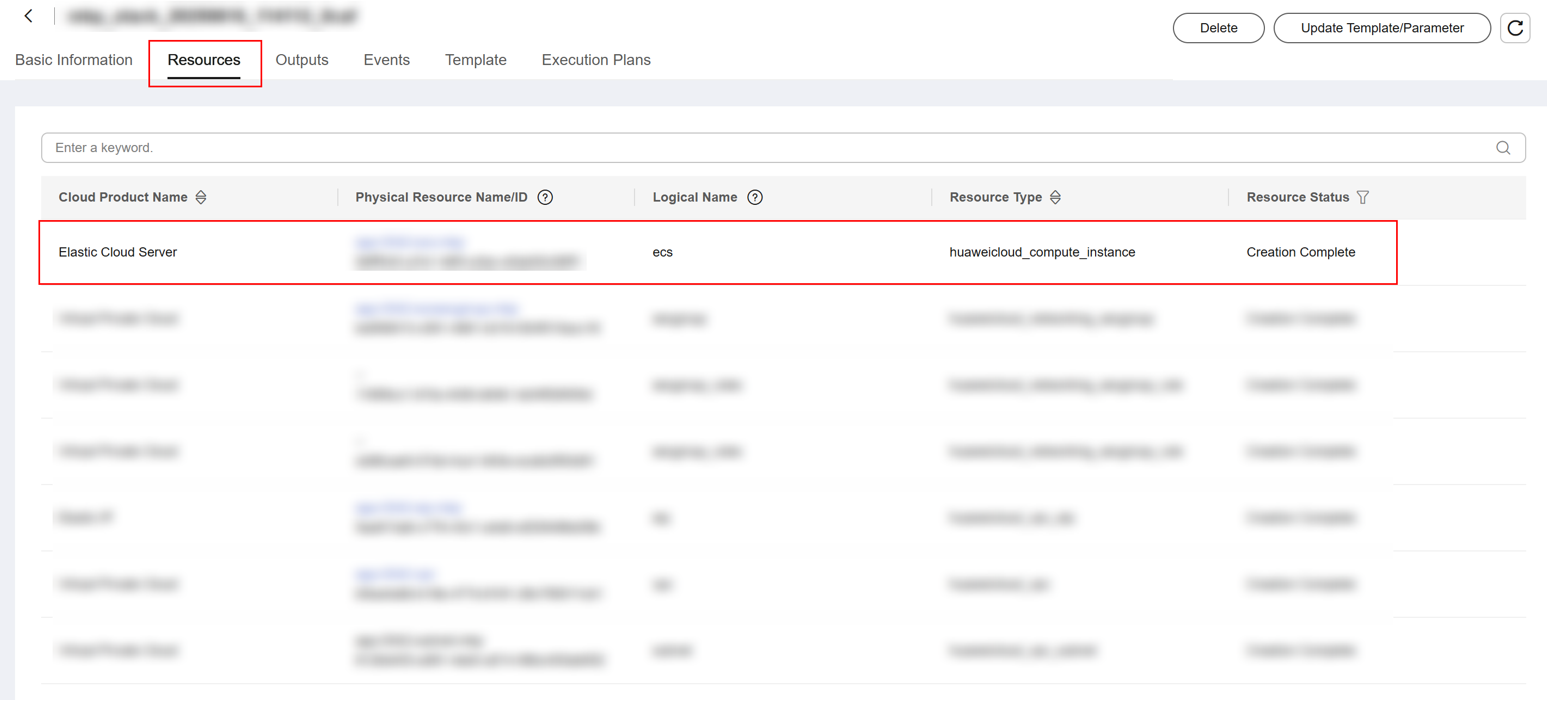

- After the deployment is successful, if the server no longer needs to access the Internet, you can disable the bound EIP on the resource service console.
- If the deployment fails, contact the seller.
- After the deployment is successful, use the product according to the user guide provided by the seller.
- Use the product according to the user guide provided by the seller.
Feedback
Was this page helpful?
Provide feedbackThank you very much for your feedback. We will continue working to improve the documentation.See the reply and handling status in My Cloud VOC.
For any further questions, feel free to contact us through the chatbot.
Chatbot


