
Setting the Properties of an Approval Node

Basic Settings

| Parameter | Description |
|---|---|
| Approver | You can set an approver for the approval node. By default, the process initiator is the approver. You can click Add to choose a user or dynamic approver (like the process initiator or a reference field in a form) as the approver. If you select CC Approval Result, the outcome (approved or rejected) will be sent to CC recipients. |
| Approval Method (Multi-Approver) | If multiple approvers are selected, set the approval method.
|
| Title | Title of the approval page. |
| Action | The buttons displayed on the page when the approval is approved or rejected. You can set the button names. After the temporary storage function is enabled, you can click Save Draft to store your form data temporarily. |
Permissions
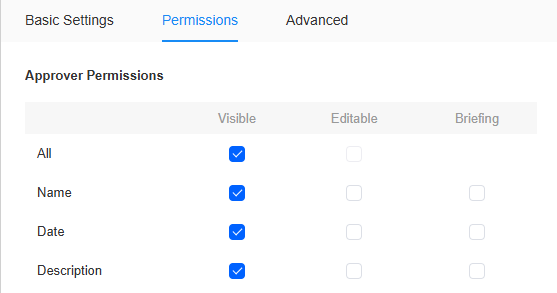
| Parameter | Description |
|---|---|
| Visible | Whether the current field is visible to the approver. If certain form fields should be hidden from the approver, set them to invisible. |
| Editable | Whether the approver can edit the form fields. |
| Briefing | Whether to display fields in the form as the abstract. |
Advanced Settings

Feedback
Was this page helpful?
Provide feedbackThank you very much for your feedback. We will continue working to improve the documentation.See the reply and handling status in My Cloud VOC.
For any further questions, feel free to contact us through the chatbot.
Chatbot


