Creating a Custom Repository
Constraints
Before creating a custom repository, check the prerequisites.
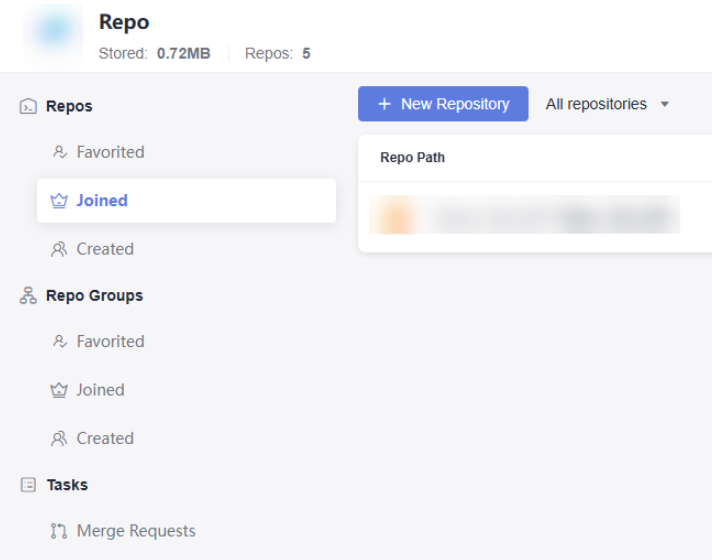
- Enter the CodeArts Repo homepage as shown in the figure. Click New Repository, and select an existing project from the Project drop-down list box or create a project.

- Set Repository Type to Common, click Next, and set parameters according to table.
Table 1 Parameters for creating a repo Parameter
Description
Path
Optional. Target repo group path of the new repo. You can select a repo group path from the drop-down list.
Repository Name
Mandatory. Start with a letter, digit, or underscore (_). You can use letters, digits, hyphens (-), underscores (_), and periods (.). Do not end with .git, .atom, or periods (.).
Description
Optional. The value contains a maximum of 2,000 characters.
.gitignore Programming Language
Optional. It is recommended that you fill in this parameter and select the programming language for your code repository from the drop-down list. This can effectively prevent unnecessary files from being tracked, thus keeping your repo clean and maintainable.
Initial Settings
Optional. The options are as follows:
- Generate README. It is recommended that you select this option. After the file is generated, you can edit the README file to include information such as the project's architecture and compilation purpose, which will help others quickly understand the repo.
- Automatically create Check task (free of charge) You must have the CodeArts Check permissions. Otherwise, the configuration cannot take effect.
It is recommended that you select this option. After a code repository is created, you can view the check task of the repo in the CodeArts Check task list.
Visibility
Optional. You can select either of the following options as needed:
- Private: Only repository members can access and commit code.
- Public: The value can be For project members, For tenant members, or For all guests.
Repos can be set to Private or Public. Go to the details page of a code repo, choose Settings > General Settings > Repository Information, and modify the visibility for the repo.
For project members: Project members can view and search for repositories in the repository list of a project and repository group.
For tenant members: Tenant members can view and search for repositories in the repository list of a project and repository group.
For all visitors: All visitors can view and search for repositories in the repository list of a project and repository group.
Open-Source License
This parameter is mandatory when Visibility is set to Public. Select an existing license from the drop-down list.
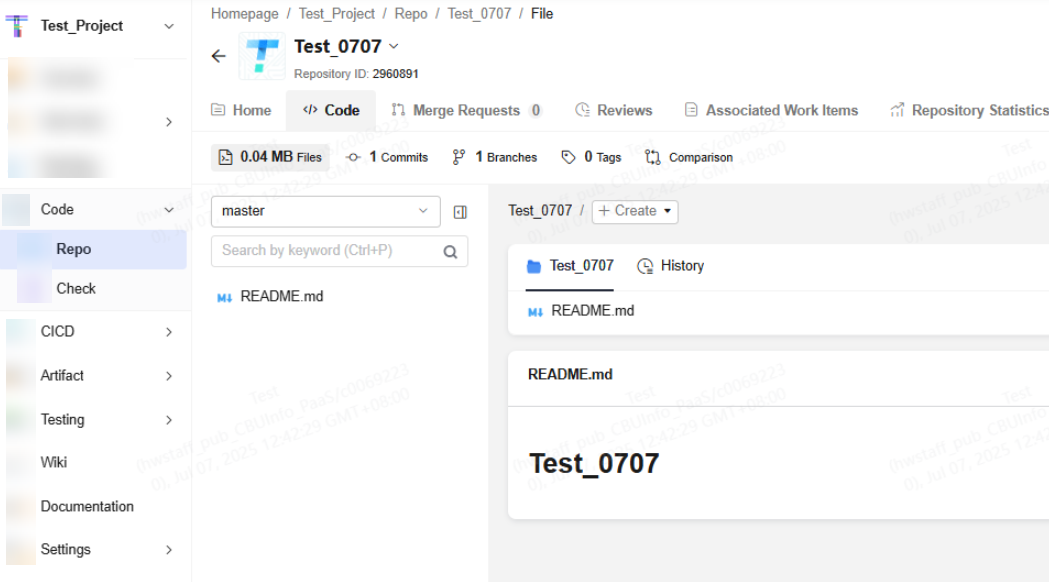
- Click OK. The Code page of the new repository is displayed. As shown in the following figure, the repository Test_0707 is successfully created.
Figure 1 Repository Test_0707

Feedback
Was this page helpful?
Provide feedbackThank you very much for your feedback. We will continue working to improve the documentation.See the reply and handling status in My Cloud VOC.
For any further questions, feel free to contact us through the chatbot.
Chatbot


