
Namespace Management
Scenarios
A namespace is used to group container images into a category instead of storing them. A namespace is usually created for a project or department of an enterprise.

After a repository is created, a public namespace library will be automatically created for it.
Creating a Namespace
- Log in to the SWR Enterprise Edition console and switch to the target region in the upper left corner of the page. On the displayed page, click the name of the target repository.
- In the navigation pane, choose Namespaces.
- In the upper right corner, click Create Namespace.
- Enter a namespace name and select a namespace type.
Figure 1 Creating a namespace
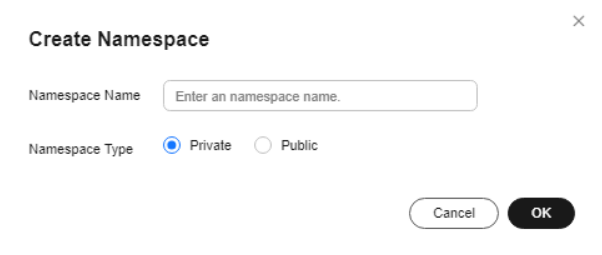
- Public: Any user can pull artifacts from the namespace after login. If other operations on the artifacts are required, authorize users on the IAM console.
- Private: Only users authorized on the IAM console can perform operations on artifacts in the namespace.
- Click OK.
After a namespace is created, you can check its details in the list or card view. Click
 or
or  in the upper right corner to switch the view.
Deleting a Namespace
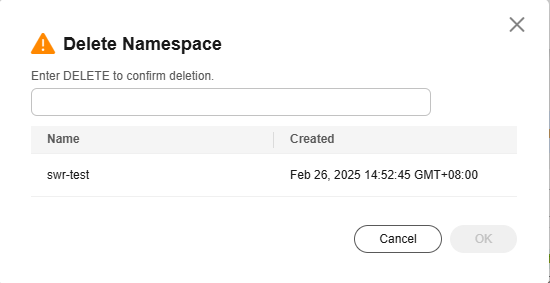
- List view: Select a namespace and click Delete in the Operation column. In the displayed dialog box, enter DELETE and click OK.
- Card view: Select a namespace and click
 . In the displayed dialog box, enter DELETE and click OK.
To avoid deleting important data by mistake, namespaces containing container images cannot be deleted. You need to delete the images first before deleting the namespaces.
Feedback
Was this page helpful?
Provide feedbackThank you very much for your feedback. We will continue working to improve the documentation.See the reply and handling status in My Cloud VOC.
For any further questions, feel free to contact us through the chatbot.
Chatbot


