Managing a Mind Map
Constraints
A maximum of 20 MB mind map files can be imported. A maximum of 100 mind maps in a compressed package can be imported.
Basic Operations on Mind Map
In addition to editing nodes, you can perform the following operations.
|
Operation |
Description |
|---|---|
|
Rename |
Click |
|
Delete a mind map |
In the upper right corner of the mind map page, click The deleted mind map is moved to the recycle bin. |
|
Manage the recycle bin (on mind map) |
Click For mind maps in the recycle bin, you can perform the following operations:
|
|
Recycle bin (on the Testing Design page) |
In the lower left corner of the Testing Design page, click Recycle Bin. In the displayed dialog box, see the list of deleted mind maps. For mind maps in the recycle bin, you can perform the following operations:
|
|
Import |
Click
NOTE:
|
|
Export |
Click |
|
Backup |
Click |
|
Restore |
Click
NOTE:
|
|
Undo |
Click |
|
Redo |
Click |
|
Expand all |
Select a node with |
|
Collapse all |
Select a node with |
Collecting Node Statistics
On the left of the mind map page, the statistics of each type of node are displayed, including the total number of scenarios, test points, cases, and reviews.
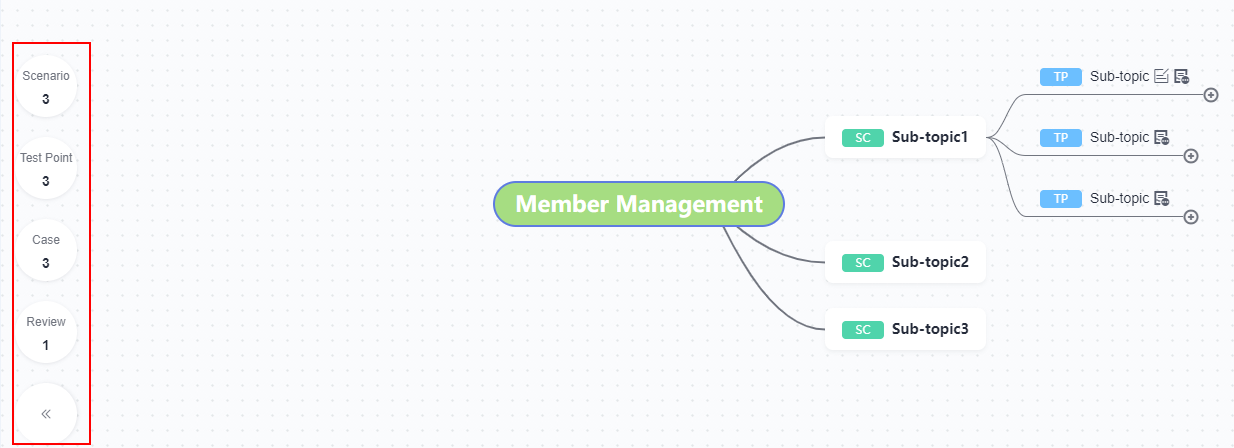
Click any statistical value. A drawer expands from the right, showing the node details.
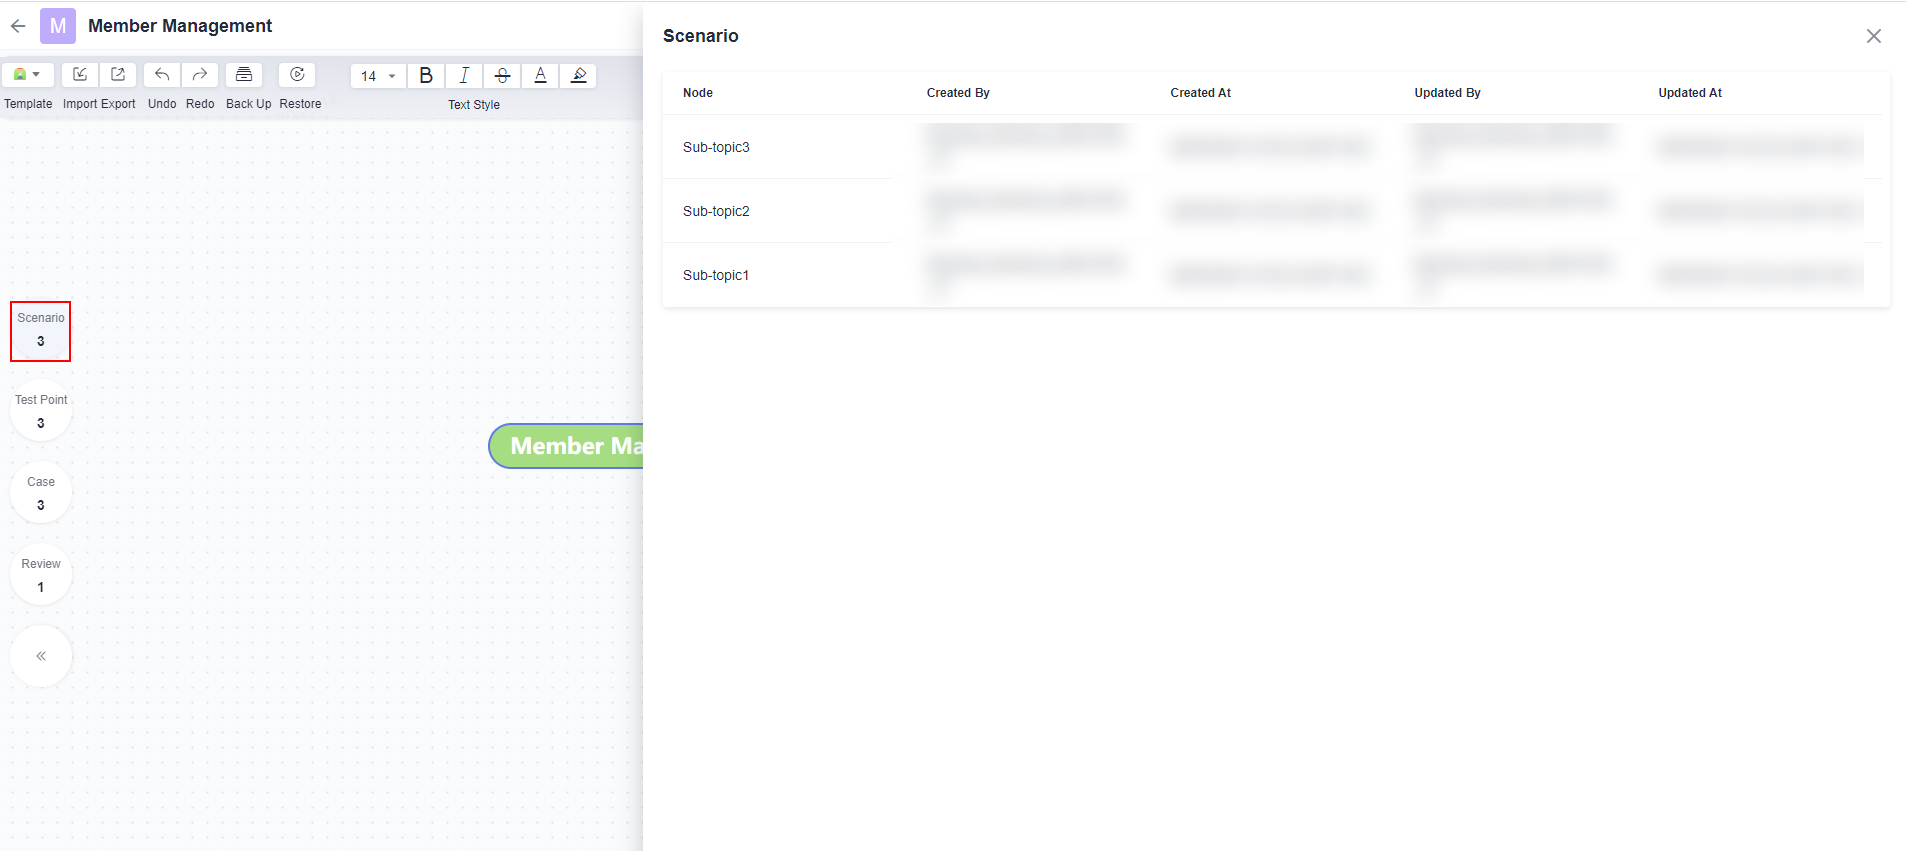
Click any node name in the list to locate the corresponding node in the mind map and view the node details.
Managing a Mind Map Template
Saving a Mind Map as Template
A mind map can be saved as a template.
- Access a mind map and edit the mind map as required.
- Click Template on the toolbar of the mind map and choose Save As.
- In displayed the dialog box, enter a name and click Confirm.
- Click
 in the upper left corner to return to the test design list. Click Templates in the upper left corner of the page, and click the Custom Templates tab. The saved template is displayed in the dialog box.
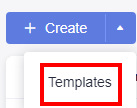
Editing a Template
Members can edit the templates saved by themselves.
- Go to the Testing Design page and click Templates in the upper left corner of the page.
- Click the Custom Templates tab. In the displayed dialog box, select a template and click
 .
.
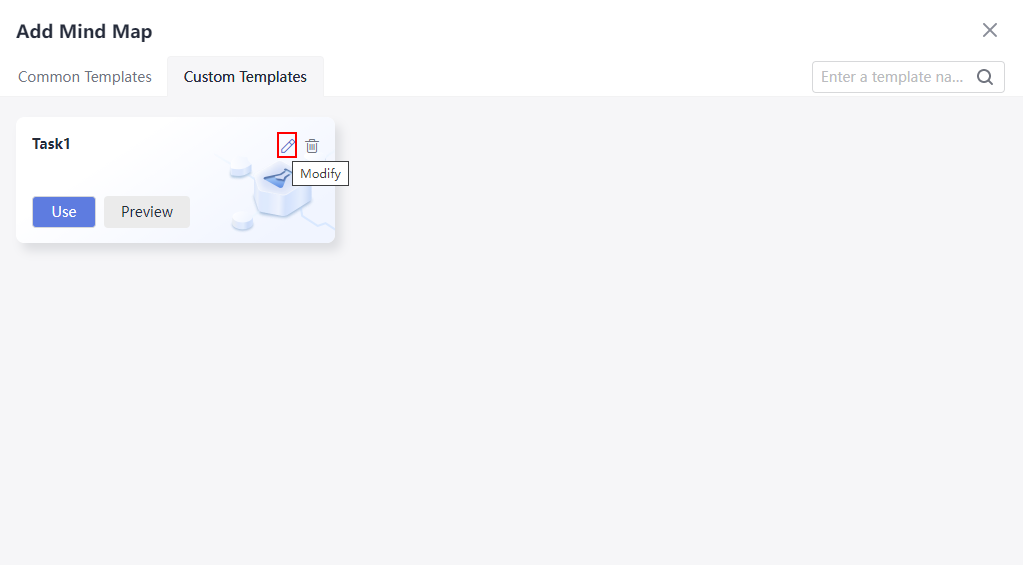
- Edit the template as required. After the editing is complete, click
 in the upper left corner of the page.
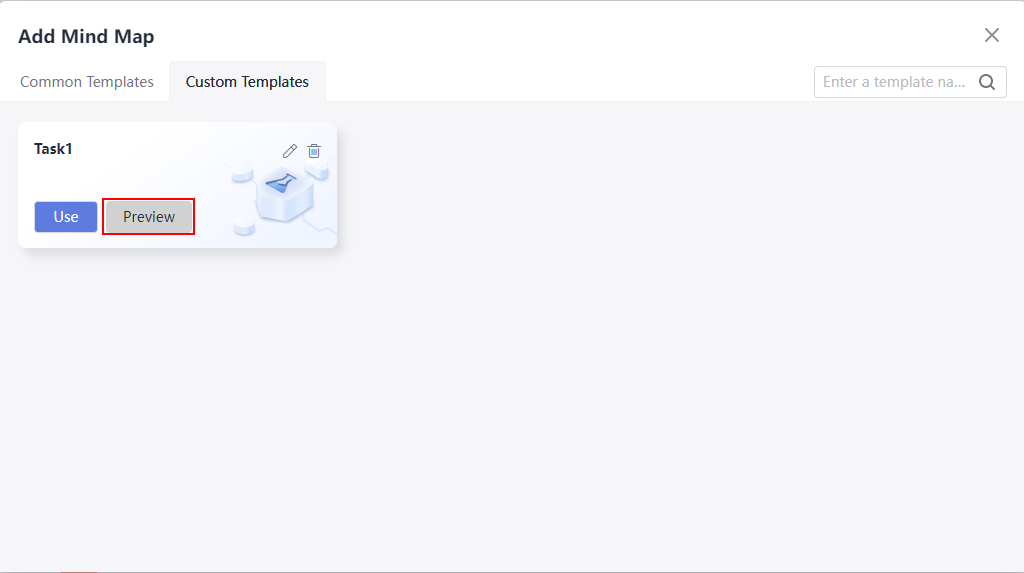
 - Click Templates in the upper left corner of the page. Click the Custom Templates tab. In the displayed dialog box, locate the edited template and click Preview to view the modified template details.
Searching for Nodes
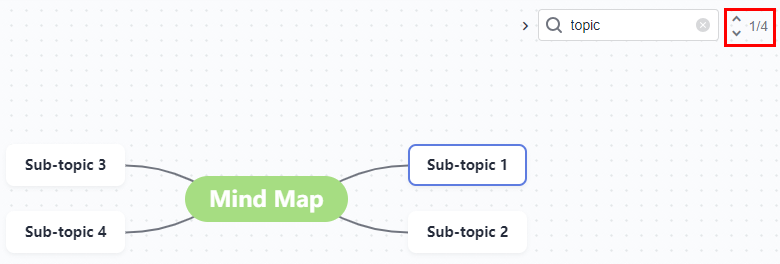
In the upper right corner of a mind map, enter a keyword in the search box and click  to find the node containing the keyword. The found node is marked in a blue box.
On the right of the search box, you can see the number of matched items and the sequence number of the matched item of the current node. You can click the up or down arrow to shift to other matching items.
Renaming a Node
- Enter a mind map. In the upper right corner of the map, click
 on the left of the search box.
 - In the search box, enter a node name.
- In the text box below the search box, enter a new name.
- Click
 to replace the name of a node with the new name. The next node to be renamed is marked in a blue box. After all nodes are renamed, a message is displayed indicating that all the nodes have been renamed.
Click
 to rename nodes in batches. A progress dialog box is displayed on the page.
Adjusting Layout
By default, the mind map is in the center view. That is, the root node is in the center, and subnodes are distributed on both sides of the root node.

Click the toolbar in the lower right corner of the mind map to adjust the layout of the mind map.
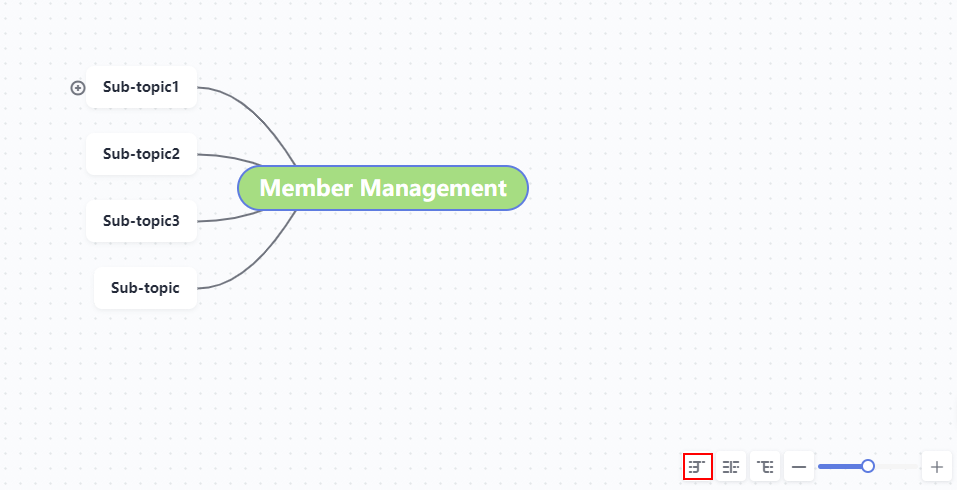
- Click
 to adjust the subnodes to the left of the root node.
- Click
 to adjust the subnodes to the right of the root node.
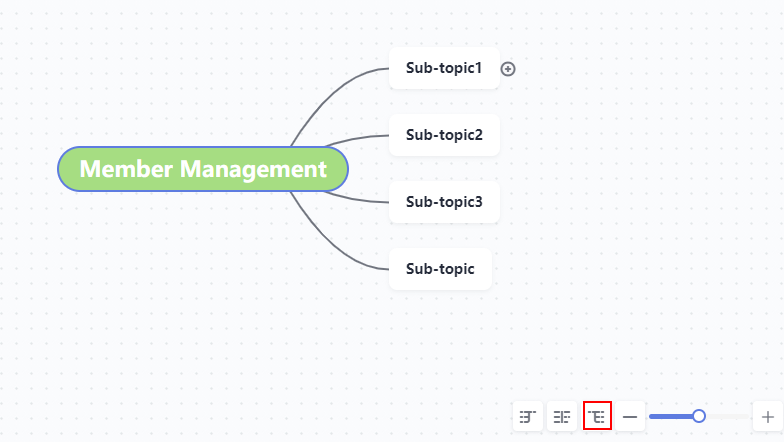
- Click
 to adjust the view to the default center view.
 - Click
 or
or  to zoom out or zoom in the mind map.
Shortcut Keys
You can use the following shortcut keys to edit the mind map during test design.
|
Operation |
Shortcut Key |
|---|---|
|
Align Center |
End |
|
Move View |
W/A/S/D |
|
Expand/Hide |
F |
|
Zoom In/Out |
+/- |
|
Edit Node |
F2 or Space |
|
Add Line Break |
Alt+L/Shift+Enter/Ctrl+Enter |
|
Copy |
Ctrl+C |
|
Paste |
Ctrl+V |
|
Cut |
Ctrl+X |
|
Undo |
Ctrl+Z |
|
Redo |
Ctrl+Y |
|
Add Sibling |
Enter |
|
Adding Child |
Ins or Tab |
|
Remove Node |
Del |
|
Select Root Node |
Ctrl+Home or Home |
|
Select Parent Node |
Backspace |
|
Move Selected Node |
↑/←/↓/→ |
|
Move Node |
Ctrl+↑/←/↓/→ |
|
Add Scenario |
Alt+C |
|
Add Test Node |
Alt+P |
|
Add Prerequisite |
Alt+O |
|
Add Step |
Alt+T |
|
Add Expected Result |
Alt+X |
|
Add Action Factor |
Alt+Shift+A |
|
Add Data Factor |
Alt+Shift+D |
|
Add Case Level |
Ctrl+0 / 1 / 2 / 3 / 4 |
|
Find/Replace |
Ctrl+F |
|
Add Image |
Ctrl+I |
|
Add File |
Ctrl+D |
|
Set Tag |
F3 |
|
View Shortcut Keys |
Ctrl+Shift+L |
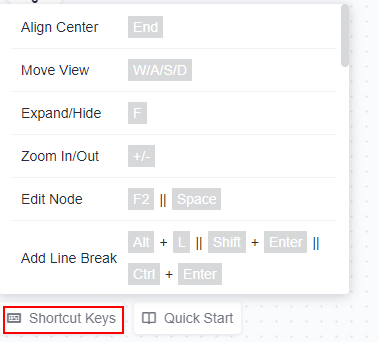
Click Shortcut Keys in the lower left corner of the mind map to view the shortcut key list.
Copying a Mind Map in a Project or to Other Projects
Copy and paste a mind map within the same project or to other projects.
- Go to the Testing Design page.
- Locate the row of the mind map to be copied, click
 in the Operation column, and click Copy.
To copy multiple mind maps, select them and click Batch Copy in the tool bar below the list. Up to 10 mind maps can be copied each time.
- In the mind map list page of the current project or other project, click
 in the upper right corner of the list.
Changing Mind Map Creator
- Go to the Testing Design page.
- Locate the target mind map and click
 in the Operation column.
 - Click Change Permission.
- In the displayed dialog box, click the drop-down list and select the project member to whom you want to transfer the mind map permissions.
- Click OK.
Feedback
Was this page helpful?
Provide feedbackThank you very much for your feedback. We will continue working to improve the documentation.See the reply and handling status in My Cloud VOC.
For any further questions, feel free to contact us through the chatbot.
Chatbot


