Changing Replica Set Instance Nodes
Scenarios
DDS allows you to add nodes to and delete nodes from a replica set instance.
DDS allows you to scale out a three-node replica set instance to up to five or even seven nodes. All newly added nodes are secondary nodes and support primary/secondary switchovers, improving data reliability. You can also delete unnecessary nodes to release resources.
Precautions
- To add nodes, instance status must be Available, Deleting backup, or Checking restoration.
- An instance cannot be deleted when nodes are being added.
- If there are any newly added secondary nodes, they will be unable to participate in this switchover. When you add a new secondary node, the HA connection address needs to be reconfigured, and the new node is frozen for 12 hours.
- When instance nodes are being added, the DB instance may be intermittently disconnected once or twice for up to 30s each time.
- Deleted nodes cannot be recovered. Exercise caution when performing this operation.
- If you enable operation protection, two-factor authentication is required for sensitive operations to secure your account and cloud products. For details about how to enable operation protection, see Identity and Access Management User Guide.
- Nodes cannot be deleted from instances that have abnormal nodes.
Billing
- A pay-per-use instance is still billed on an hourly basis after new nodes are added.
- If you change nodes of a yearly/monthly instance, you will pay price difference or get a refund.
- For details, see Product Pricing Details.
Adding Replica Set Instance Nodes
- Log in to the management console.
- Click
 in the upper left corner and select a region and a project.
 - Click
 in the upper left corner of the page and choose Databases > Document Database Service.
 - On the Instances page, click the replica set instance name.
- In the Node Information area on the Basic Information page, click Change Secondary Nodes.
Figure 1 Basic information

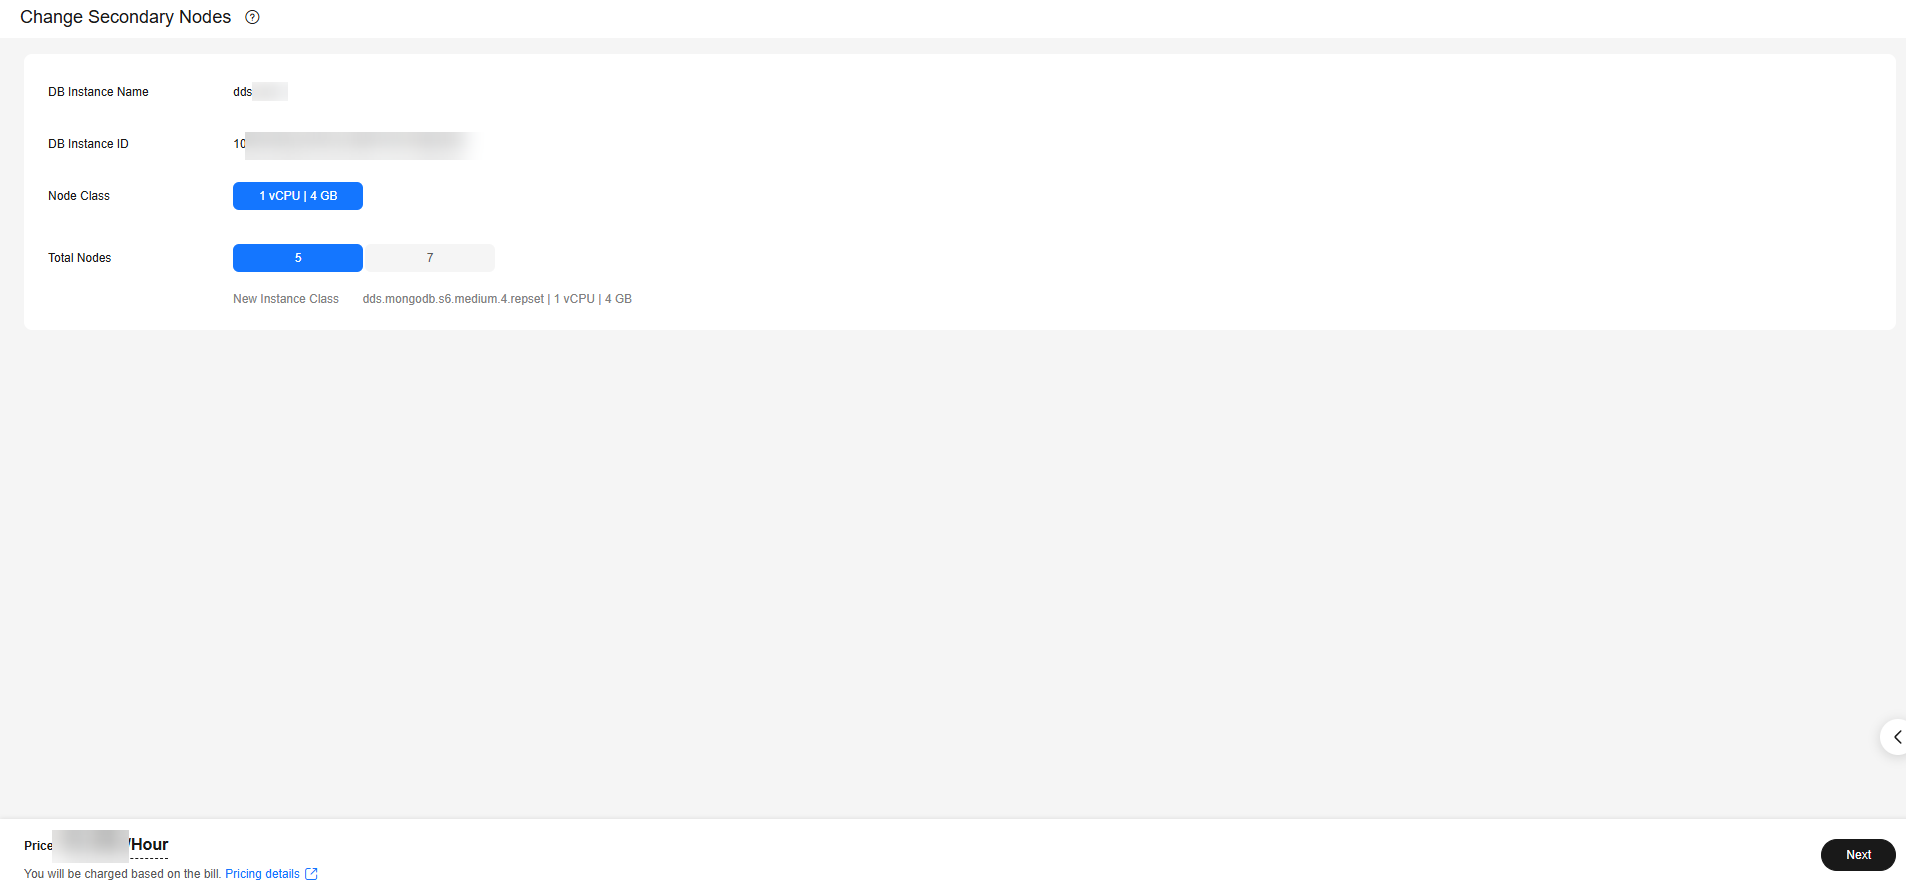
- Specify Total Nodes and click Next.
Figure 2 Selecting the number of nodes

You can add nodes to a five-node or seven-node replica set as required.
- On the displayed page, confirm the node configuration information.
- For yearly/monthly DB instances
- If you need to modify your settings, click Previous to go back to the page for you to specify details.
- If you do not need to modify your settings, click Submit to go to the payment page and complete the payment.
- For pay-per-use DB instances
- If you need to modify your settings, click Previous to go back to the page for you to specify details.
- If you do not need to modify your settings, click Submit to add nodes.
- For yearly/monthly DB instances
- Check the results.
- When nodes are being added, the status of the instance is Adding node. The entire process takes about 15 minutes.
- In the Node Information area, you can see the information about the nodes you added.
Deleting Replica Set Instance Nodes
- Log in to the management console.
- In the service list, choose Databases > Document Database Service.
- On the Instances page, locate the target DB instance and click its name.
- In the Node Information area on the Basic Information page, click Change Secondary Nodes.
Figure 3 Node information

- Specify Total Nodes and click Next.
Figure 4 Selecting the number of nodes


When you delete nodes, the number of selected nodes should be less than the number of current nodes. For example, if the number of current instance nodes is 5, select 3 when deleting nodes.
- Click Submit.
- If you have enabled operation protection, click Start Verification in the Delete Node dialog box. On the displayed page, click Send Code, enter the verification code, and click Verify. The page is closed automatically.
Feedback
Was this page helpful?
Provide feedbackThank you very much for your feedback. We will continue working to improve the documentation.See the reply and handling status in My Cloud VOC.
For any further questions, feel free to contact us through the chatbot.
Chatbot


