
Adding a Connection
Scenarios
This topic describes how to add and edit a connection. You can configure and edit connection sources and destinations for log transfers.
Limitations and Constraints
- After a data connection is added, only the parameters of the selected data source type can be modified. The data source type cannot be changed.
Adding a Connection
- Log in to the management console.
- Click
 in the upper part of the page and choose Security > SecMaster.
 - In the navigation pane on the left, choose Workspaces > Management. In the workspace list, click the name of the target workspace.
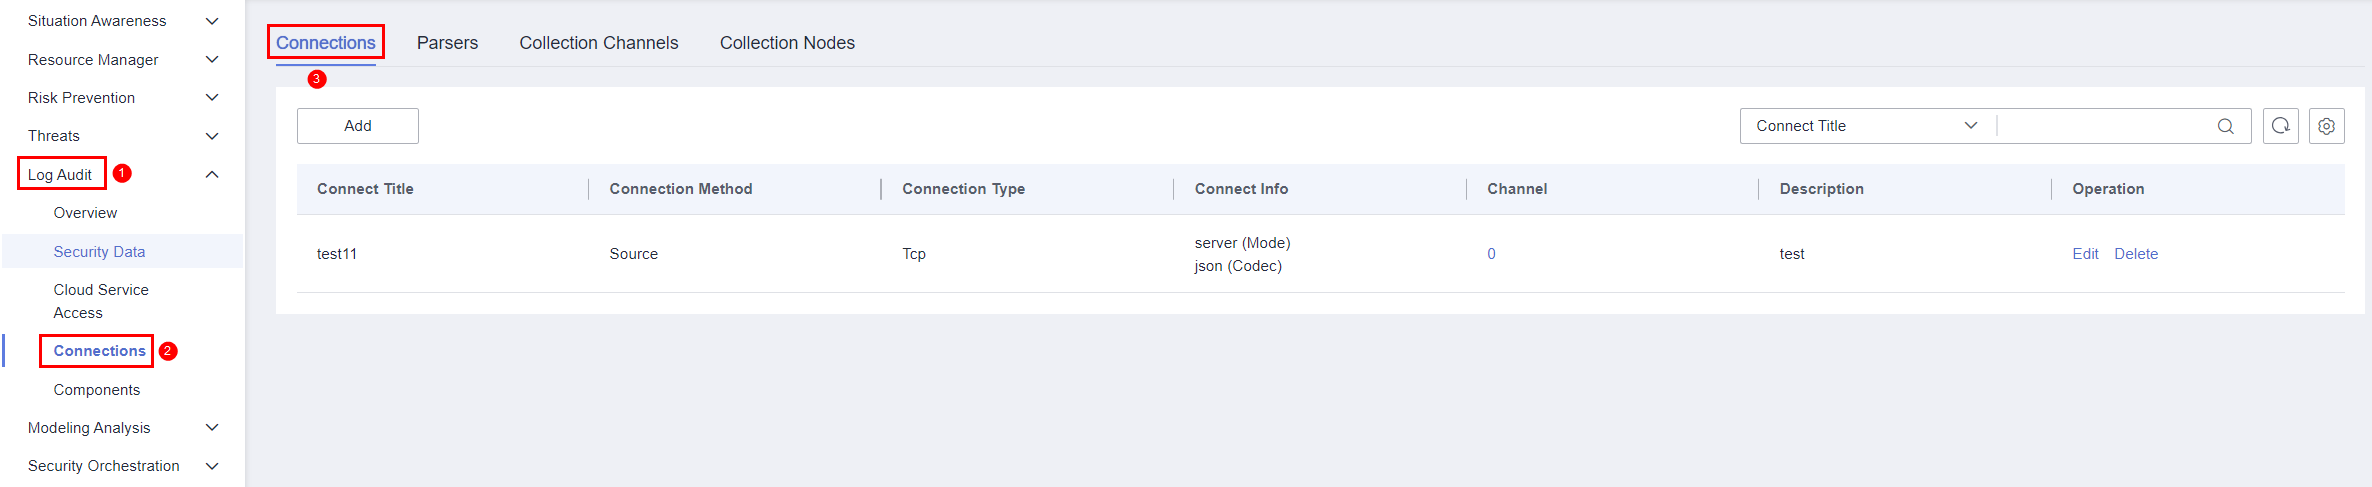
- In the navigation pane on the left, choose .
Figure 1 Accessing the connection management page
- Add a data connection source.
- On the Connections tab, click Add.
- Configure the data connection source details.
- Connection Method: Select Source.
- Connection Type: Select the type of the data source.
- Set other parameters based on the selected connection type. For details about the parameters, see Source Connectors.
- After the setting is complete, click Confirm in the lower right corner of the page.
- Add a data connection destination.
- On the Connections tab, click Add.
- Configure the data connection destination details.
- Connection Method: Select Destination.
- Connection Type: Select the type of the data destination.
- Set other parameters based on the selected connection type. For details about the parameters, see Destination Connectors.
- After the setting is complete, click Confirm in the lower right corner of the page.
Editing a Data Connection

After a data connection is added, only the parameters of the selected data source type can be modified. The data source type cannot be changed.
For example, if you select File as the data source type when adding a data connection, you can modify only the parameters in the file type but cannot change the File type.
- Log in to the management console.
- Click in the upper part of the page and choose Security > SecMaster.
- In the navigation pane on the left, choose Workspaces > Management. In the workspace list, click the name of the target workspace.
- In the navigation pane on the left, choose .
Figure 2 Accessing the connection management page
- On the Connections page, locate the row that contains the target connection and click Edit in the Operation column.
- On the displayed page, edit the data source type.
- Check the settings and click Confirm in the lower right corner of the page.
Related Operations
You can view connection details and delete a connection. For details, see Managing Connections.
Feedback
Was this page helpful?
Provide feedbackThank you very much for your feedback. We will continue working to improve the documentation.See the reply and handling status in My Cloud VOC.
For any further questions, feel free to contact us through the chatbot.
Chatbot


