Configuring Facebook Information
This section describes Facebook-related configurations and applications to enable Facebook customers to chat with AICC agents online. If some pages or configurations on Facebook are different from those described in this section, the pages or configurations on Facebook prevail.
Prerequisites
None
Procedure
- Sign up for a Facebook personal account.
Sign-up URL: https://www.facebook.com/

- Log in to Meta for Developers and apply for a Meta for Developers account.
- Use the Facebook personal account to log in to https://developers.facebook.com/.
- Click Get Started in the upper right corner.
- Create a Meta for Developers account as prompted.
- Verify the account. If the account has been verified during registration, skip this step.
- Check the mailbox information.
- Select Developer and click Complete Registration.

- Create an app. If you already have a Meta for Developers account, you can create an app by referring to Creating an App Using a Facebook Developer Account.
- After the Meta for Developers account is registered, the Create an app page is displayed. Click Create App.

- Enter a customized app name and click Next.

- Select Other and click Next.

- Select Business and click Next.

- Check the application information and click Create app.

- Enter the password of the Facebook account and click Submit.

- After the Meta for Developers account is registered, the Create an app page is displayed. Click Create App.
- Configure the app.
- After the app is created, the app configuration page is displayed. Click Set up corresponding to Messenger to add the product for the app.

- In the navigation pane, choose . Click Connect under Generate access tokens to add a public home page for the app.

- Select an option, as shown in the following figure, and click Create a Page. The page for creating a public home page is displayed.

If a page has been added, perform the following operations to create another page:
Choose and click Create new Page.

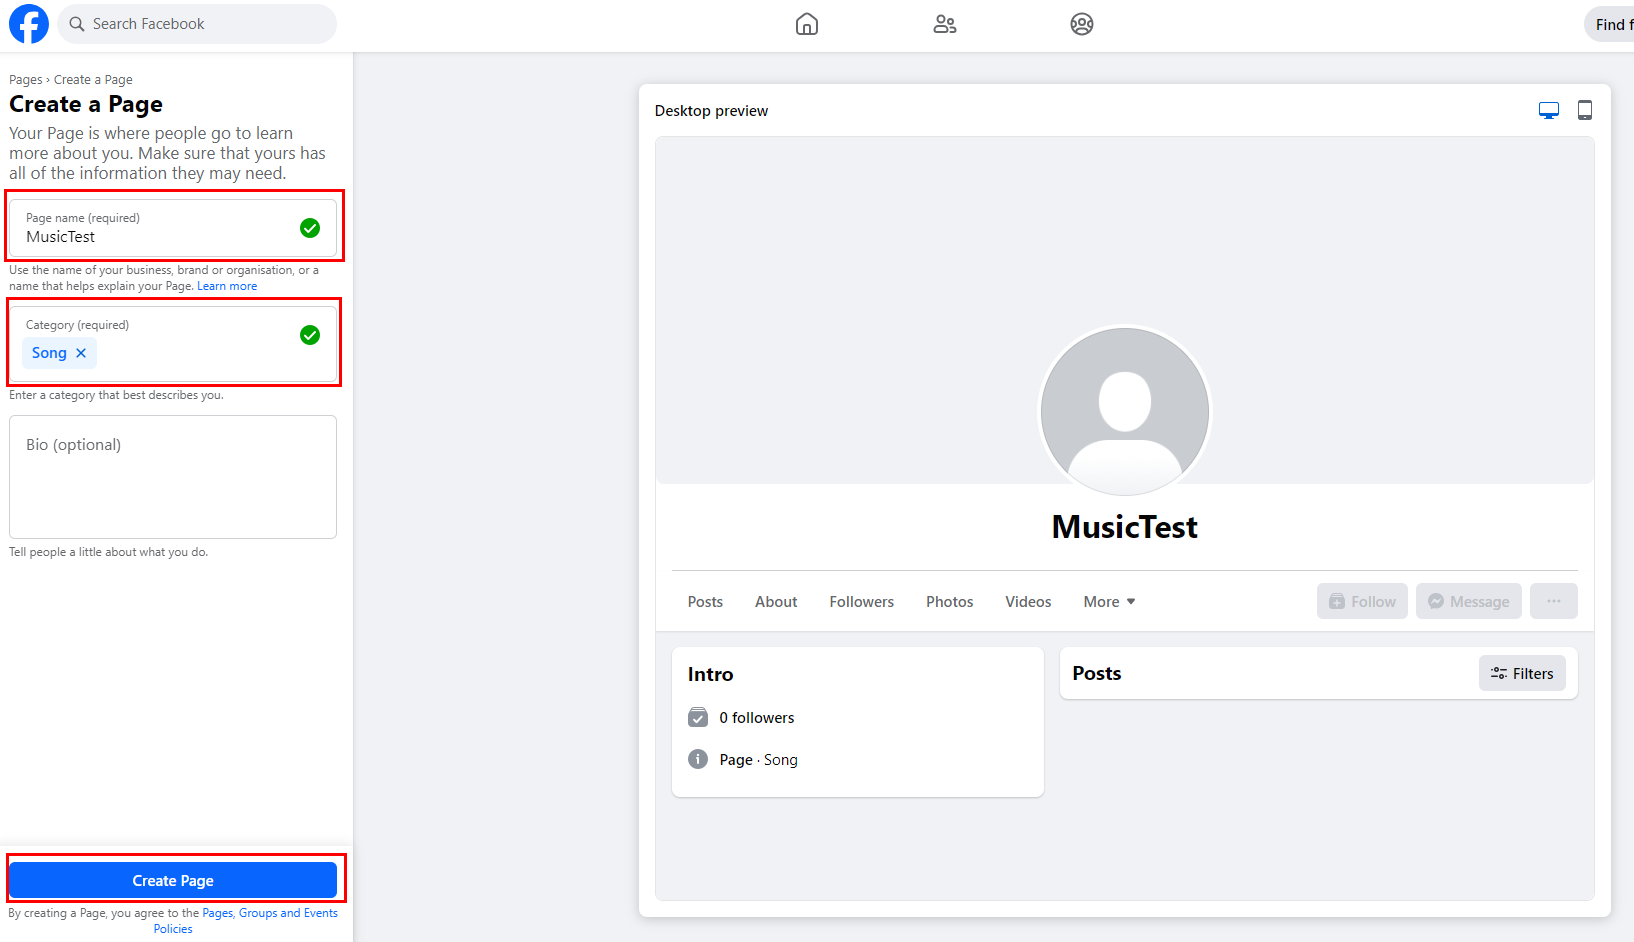
- Customize the name and category of the public home page and click Create Page.

- Configure the public home page as prompted and click Next.
- In the Connect WhatsApp to your Page step, click Skip. In the last step, click Done to complete the public home page configuration.

- Return to the page. Click Connect under Generate access tokens to add the public home page to the app.

In the dialog box that is displayed, click Continue as ***. *** indicates that you continue the operation as the *** user.
- Select the added public home page and click Continue.

- Click Save. The public home page is added to the app.
- After the app is created, the app configuration page is displayed. Click Set up corresponding to Messenger to add the product for the app.
- Obtain the app secret.
Choose , click Show, and view and record the value of App secret for configuration later.

- Configure the AICC callback URL. Before performing this step, ensure that you have configured the Facebook channel in the AICC.
- Choose and click Configure under Configure webhooks.

- Set Callback URL and Verify token to the values of URL and Verification Code generated on the channel configuration page of the AICC, respectively, and click Verify and save.


You must set Callback URL to a domain name.
- Choose and click Configure under Configure webhooks.
- Add subscriptions. Before performing this step, ensure that you have configured the Facebook channel in the AICC.
- Choose and click Add Subscriptions.

- Select the messages, messaging_postbacks, messaging_optins, message_deliveries, and message_reads fields.

- Click Confirm to complete the subscription configuration.
- Choose and click Add Subscriptions.
Feedback
Was this page helpful?
Provide feedbackThank you very much for your feedback. We will continue working to improve the documentation.See the reply and handling status in My Cloud VOC.
For any further questions, feel free to contact us through the chatbot.
Chatbot


