Esta página ainda não está disponível no idioma selecionado. Estamos trabalhando para adicionar mais opções de idiomas. Agradecemos sua compreensão.
- What's New
- Function Overview
- Service Overview
-
Billing
- Billing Overview
- Billing Modes
- Billing Items
- Billing Examples
- Changing the Billing Mode
- Renewing Your Subscription
- Bills
- About Arrears
- Billing Termination
- Cost Management
-
Billing FAQs
- How Is SecMaster Billed?
- Can I Use SecMaster for Free?
- How Do I Change or Disable Auto Renewal for SecMaster?
- Will SecMaster Be Billed After It Expires?
- How Do I Renew SecMaster?
- Where Can I Unsubscribe from SecMaster?
- Where Can I View the Remaining Quotas of Security Data Collection and Security Data Packages?
- Can I Change the Billing Mode for SecMaster?
- Getting Started
-
User Guide
- Buying SecMaster
- Authorizing SecMaster
- Checking Security Overview
- Workspaces
- Viewing Purchased Resources
-
Security Governance
- Security Governance Overview
- Security Compliance Pack Description
- Authorizing SecMaster to Access Cloud Service Resources
- Subscribing to or Unsubscribing from a Compliance Pack
- Starting a Self-Assessment
- Viewing Security Compliance Overview
- Viewing Evaluation Results
- Viewing Policy Scanning Results
- Downloading a Compliance Report
- Security Situation
- Resource Manager
- Risk Prevention
- Threats
- Security Orchestration
-
Playbook Overview
- Ransomware Incident Response Solution
- Attack Link Analysis Alert Notification
- HSS Isolation and Killing of Malware
- Automatic Renaming of Alert Names
- Auto High-Risk Vulnerability Notification
- Automatic Notification of High-Risk Alerts
- Auto Blocking for High-risk Alerts
- Real-time Notification of Critical Organization and Management Operations
-
Settings
- Data Integration
-
Log Data Collection
- Data Collection Overview
- Data Collection Process
- Adding a Node
- Configuring a Component
- Adding a Connection
- Creating and Editing a Parser
- Adding and Editing a Collection Channel
- Verifying Log Collection
- Managing Connections
- Managing Parsers
- Managing Collection Channels
- Viewing Collection Nodes
- Managing Nodes and Components
- Partitioning a Disk
- Logstash Configuration Description
- Connector Rules
- Parser Rules
- Upgrading the Component Controller
- Customizing Directories
- Permissions Management
- Key Operations Recorded by CTS
-
Best Practices
-
Log Access and Transfer Operation Guide
- Solution Overview
- Resource Planning
- Process Flow
-
Procedure
- (Optional) Step 1: Buy an ECS
- (Optional) Step 2: Buy a Data Disk
- (Optional) Step 3: Attach a Data Disk
- Step 4: Create a Non-administrator IAM User
- Step 5: Configure Network Connection
- Step 6: Install the Component Controller (isap-agent)
- Step 7: Install the Log Collection Component (Logstash)
- (Optional) Step 8: Creating a Log Storage Pipeline
- Step 9: Configure a Connector
- (Optional) Step 10: Configure a Log Parser
- Step 11: Configure a Log Collection Channel
- Step 12: Verify Log Access and Transfer
- Credential Leakage Response Solution
-
Log Access and Transfer Operation Guide
-
API Reference
- Before You Start
- API Overview
- Calling APIs
-
API
- Alert Management
- Incident Management
- Indicator Management
- Playbook Management
- Alert Rule Management
- Playbook Version Management
- Playbook Rule Management
- Playbook Instance Management
- Playbook Approval Management
- Playbook Action Management
- Incident Relationship Management
- Data Class Management
- Workflow Management
- Data Space Management
- Pipelines
- Workspace Management
- Metering and Billing
- Metric Query
- Baseline Inspection
- Appendix
- FAQs
-
More Documents
-
User Guide (ME-Abu Dhabi Region)
- Service Overview
- Buying SecMaster
- Authorizing SecMaster
- Viewing Security Overview
- Workspaces
- Viewing Purchased Resources
-
Security Governance
- Security Governance Overview
- Security Compliance Pack Description
- Authorizing SecMaster to Access Cloud Service Resources
- Subscribing to or Unsubscribing from a Compliance Pack
- Starting a Self-Assessment
- Viewing Security Compliance Overview
- Viewing Evaluation Results
- Viewing Policy Scanning Results
- Downloading a Compliance Report
- Security Situation
- Resource Manager
- Risk Prevention
- Threat Operations
- Security Orchestration
-
Settings
- Data Integration
-
Log Data Collection
- Data Collection Overview
- Adding a Node
- Configuring a Component
- Adding a Connection
- Creating and Editing a Parser
- Adding and Editing a Collection Channel
- Managing Connections
- Managing Parsers
- Managing Collection Channels
- Viewing Collection Nodes
- Managing Nodes and Components
- Partitioning a Disk
- Logstash Configuration Description
- Connector Rules
- Parser Rules
- Upgrading the Component Controller
- Customizing Directories
- Permissions Management
- FAQs
- Change History
-
User Guide (Kuala Lumpur Region)
- Service Overview
- Authorizing SecMaster
- Security Overview
- Workspaces
- Viewing Purchased Resources
- Security Situation
- Resource Manager
-
Risk Prevention
-
Baseline Inspection
- Baseline Inspection Overview
- Creating a Custom Check Plan
- Starting an Immediate Baseline Check
- Viewing Check Results
- Handling Check Results
- Viewing Compliance Packs
- Creating a Custom Compliance Pack
- Importing and Exporting a Compliance Pack
- Viewing Check Items
- Creating a Custom Check Item
- Importing and Exporting Check Items
- Vulnerability Management
- Policy Management
-
Baseline Inspection
-
Threat Operations
- Incident Management
- Alert Management
- Indicator Management
- Intelligent Modeling
- Security Analysis
- Data Delivery
-
Security Orchestration
- Security Orchestration Overview
- Built-in Playbooks
- Security Orchestration Process
- (Optional) Configuring and Enabling a Workflow
- Configuring and Enabling a Playbook
- Operation Object Management
- Playbook Orchestration Management
- Layout Management
- Plug-in Management
- Settings
-
FAQs
-
Product Consulting
- Why Is There No Attack Data or Only A Small Amount of Attack Data?
- Where Does SecMaster Obtain Its Data From?
- What Are the Dependencies and Differences Between SecMaster and Other Security Services?
- What Are the Differences Between SecMaster and HSS?
- How Do I Update My Security Score?
- How Do I Handle a Brute-force Attack?
- Issues About Data Synchronization and Data Consistency
- About Data Collection Faults
-
Product Consulting
- Change History
-
User Guide (ME-Abu Dhabi Region)
- General Reference
Copied.
Fixing Vulnerabilities
Scenario
If HSS detects a vulnerability on a server, you need to handle the vulnerability in a timely manner based on its severity and your business conditions to prevent further vulnerability exploits.
If a vulnerability may harm your services, fix it as soon as possible. For Linux and Windows vulnerabilities, you can go to the HSS console and fix them in one-click. Web-CMS, emergency, and application vulnerabilities cannot be automatically fixed. You can handle them by referring to the suggestions provided on the vulnerability details page.
Constraints and Limitations
- For details about vulnerability management in Host Security Service (HSS) editions, see Host Security Service User Guide.
- To handle vulnerabilities on a server, ensure the server is in the Running state, its agent status is Online, and its protection status is Protected.
Precautions
- Vulnerability fixing operations cannot be rolled back. If a vulnerability fails to be fixed, services will probably be interrupted, and incompatibility issues will probably occur in middleware or upper layer applications. To prevent unexpected consequences, you are advised to use CBR to back up ECSs. Then, use idle servers to simulate the production environment and test-fix the vulnerability. If the test-fix succeeds, fix the vulnerability on servers running in the production environment.
- Servers need to access the Internet and use external image sources to fix vulnerabilities.
Fixing Vulnerabilities on the Console
Only Linux vulnerabilities and Windows vulnerabilities can be fixed using the repair function on the console.
- Log in to the management console.
- Click
in the upper part of the page and choose Security > SecMaster.
- In the navigation pane on the left, choose Workspaces > Management. In the workspace list, click the name of the target workspace.
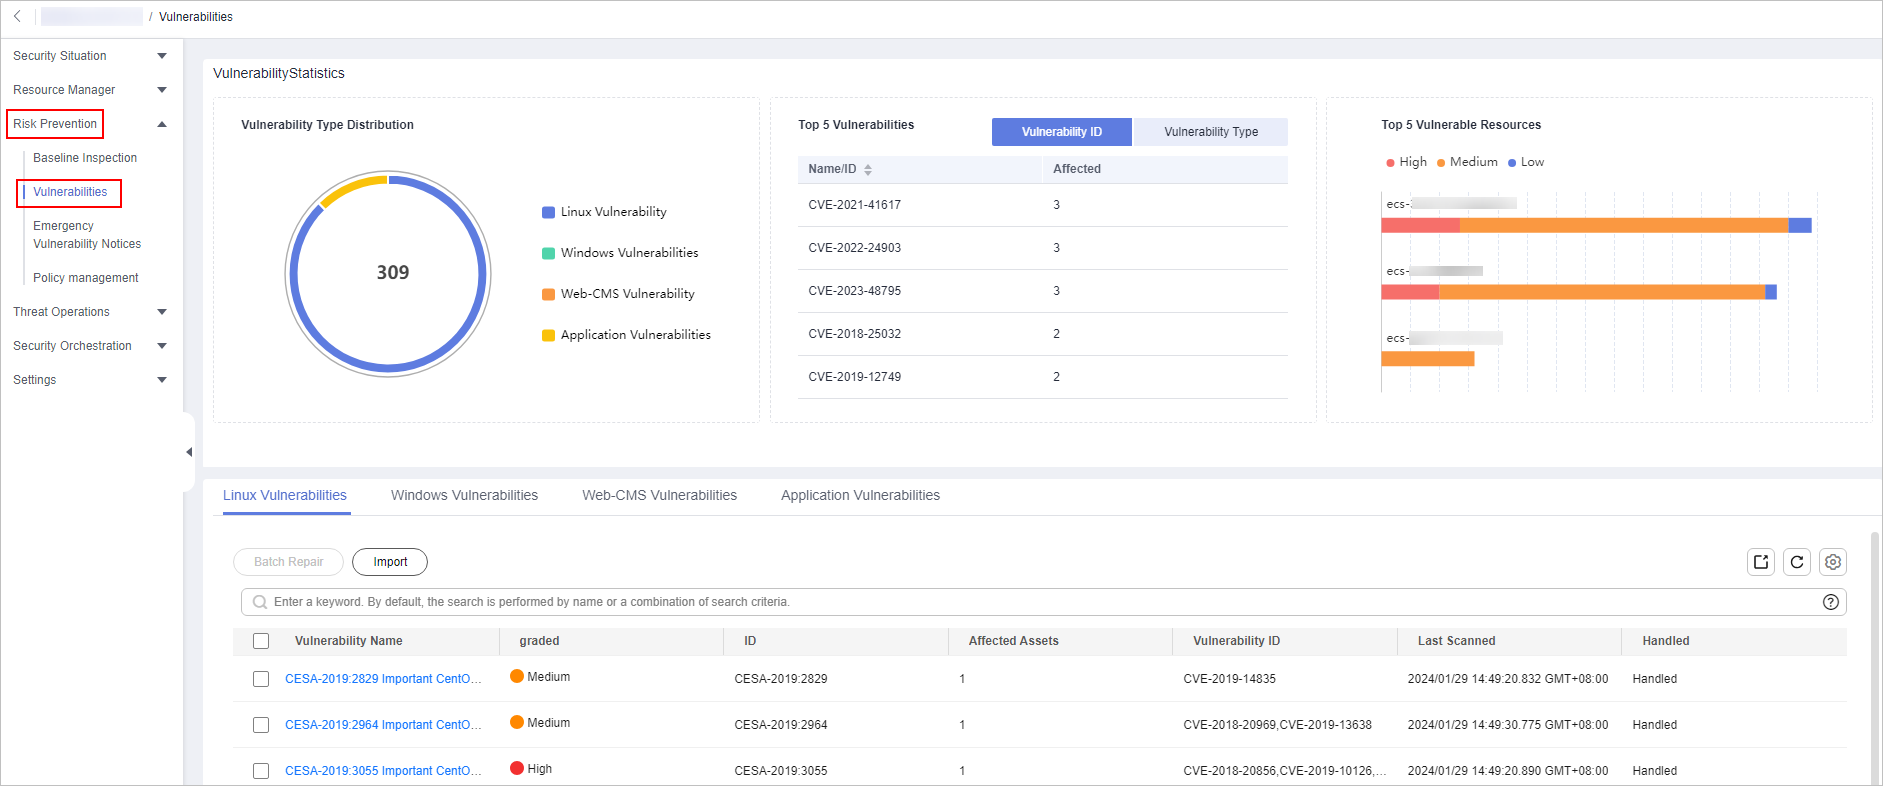
- In the navigation pane on the left, choose Risk Prevention > Vulnerabilities.
- On the displayed page, click Linux Vulnerabilities or Windows Vulnerabilities.
- In the vulnerability list, click the name of the target vulnerability. The vulnerability details page is displayed.
- On the Vulnerability Details page, click Affected Resources. In the resource list, locate the row that contains the target resource and click Repair in the Operation column.
To fix vulnerabilities in batches, select all the target vulnerabilities and click Batch Repair in the upper left corner above the list.
- If a vulnerability is fixed, its status will change to Fixed. If it fails to be fixed, its status will change to Failed.
NOTE:
Restart the system after you fixed a Linux kernel vulnerability, or the system will probably continue to warn you of this vulnerability.
Manually Fixing Software Vulnerabilities
One-click automatic fix of Web-CMS or application vulnerabilities is not supported. You can log in to the server to manually fix them by referring to the fix suggestions on the vulnerability details slide-out panel.
- Vulnerability Fixing Commands
On the basic information page of vulnerabilities, you can fix a detected vulnerability based on the provided suggestions. For details about the vulnerability fixing commands, see Table 1.
NOTE:
- Restart the system after you fixed a Windows or Linux kernel vulnerability, or the system will probably continue to warn you of this vulnerability.
- Fix the vulnerabilities in sequence based on the suggestions.
- If multiple software packages on the same server have the same vulnerability, you only need to fix the vulnerability once.
- Vulnerability Fixing Methods
Vulnerability fixing may affect service stability. You are advised to use either of the following methods to avoid such impacts:
- Method 1: Create a VM to fix the vulnerability.
- Create an image for the ECS host whose vulnerability needs to be fixed.
- Use the image to create an ECS.
- Fix the vulnerability on the new ECS and verify the result.
- Switch services over to the new ECS and verify they are stably running.
- Release the original ECS. If a fault occurs after the service switchover and cannot be rectified, you can switch services back to the original ECS.
- Method 2: Fix the vulnerability on the current server.
- Create a backup for the ECS to be fixed.
- Fix vulnerabilities on the current server.
- If services become unavailable after the vulnerability is fixed and cannot be recovered in a timely manner, use the backup to restore the server.
NOTE:
- Use method 1 if you are fixing a vulnerability for the first time and cannot estimate the impact on services.
- Use method 2 if you have fixed the vulnerability on similar servers before.
- Method 1: Create a VM to fix the vulnerability.
Verifying Vulnerability Fix
After a vulnerability is fixed, you are advised to verify it immediately.
Method |
Operation |
---|---|
Manual verification |
|
Automatic verification |
HSS performs a full scan every early morning. If you do not perform a manual verification, you can view the system check result on the next day after you fix the vulnerability. |
Feedback
Was this page helpful?
Provide feedbackThank you very much for your feedback. We will continue working to improve the documentation.See the reply and handling status in My Cloud VOC.
For any further questions, feel free to contact us through the chatbot.
Chatbot