Configuring Secure Communication Authorization for an MRS Cluster
MRS clusters provision, manage, and use big data components through the management console. Big data components are deployed in a user's VPC. If the MRS management console needs to directly access big data components deployed in the user's VPC, you need to enable the corresponding security group rules after you have obtained user authorization. This authorization process is called secure communications.
If the secure communications function is not enabled, MRS clusters cannot be created. If you disable the communication after a cluster is created, the cluster status will be Network channel is not authorized and the following functions will be affected:
- Installation of cluster components, cluster scaling out or in, upgrading Master node specifications will not be available.
- The cluster running status, alarms, and events cannot be monitored.
- The node management, component management, alarm management, file management, job management, patch management, and tenant management functions on the cluster details page are unavailable.
- The Manager page and the website of each component cannot be accessed.
After the secure communications function is enabled again, the cluster status is restored to Running, and the preceding functions become available. For details, see Enabling Secure Communications for Clusters with This Function Disabled.
If the security group rules authorized in the cluster are insufficient for you to provision, manage, and use big data components,  is displayed on the right of Secure Communications. In this case, click Update to update the security group rules. For details, see Update.
Enabling Secure Communications During Cluster Creation
- Log in to the MRS console.
- Click Buy Cluster. The page for buying a cluster is displayed.
- On the displayed page, select Quick Config.
- Configure cluster information by referring to Quickly Buying an MRS Cluster or Buying a Custom MRS Cluster.
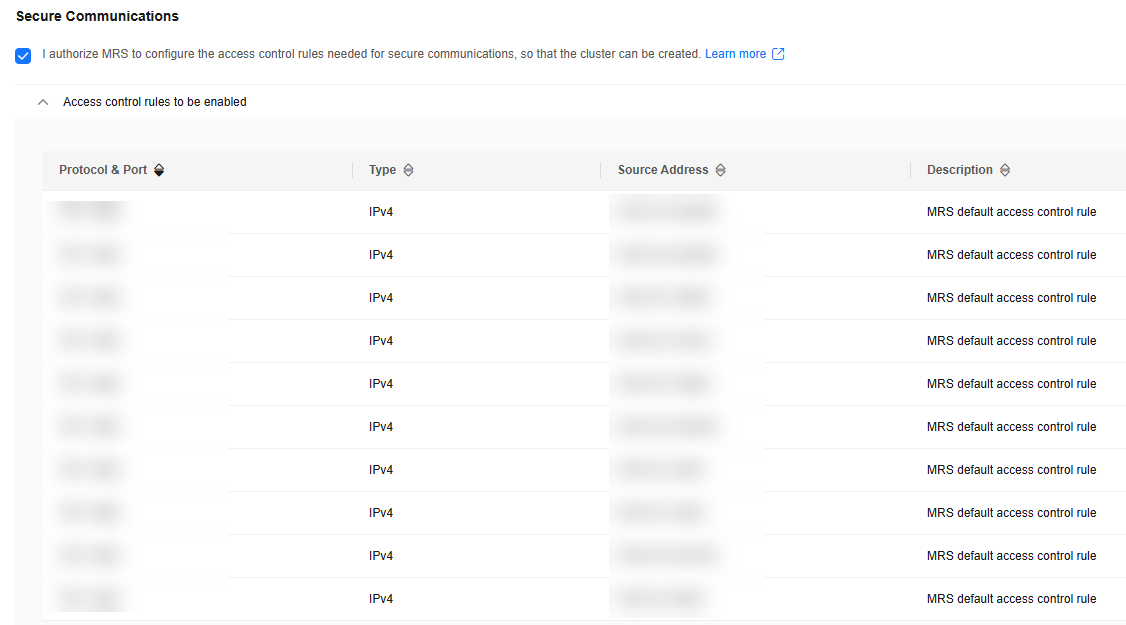
- Select the check box for Secure Communications.
Figure 1 Secure communications

- Click Buy Now.
If Kerberos authentication is enabled for a cluster, check whether Kerberos authentication is required. If yes, click Continue. If no, click Back to disable Kerberos authentication and then create a cluster.
Disabling Secure Communications After a Cluster Is Created
- Log in to the MRS console.
- In the active cluster list, click the name of the cluster for which you want to disable secure communications.
The cluster details page is displayed.
Figure 2 Secure Communications
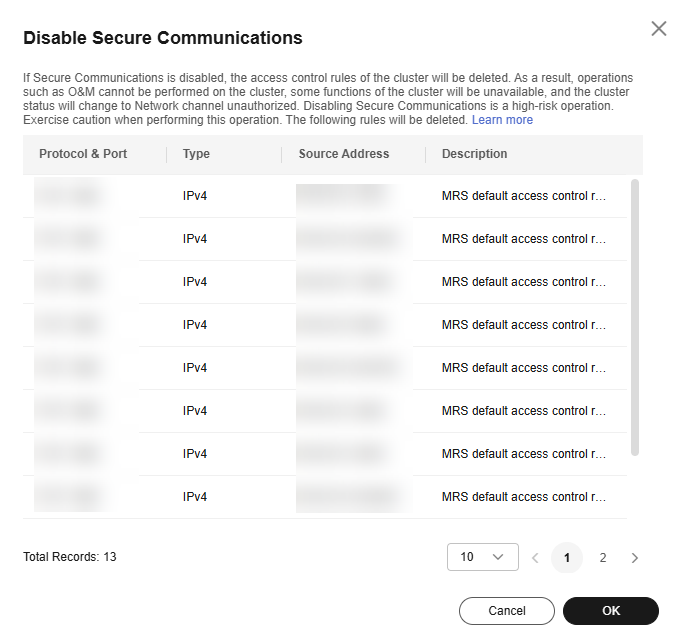
- Click the switch on the right of Secure Communications to disable authorization. In the dialog box that is displayed, click OK.
After the authorization is disabled, the cluster status changes to Network channel unauthorized, and some functions of the cluster are unavailable. Exercise caution when performing this operation.
Figure 3 Disabling secure communications
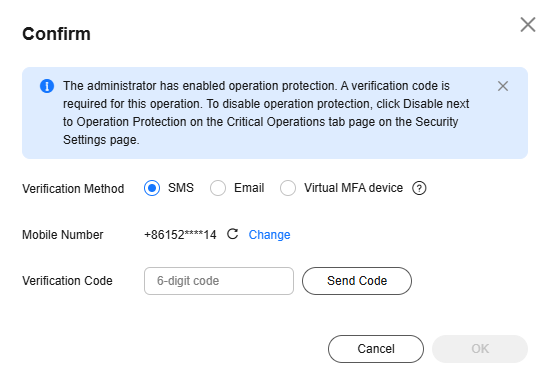
- If you have enabled critical operation protection (see Critical Operation Protection on IAM), enter the verification code obtained using the selected verification method to avoid risks and losses caused by misoperations.
Figure 4 Identity verification

Enabling Secure Communications for Clusters with This Function Disabled
- Log in to the MRS console.
- In the active cluster list, click the name of the cluster for which you want to enable secure communications.
The cluster details page is displayed.
- Click the switch on the right of Secure Communications to enable the function.
After the function is enabled, the cluster status changes to Running.
Update
If the security group rules authorized in the cluster are insufficient for you to provision, manage, and use big data components,  is displayed on the right of Secure Communications. In this case, click Update to update the security group rules. For details, see Update.
- Log in to the MRS console.
- In the active cluster list, click the name of the cluster for which you want to update secure communications.
The cluster details page is displayed.
- Click Update on the right of Secure Communications.
- Click OK.
Feedback
Was this page helpful?
Provide feedbackThank you very much for your feedback. We will continue working to improve the documentation.See the reply and handling status in My Cloud VOC.
For any further questions, feel free to contact us through the chatbot.
Chatbot


