
Help Center/
Anti-DDoS Service/
User Guide/
CNAD Advanced (CNAD) Operation Guide/
Adding a Protected Object
Updated on 2025-08-20 GMT+08:00
Adding a Protected Object
After enabling CNAD, you need to add public IP addresses on Huawei Cloud as protected objects to enable protection for these public IP addresses.
Limitations and Constraints
- The added protected objects (such as ECS, ELB, WAF, and EIP) must be in the same region as the region of the purchased CNAD instance.
- Unlimited Protection Advanced Edition can protect only dedicated EIPs. Cloud Native Anti-DDoS 2.0 can protect both common and dedicated EIPs.
- Cloud Native Anti-DDoS 2.0 outside the Chinese mainland can only protect premium BGP IP addresses 49.0.236.0/22, 49.0.234.0/23, and 49.0.233.0/24.
Prerequisites
A protection policy has been created. For details, see Adding a Protection Policy.
Adding Protected Objects to an Instance
- Log in to the AAD console.
- In the navigation tree on the left, choose . The Protected Objects page is displayed.
Figure 1 Protected objects
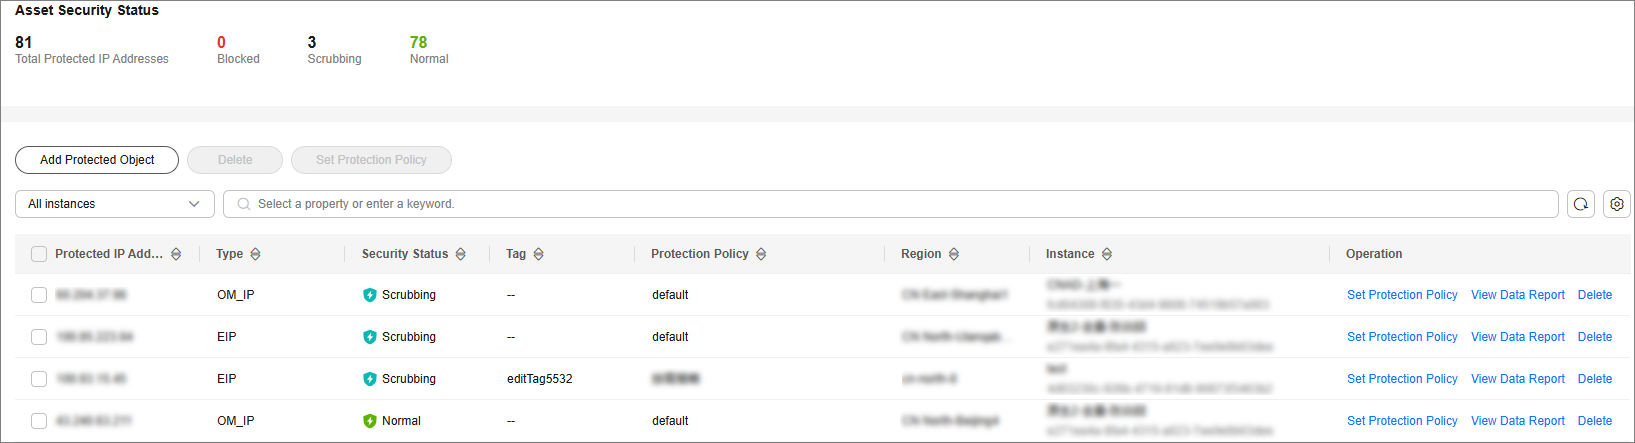
- Click Add Protected Object.
- On the Add Protected Objects page, add the IP addresses to be protected.
Figure 2 Adding a Protected Object

Table 1 Parameter description Parameter
Description
Instance Name
Select the instance where you want to add protected objects.
Protection Policy
Select the protection policy that you wish to apply to the protected objects.
Addition Method
- Batch Select: Search for assets by asset type in the search bar, and select the desired assets to add.
- Batch Import: Manually enter IP addresses. Use commas (,), semicolons (;), spaces, or line breaks to separate multiple IP addresses.
- Click OK.
Feedback
Was this page helpful?
Provide feedbackThank you very much for your feedback. We will continue working to improve the documentation.See the reply and handling status in My Cloud VOC.
The system is busy. Please try again later.
For any further questions, feel free to contact us through the chatbot.
Chatbot


