
Installing JDK
This section describes how to install JDK on the Windows and Linux OSs and verify that the installation is successful.
Installing JDK in Windows
- Download the JDK file from the official website. JDK 8 is used as an example. Click DOWNLOAD below JDK.

- After the JDK file is downloaded, install the JDK as prompted. For example, install the JDK to the C:\Program Files\Java\jdk1.8.0_131 directory on the local PC.
- Configure Java environment variables.
- Right-click Computer, choose Properties > Advanced system settings.
- Click the Advanced tab, and then click Environment Variables.
- Set JAVA_HOME, PATH, and CLASSPATH (case-insensitive) in the System variables area. See Table 1.
If the three variables already exist, click Edit. If not, click New.
Table 1 JAVA environment variables Variable
Value
Description
JAVA_HOME
JDK installation path
Example: C:\Program Files (x86)\Java\jdk1.8.0_1311
PATH
%JAVA_HOME%\bin;%JAVA_HOME%\jre\bin
Add it to the end of the original PATH value.
CLASSPATH
.;%JAVA_HOME%\lib\dt.jar;%JAVA_HOME%\lib\tools.jar;
There is a dot (.) in front of the value.
- Open the CLI and run java -version. The Java environment variables have been configured if the Java version is displayed.
The following is a successful response example:

Installing JDK in Linux
- Download the JDK installation package based on system requirements. You are advised to download JDK1.8.
Select Accept License Agreement before downloading the package.
Figure 1 Downloading the JDK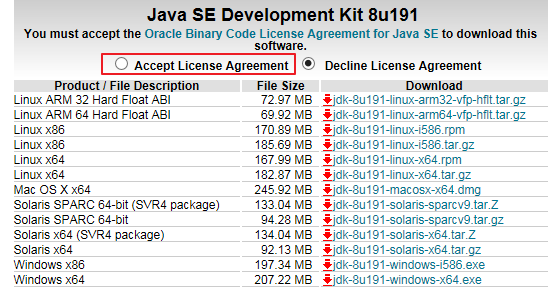
- Run the following command to decompress the installation package to the JDK directory:
tar -xvf jdk-8u191-linux-x64.tar.gz -C /home/vod/jdk/
- Set environment variables.
- Run the vi /etc/profile command to open the profile file.
- Add the following content to the end of the file:
#set java environment
export JAVA_HOME=/home/vod/jdk/jdk1.8.0_191
export JRE_HOME=/home/vod/jdk/jdk1.8.0_191/jre
export CLASSPATH=.:$JAVA_HOME/lib/dt.jar:$JRE_HOME/lib/tools.jar
export PATH=$JAVA_HOME/bin:$PATH
- Run the :wq! command to save the file and exit.
- Run the java -version command to verify whether JDK has been installed.
If the following JDK version information is displayed, the installation is successful:
[root@ecs-c525-web ~]# java -version
java version "1.8.0_191"
Java(TM) SE Runtime Environment (build 1.8.0_191-b11)
Java HotSpot(TM) 64-Bit Server VM (build 25.171-b11, mixed mode)
Feedback
Was this page helpful?
Provide feedbackThank you very much for your feedback. We will continue working to improve the documentation.See the reply and handling status in My Cloud VOC.
For any further questions, feel free to contact us through the chatbot.
Chatbot


