
Blocking or Canceling Blocking of an IP Address or IP Address Range
Scenario
If an IP address, IAM user, or IP address range added as blocked object for an emergency policy needs to be blocked in other operation connections, you can block them in batches. If there is no need to block an IP address, IAM user, or IP address range for operation connections, you can cancel the blocking in batches.
This section describes how to block or cancel blocking of IP addresses or IP address ranges in multiple connections.
Limitations and Constraints
If an IP address or IP address range or an IAM user is added to the blacklist, CFW, WAF, VPC, and IAM will block requests from that IP address without checking whether the requests are malicious.
Enabling an IP Address Blocklist for Multiple Connections
- Log in to the management console.
- Click
 in the upper left corner of the management console and select a region or project.
 - Click
 in the upper left corner of the page and choose Security & Compliance > SecMaster.
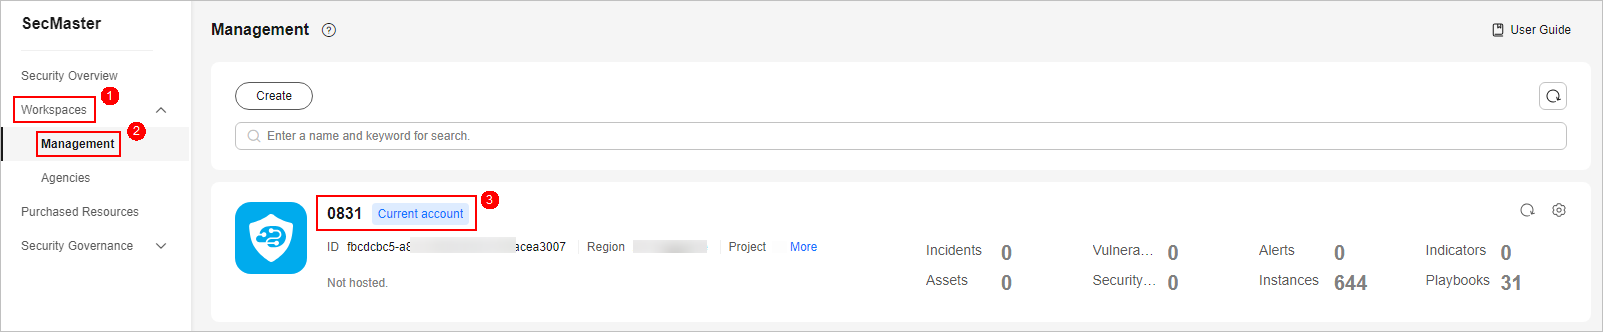
 - In the navigation pane on the left, choose Workspaces > Management. In the workspace list, click the name of the target workspace.
Figure 1 Workspace management page
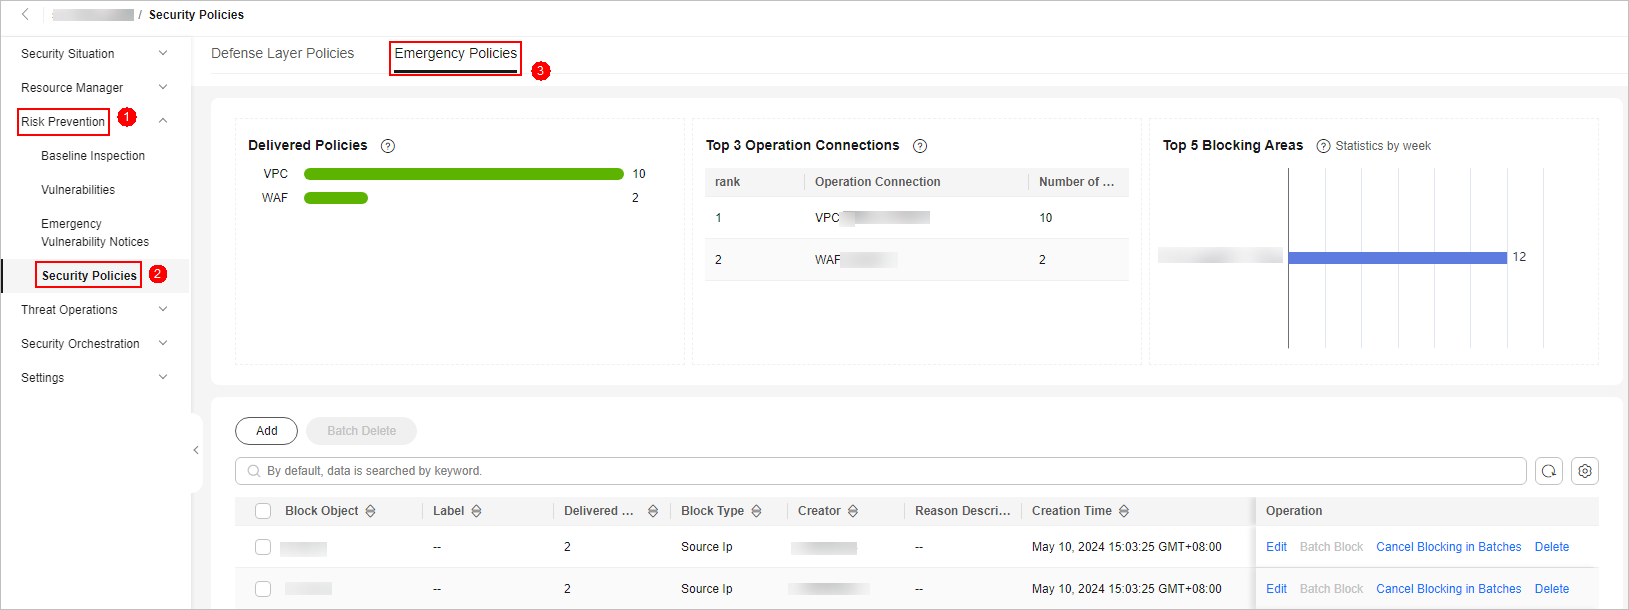
- In the navigation pane on the left, choose Risk Prevention > Security Policies. Then, click the Emergency Policies tab to go to the emergency policy page.
Figure 2 Emergency Policies
- On the emergency policy page, locate the row that contains the policy you want to enable batch block and click Batch Block in the Operation column.
- In the displayed dialog box, enter the blocking reason and click OK.
Canceling Batch Block
- Log in to the management console.
- Click in the upper left corner of the management console and select a region or project.
- Click in the upper left corner of the page and choose Security & Compliance > SecMaster.
- In the navigation pane on the left, choose Workspaces > Management. In the workspace list, click the name of the target workspace.
Figure 3 Workspace management page
- In the navigation pane on the left, choose Risk Prevention > Security Policies. Then, click the Emergency Policies tab to go to the emergency policy page.
Figure 4 Emergency Policies
- On the emergency policy page, locate the row that contains the target policy, click Cancel Blocking in Batches in the Operation column.
- In the dialog box displayed, enter the reason for canceling the blocking and click OK.
Feedback
Was this page helpful?
Provide feedbackThank you very much for your feedback. We will continue working to improve the documentation.See the reply and handling status in My Cloud VOC.
For any further questions, feel free to contact us through the chatbot.
Chatbot


