
Help Center/
Relational Database Service_RDS for SQL Server/
User Guide/
Instance Modifications/
Changing a Storage Type
Updated on 2025-11-11 GMT+08:00
Changing a Storage Type
Scenarios
If the storage type of your DB instance does not match your workloads, you can change it as needed.
Constraints
- If the storage type of a read replica is different from that of its associated DB instance, the data synchronization may be affected. To change the storage type of a DB instance, change that of its read replica (if any) first to ensure that the storage type of the read replica is the same as that of the DB instance.
- During the storage type change, operations such as changing the instance class and scaling up storage space cannot be performed on the instance.
- Changing the storage type may affect the disk performance, so you need to change the type during off-peak hours.
- Changing the storage type may take several minutes, hours, or even days. The time required depends on the throughput, storage space, and original storage type. This operation cannot be paused.
- In rare cases, the change may fail due to resource problems. If this happens, you are advised to perform the change again.
- Due to Elastic Volume Service (EVS) constraints, there can be a maximum of 10 EVS disks with their types being changed at the same time. You may have to wait in a queue when you change your storage type.
Supported Storage Types
|
Original Storage Type |
Target Storage Type |
|---|---|
|
Ultra-high I/O |
Cloud SSD or extreme SSD |
|
Cloud SSD |
Extreme SSD |
|
Extreme SSD |
Ultra-high I/O or cloud SSD |
Procedure
- Click
 in the upper left corner and select a region.
 - Click
 in the upper left corner of the page and choose Databases > Relational Database Service.
 - On the Instances page, locate the target DB instance and choose More > Change Instance Class in the Operation column.
Alternatively, click the instance name to go to the Summary page. Under Instance Class, click Configure.
- On the displayed page, select a new storage type and click Next.
Figure 1 Changing a storage type
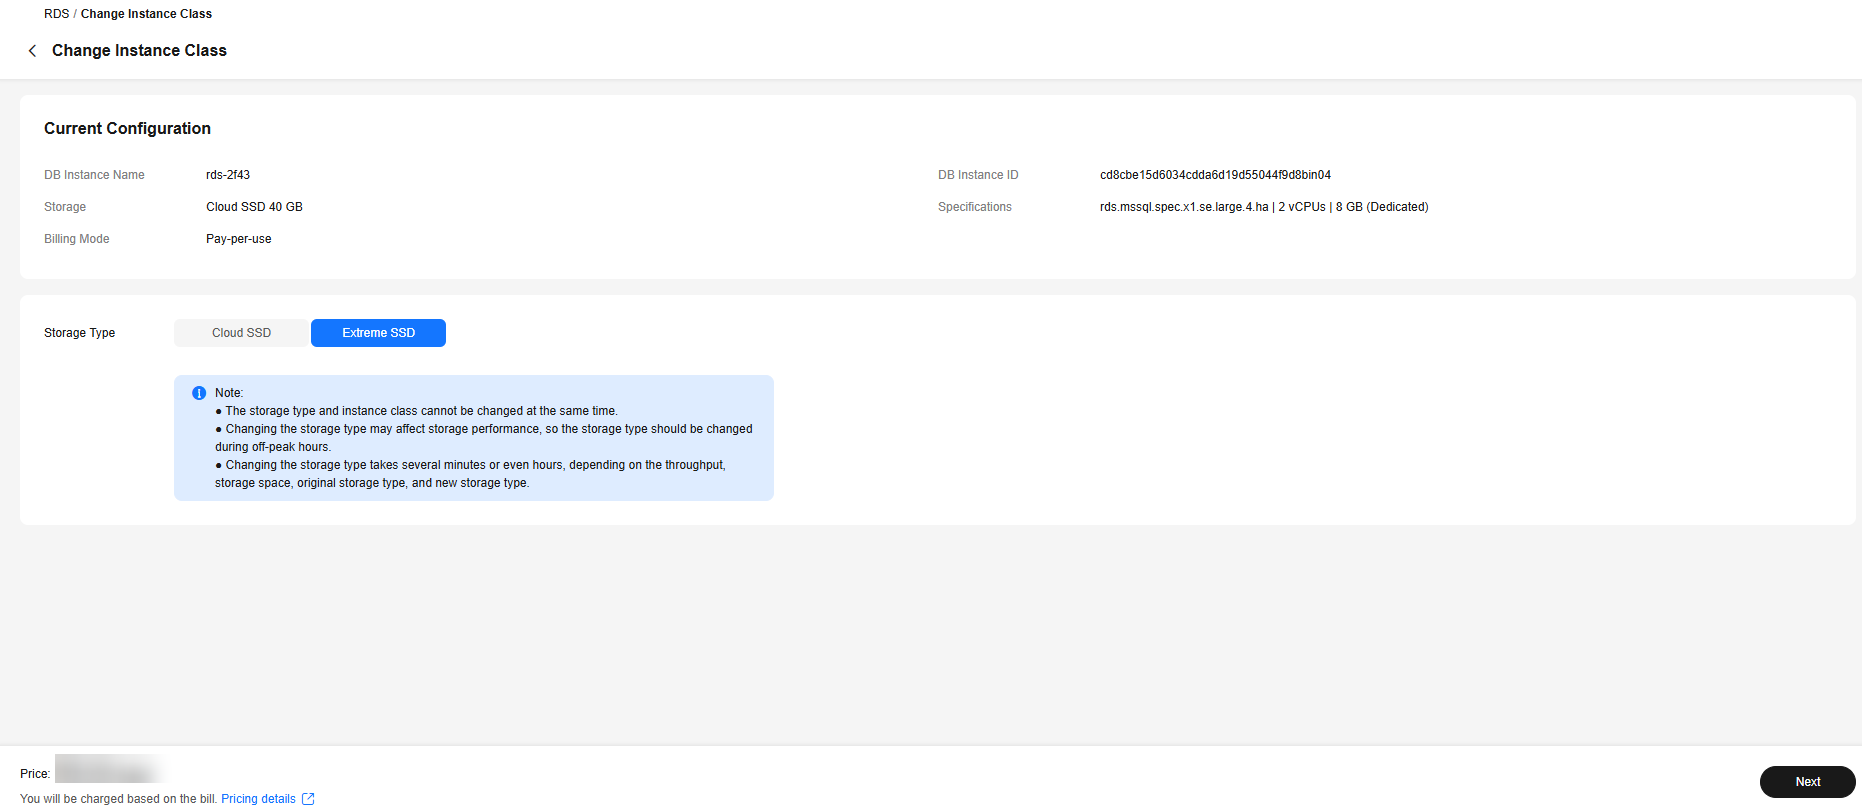
- Confirm the new storage type.
- To modify your settings, click Previous.
- For pay-per-use DB instances, click Submit.
- For yearly/monthly DB instances, click Pay Now. The change starts only after the payment is successful.
- Check the result.
Return to the Instances page. After a few minutes, click the instance name and check the new storage type on the displayed Overview page.
Feedback
Was this page helpful?
Provide feedbackThank you very much for your feedback. We will continue working to improve the documentation.See the reply and handling status in My Cloud VOC.
The system is busy. Please try again later.
For any further questions, feel free to contact us through the chatbot.
Chatbot


