
Members

You can invite members from other enterprises only in Scrum projects.
You can add members from your enterprise, other enterprise, and other projects to an existing project or a project being created, invite users to join the project, and remove members from projects.
- Accessing Member Management
- Importing Users from Your Enterprise
- Inviting Users from Other Enterprises
- Adding Users from Other Projects
- Importing Users from Agencies
- Inviting a User to Join a Project
- Setting Project Roles
- Exporting Members
- Removing Members
- Quitting a Project
Prerequisites
- You have the permissions to manage projects.
- Project managers can delete test managers.
Accessing Member Management
- On the service homepage, click a project.
The project details page is displayed.
- Choose . The member management page is displayed.
On the Member page, you can set project members in either of the following ways:
- Adding members: The project administrator adds members to a project. For details, see "Importing Users from the Enterprise", Inviting Users from Other Enterprises, Importing Users from Agencies, and Adding Users from Other Projects.
- Inviting members: After obtaining the project invitation information, users can join the project. For details, visit Inviting a User to Join a Project.
Importing Users from Your Enterprise
Users from My Enterprise refer to the IAM users created on the IAM console, that is, users in your enterprise.
- Click Add Members and select Import Users from Enterprise.
- Select the users to be added in the dialog box that is displayed.
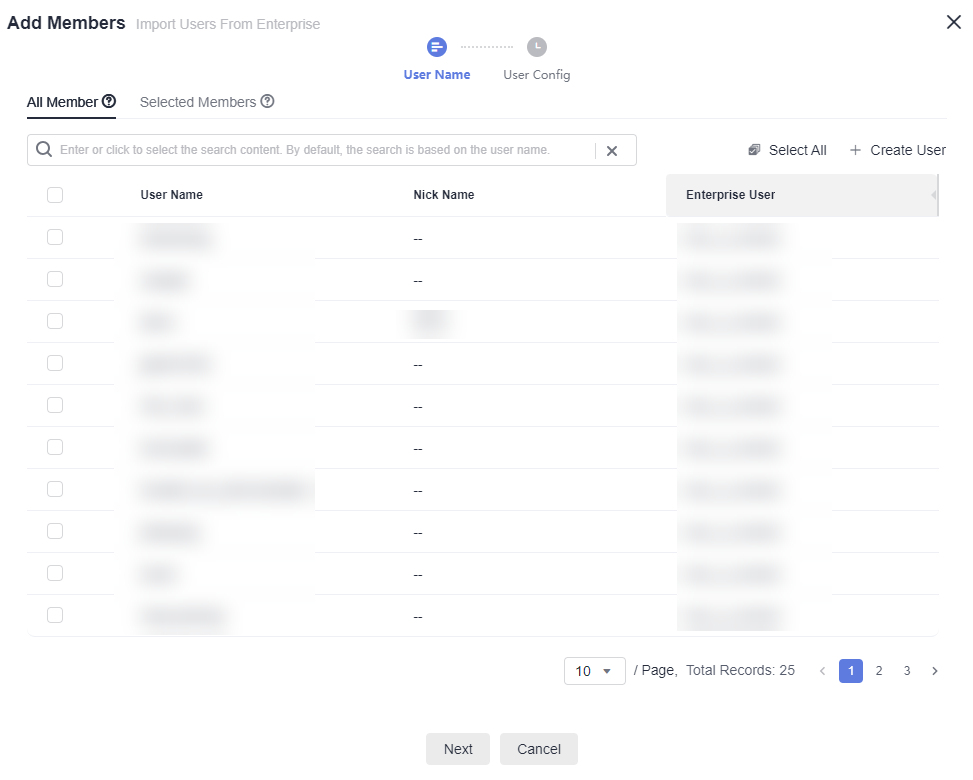
- Click Next, specify project roles, and click Save.
Inviting Users from Other Enterprises
Users from other enterprises refer to IAM users under other tenants.
- (Optional) If the inviter is another enterprise user, enable the function of inviting enterprise users so that other enterprise users can be added to the project.
On the CodeArts console, choose , click Authorize Enterprise Account to complete the authorization.
- (Optional) To enable the current enterprise account to manually accept invitations from other enterprise accounts, choose on the CodeArts console and enable The current enterprise account can automatically accept the authorization. Enable the manual acceptance of authorization.

- Enable: Manually accept the authorization.
- Disable: The invitation is automatically accepted. By default, This function is disabled. If you want to manually accept authorization, enable the function as required.
- On the Project Members tab page, click Add Member > Users from Other Enterprises.
- Specify Enterprise User and User ID.
If only other enterprise users themselves are added, set Enterprise User to be the same as User ID.
You can click Add User to add multiple user IDs.
- Click Invite. After the users are invited successfully, users are displayed in the member list.
Scenarios
- Hover over your account name in the upper right corner and click CodeArts Console in the drop-down list.
The console is displayed.
- Choose Enterprise Account Authorization.
Click Authorize Enterprise Account, enter the name of the enterprise account to be authorized, and click Authorize.
- On the Project Members tab page, click Add Member.
- Select Users from Other Enterprises.
Enter the target enterprise user and user ID, and click Invite.
Adding Users from Other Projects
- On the Project Members tab page, click Add Member and select Users from Other Projects.
- Select an existing project or enter a key word to search for a project.
- Select target members and click Save to import members of other projects to the current project.
Importing Users from Agencies
A delegated user is created by the enterprise user in IAM Identity Center.
To add a member, click  in the upper left corner of the product page and choose Service List > IAM Identity Center.
- Click
 in the upper left corner of the product page and choose Service List > IAM Identity Center.
 - Choose Users, and click Create User in the upper right corner.
- After the user is created, choose Multi-Account Permissions > Accounts. On the right of the tenant, click Associate User/Group.
- Select desired users and permission sets and click OK. After the delegation is complete, return to the member management page.
- Click Add Members and select Users from Agencies.
- Select members in the list and click Save.
Inviting a User to Join a Project
Administrator creates an IAM user and adds the user to the project. In that case, the user can view the project information. Therefore, after creating an IAM user, you need to add the user to the project so that the user can work on the project. In addition to adding members (manually) to a project, you can invite users to join the project.
Currently, two methods are provided for joining a project: QR code and project URL. You can share the QR code or URL with the invitee. The invitee can scan the QR code or click the project URL to log in to Huawei Cloud and join the project.
- (Optional) Set the review mode for inviting a user to join a project.
The invitee can join a project through a URL or QR code. The administrator can enable or disable Review Needed on Invited Members on the Pending Review tab page.
To ensure security, members invited by sharing the QR code or project URL need to wait for the administrator's approval by default. The administrator can approve or reject the membership review.
If there are users to be reviewed in the review list, the review cannot be closed. You need to review all users before closing the review.
- Enable: This function is enabled by default.
If the review function is enabled, after logging in to Huawei Cloud using the QR code or URL, you need to enter the application reason and submit the application. After the application is approved by the administrator on the Pending Review tab page, you can join the project.
- Disable: If the review function is disabled, users can log in to Huawei Cloud using the QR code or URL and automatically join the project.
- Enable: This function is enabled by default.
- Click Invite via Links to share the method provided in the Invite Member window to the invitee.
You can join a project on the Invite Member page in either of the following ways:
- QR code: Screenshot the QR code and share it with the invitee, who can scan the QR code from a website on their phone.
- URL: Click Copy URL and share the URL with the invitee. The invitee opens the URL to join the project.
Setting Project Roles
- Project administrators
- Project managers
- Product managers
- System engineers
- Committers
- Developers
- Test managers
- Testers
- Participants
- Viewers
- O&M managers
The procedure for setting project roles is as follows:
- Choose .
- Click
 in the row where the member is located. The Edit Member dialog box is displayed.
 - Set a role for the member and click OK.
Access permissions on services vary among project roles.
- (Optional) Edit roles of project members in batches.
- On the Project Members tab page, select target members from the project member list.
- Click Batch Edit.
Change the role type in the dialog box.
- Click Yes.
Exporting Members
You can export the member list to the local PC as required.
Click Export Member in the upper right corner of the Project Members page. The project member list is exported to the local PC in Excel format.
Removing Members
You can remove one or more members at a time.
- Removing a project member/user
In the member list on the Project Members tab page, click
 in the row that contains the target member.
- The member, or the user, is deleted by doing this.
- However, the resources such as work items created or handled by the ex-member are not deleted.
- Removing project members in batches
- In the member list on the Project Members tab page, select target members.
- Click Batch Remove.
- Click OK to delete members in batches.
Quitting a Project
On the Project Members tab page, click  in the row where you are located to quit a project.
The button for quitting a project is visible only to the current user.
A project member can quit the project if the member is no longer engaged in the project.
After a member quit a project, the project administrator is notified.
Feedback
Was this page helpful?
Provide feedbackThank you very much for your feedback. We will continue working to improve the documentation.See the reply and handling status in My Cloud VOC.
For any further questions, feel free to contact us through the chatbot.
Chatbot


