Help Center/
Migration Center/
User Guide/
New Edition/
Migration Clusters/
Managing a Migration Cluster
Updated on 2025-10-11 GMT+08:00
Managing a Migration Cluster
For a migration cluster, you can configure traffic limiting rules and add or remove nodes as needed.
Prerequisites
You have created a cluster.
Adding a Traffic Limiting Rule
- Sign in to the MgC console. In the navigation pane, under Project, select your application migration project from the drop-down list.
- In the navigation pane on the left, choose Other > Migration Clusters.
- In the cluster list, locate a migration cluster and click Manage in the Operation column.
- In the Traffic Limiting area, click Add to add a rule.
- Configure the start time, end time, and bandwidth limit.
For example, if you set Start Time to 08:00, End Time to 12:00, and Maximum Bandwidth to 20 MB/s, the maximum migration speed is limited to 20 MB/s when the migration task is running in the period from 08:00 to 12:00. The migration speed is not limited beyond this period.

- The time is the local standard time of the region you are migrating to.
- A maximum of five rules can be added.
- Click Confirm.
Adding Nodes
The procedure for adding a migration node is the same as that for adding a list node.
- Sign in to the MgC console. In the navigation pane, under Project, select your application migration project from the drop-down list.
- In the navigation pane on the left, choose Other > Migration Clusters.
- In the cluster list, click Manage in the Operation column.

- In the node information area, choose Add > Migration Node.

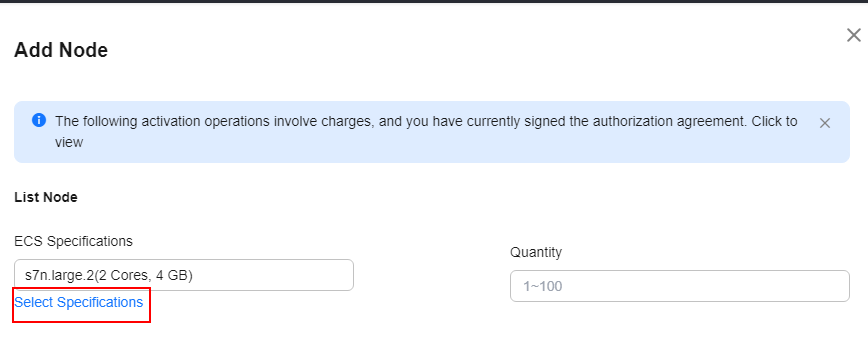
- Select the node specifications and enter the number of nodes to be added. The number of nodes in the cluster must meet the following requirements:
- Number of migration nodes + Number of list nodes + 1 ≤ 100
- Number of migration nodes + Number of list nodes + 1 ≤ Number of unused IP addresses in the subnet

- Click Confirm. After the nodes are added, MgC starts to install the migration plug-in on these nodes, and you can view the added nodes in the node list.
Feedback
Was this page helpful?
Provide feedbackThank you very much for your feedback. We will continue working to improve the documentation.See the reply and handling status in My Cloud VOC.
The system is busy. Please try again later.
For any further questions, feel free to contact us through the chatbot.
Chatbot


