
Adding a Data Disk
Scenarios
Disks of FlexusL instances include system disks and data disks. When a cloud server is created, a system disk is automatically created and attached. You cannot create a system disk separately. A data disk can be added in either of the following ways:
- Purchase the data disk when purchasing a FlexusL instance. The system will automatically attach the data disk to the cloud server.
- Purchase the disk data after a FlexusL instance is purchased. The system will automatically attach the data disk to the cloud server.
This section describes how to add a data disk after a cloud server is created.
Constraints
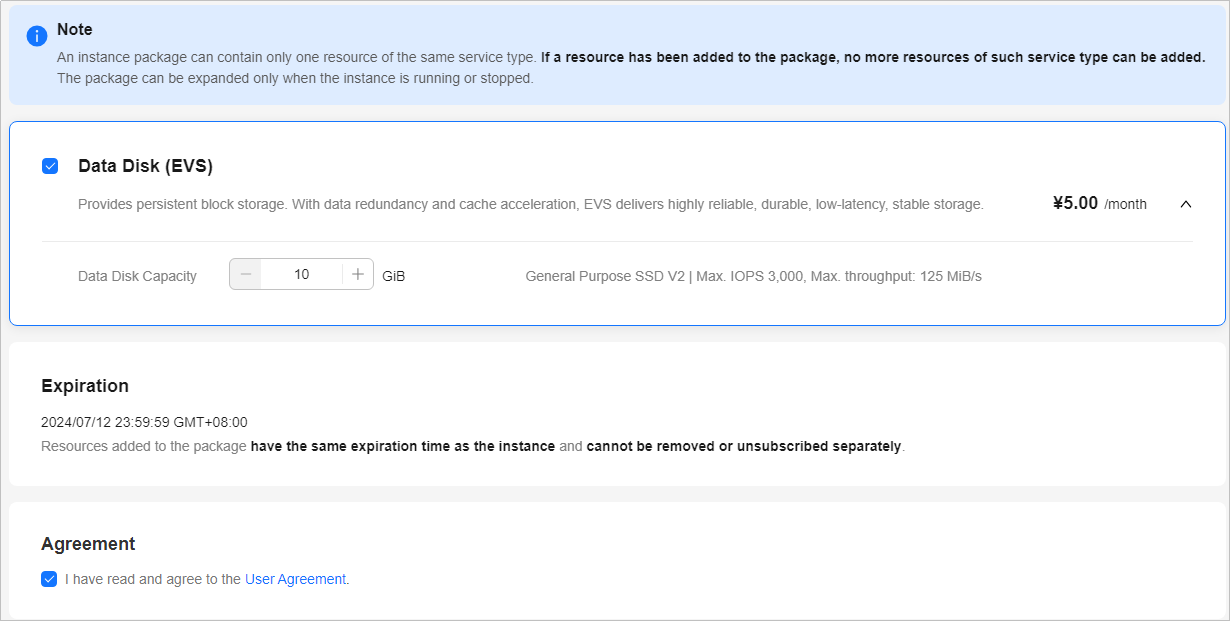
- An FlexusL instance only supports one data disk. If there is already a data disk, no more data disks can be added.

Data disks can be added only on the FlexusL console. You cannot add and attach data disks to FlexusL instances on the EVS console or attach existing data disks.
- Added data disks have the same expiration time as their FlexusL instances. They cannot be detached or unsubscribed from separately.
- The data disk can only be added when the server is Running or Stopped.
Billing
The unit price of the added data disk is the same as the price when you add the data disk during the instance purchase.
Procedure
- Log in to the FlexusL console and click a resource card to go to the instance details page.
- Click Add Resource in the upper right corner.
- Select the resource you want to add.
- The system automatically attaches the added data disk to the cloud server of the FlexusL instance.
- The added data disk must be initialized in the cloud server OS before you can use it. For details, see Initializing a Data Disk.
- The added data disk has the same expiration time as the FlexusL instance.
- Read and agree to the agreement, click Buy Now, and complete the purchase.
You can see the added data disk on the console.
Feedback
Was this page helpful?
Provide feedbackThank you very much for your feedback. We will continue working to improve the documentation.See the reply and handling status in My Cloud VOC.
For any further questions, feel free to contact us through the chatbot.
Chatbot


