
Migrating Data to FlexusRDS for PostgreSQL Using the Export and Import Functions of DAS
Scenarios
To back up or migrate data, you can use Data Admin Service (DAS) to export data from the source database first and then import the data to from your local PC or OBS bucket to the destination database.
For more information, see Data Import and Export.
Constraints
- Only one file that is no larger than 1 GB can be imported at a time.
- Binary fields such as BINARY, VARBINARY, TINYBLOB, BLOB, MEDIUMBLOB, and LONGBLOB are not supported.
- If there are more than 100,000 tables in a FlexusRDS for PostgreSQL instance, an error will be reported when you export data using the Export Database function of DAS. In this case, use the Export SQL Result function instead.
Exporting Data
- On the Instances page, locate the DB instance and click Log In in the Operation column.
- On the displayed login page, enter the username and password and click Log In.
- On the top menu bar, choose Import and Export > Export.
- On the displayed page, click Create Task and choose Export Database or Export SQL Result as required. The following takes database export as an example.
Alternatively, click Quick Export and select the target database. On the displayed page, select a storage path and click OK.
Figure 1 Quick export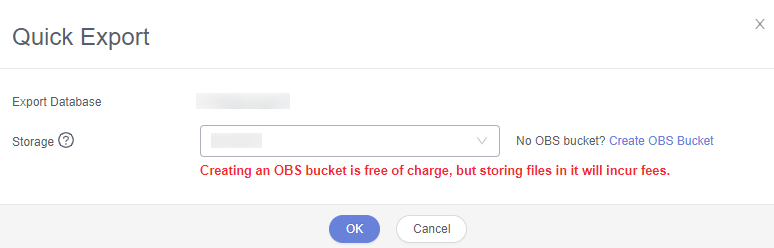
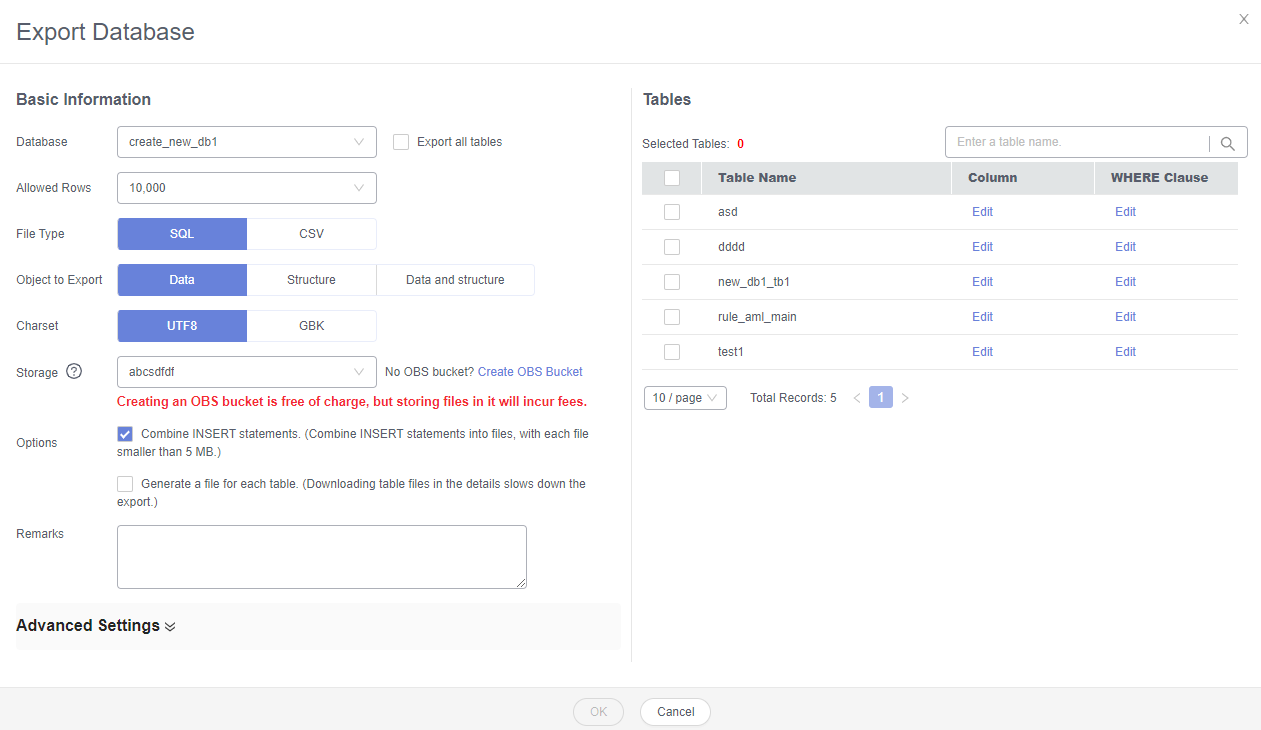
- On the displayed page, set parameters as required in areas Basic Information and Advanced Settings. Then, select the tables to be exported on the right. Figure 2 Creating an export task

- In a SQL result export task, the executed SQL statements cannot exceed 5 MB. Figure 3 Export SQL Result

- Databases are classified into user databases and system databases. System databases cannot be exported. If system database data is required, deploy system database services in a created user database, so that you can export the system database data from the user database.
- DAS connects to your standby database to export data. This prevents the primary database from being affected by data export. However, if the standby database has a high replication delay, the exported data may not be the latest.
- In a SQL result export task, the executed SQL statements cannot exceed 5 MB.
- After settings are complete, click OK.
- In the task list, view the task ID, type, status, and progress.
- Click Details in the Operation column to view task details. Figure 4 Task list

Importing Data
- On the top menu bar, choose Import and Export > Import.
- Import a file from your local PC or an OBS bucket. Figure 5 Creating an import task

- From your local PC
In the upper left corner, click Create Task. On the displayed page, select an import type, select Upload file for File Source, set the attachment storage, and upload the file. Then, set other parameters as required.
For security purposes, imported files are stored in OBS buckets.
- To keep your data secure, provide your own OBS bucket to store the attachments you upload. In this way, DAS automatically connects to your OBS bucket for in-memory reading. No data is stored on DAS.
- If you select Delete the uploaded file upon an import success., the file you uploaded will be automatically deleted from the OBS bucket after being imported to the destination database.
- From an OBS bucket
In the upper left corner, click Create Task. On the displayed page, select an import type, select Choose from OBS for File Source, and select a file from the bucket. Then, set other parameters as required.
The file uploaded from an OBS bucket will not be deleted upon an import success.
- After setting the import parameters, click Create. Confirm the information again before you click OK because original data may be overwritten after data import.
- View the import progress in the task list or check task details.
Feedback
Was this page helpful?
Provide feedbackThank you very much for your feedback. We will continue working to improve the documentation.See the reply and handling status in My Cloud VOC.
For any further questions, feel free to contact us through the chatbot.
Chatbot


