Adding a Tag to a Dedicated HSM Instance
You can use tags to identify Dedicated HSM instances. Tags can be added to Dedicated HSM instances to facilitate instance classification and query.
Adding a Tag to a Dedicated HSM Instance
- Log in to the DEW console.
- Click
 in the upper left corner and select a region or project.
 - In the navigation pane on the left, choose Dedicated HSM.
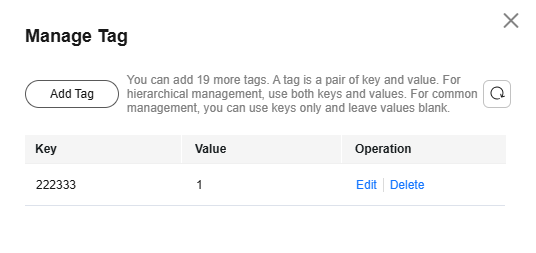
- Locate the target instance and click Manage Tag in the Operation column. The tag management dialog box is displayed, as shown in Figure 1.
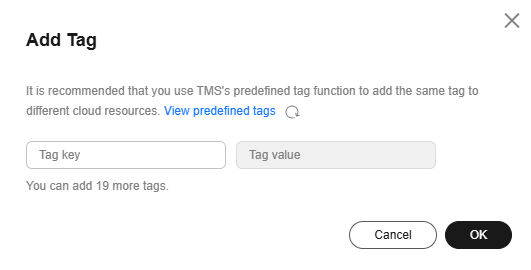
- Click Add Tag. In the displayed dialog box, enter the tag key and tag value. For details about the parameters, see Table 1.
Figure 2 Adding a tag


- If you want to use the same tag to identify multiple cloud resources, you can create predefined tags in the TMS. In this way, the same tag can be selected for all services. For more information about predefined tags, see the Tag Management Service User Guide.
- To delete a tag, click Delete next to it.
Table 1 Tag parameters Parameter
Description
Remarks
Tag key
Tag name.
The tag keys of a secret cannot have duplicate values. A tag key can be used for multiple secrets.
A secret can have up to 20 tags.
- Mandatory.
- The tag key must be unique for the same custom key.
- 128 characters limit.
- The value cannot start or end with a space.
- Cannot start with _sys_.
- The following character types are allowed:
- Chinese
- English
- Numbers
- Space
- Special characters: _.:/=+-@
Tag value
Value of the tag
- Optional
- 255 characters limit.
- The following character types are allowed:
- Chinese
- English
- Numbers
- Space
- Special characters: _.:/=+-@
- Click OK.
Modifying a Tag Value
- In the navigation pane on the left, choose Dedicated HSM.
- Locate the target instance and click Manage Tag in the Operation column. The Manage Tag dialog box is displayed.
- Click Edit. The Edit Tag dialog box is displayed. After changing the tag value, click OK.
Deleting a Tag
- In the navigation pane on the left, choose Dedicated HSM.
- Locate the target instance and click Manage Tag in the Operation column. The Manage Tag dialog box is displayed.
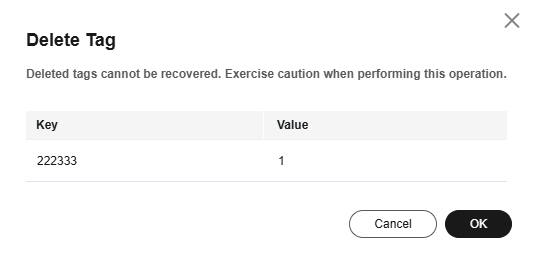
- Locate the target tag and click Delete in the Operation column.
Figure 3 Deleting a tag

- In the Delete Tag dialog box, click Yes.
Feedback
Was this page helpful?
Provide feedbackThank you very much for your feedback. We will continue working to improve the documentation.See the reply and handling status in My Cloud VOC.
For any further questions, feel free to contact us through the chatbot.
Chatbot


