Creating and Using an Agency
Creating an Agency
- Log in to the Huawei Cloud console.
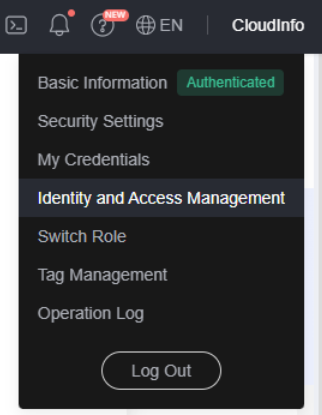
- Move the cursor to the username in the upper right corner, as shown in the following figure, and click Identity and Access Management.

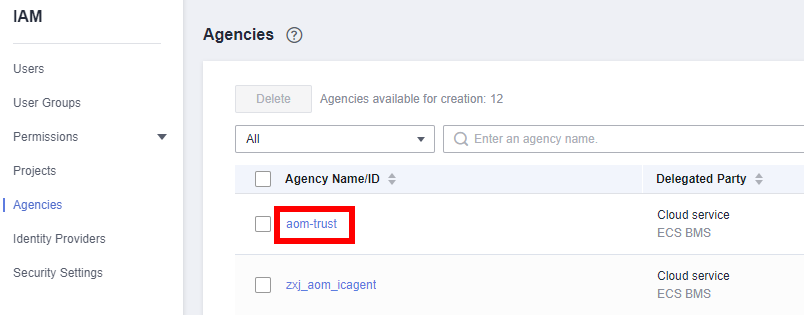
- Click Agencies in the navigation tree on the left. The Agencies page is displayed.
- Click Create Agency in the upper right corner. The Create Agency page is displayed.
- Set the parameters by referring to Table 1.
Table 1 Agency parameters Name
Description
Example
Agency Name
Name of the agency. Mandatory.
aom_ecm_trust
Agency Type
Select Cloud service.
-
Cloud Service
Select Elastic Cloud Server (ECS) and Bare Metal Server (BMS) from the drop-down list.
-
Validity Period
Select Unlimited.
-
Description
This parameter is optional. Provides supplementary information about the agency.
-
- Click Done. The Authorize Agency page is displayed.
- Enter APM in the search box in the upper right corner and select APM Administrator in the search result.

- Click OK and the agency is successfully created.
Selecting an Agency
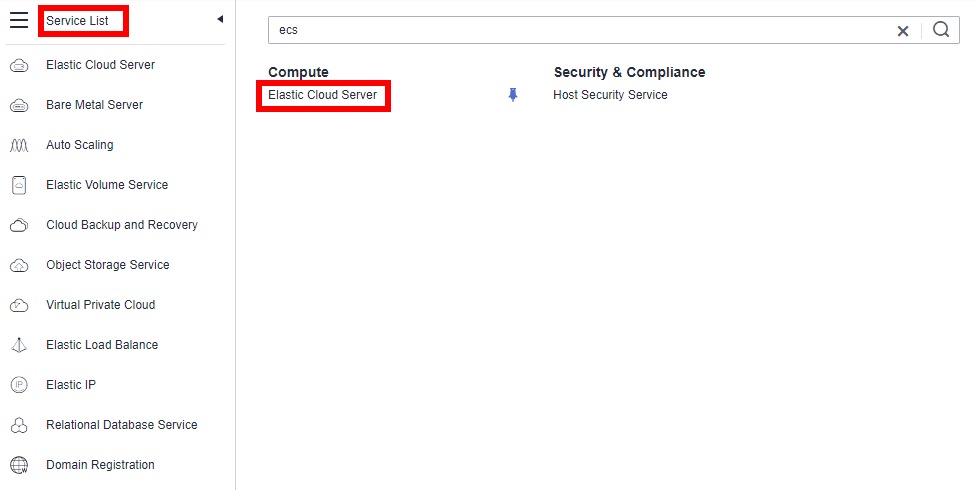
- In the navigation pane, choose Services List > Elastic Cloud Server.

- Click the name of the ECS for which AOM monitoring is to be enabled. The ECS parameter configuration page is displayed, as shown in the following figure. By default, the search box searches for and filters data by name.

- Click the ID of the agency to be delegated, as shown in the following figure.

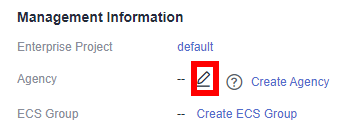
- Click
 . The configuration takes effect after confirmation, as shown in the following figure.

Feedback
Was this page helpful?
Provide feedbackThank you very much for your feedback. We will continue working to improve the documentation.See the reply and handling status in My Cloud VOC.
For any further questions, feel free to contact us through the chatbot.
Chatbot


