Managing Repository Group Members
Before managing repository group members, view Constraints. If you meet the conditions, you can perform the following operations.
- Adding a Member or Member Group to a Repository Group
- Editing Repository Group Members
- Removing a Member from a Repository Group
- Viewing Repository Group Member Information
Constraints
|
Item |
Description |
|---|---|
|
Function constraints |
|
|
Permission constraints |
|
Adding a Member or Member Group to a Repository Group
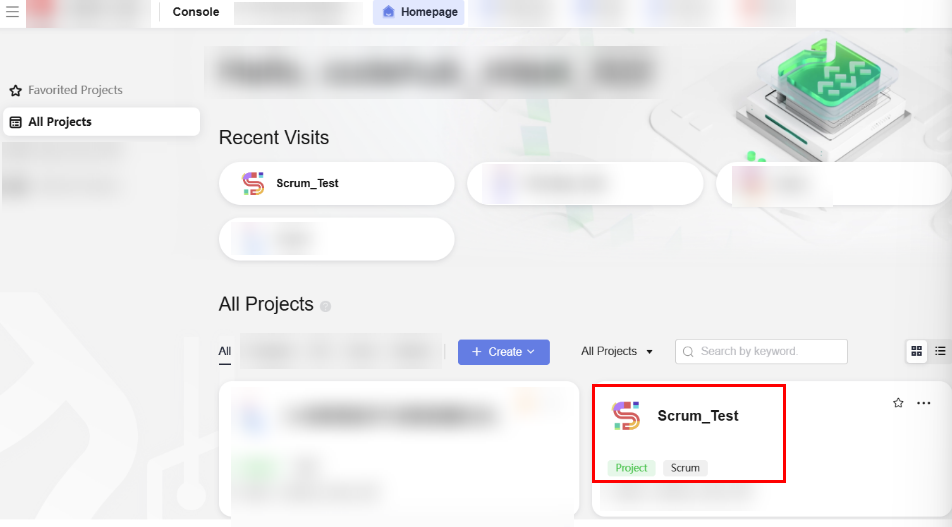
- On the CodeArts homepage, click the Scrum_Test project to be viewed as shown in the following figure.

- On the Scrum_Test homepage, click Services in the navigation bar and choose CodeArts Repo.

- Click the repository group name Test_Group to go to its details page.
- Click Members and click
 .
. - On the Members tab page, search for the member to be added, select the member, and click OK to add the member to the repository group.
You can also click the Member Groups tab, select the member group to be added from the drop-down list, and click OK to add the member group to the repository group.

Click  in the row where the member is located to remove the member from the repository group. Click
  in the row where the member group is located to delete the repository group from the member group.
Viewing Repository Group Member Information
Only repository group members can view the Members tab of the repository group.
- Go to the CodeArts homepage and click the target project name to access the project.
- Choose Services > Repo.
- Find the parent organization of repository group and go to the repository group homepage.
- Click Members, as shown in the following figure.

On this page, you can view the repository group member information listed in the following table.
Table 2 Viewing repository group member information Parameter
Description
All
Displays the Username, User Source, Status, Project Member Role, Repository Group Role, and Operation of all members in the repository group.
Groups
Displays the Member Group Name, Number of Members, Description, and Operation of all member groups in the repository group.
Pending
Displays the Pending members who are about to join the repository group. The information includes Username, Status, Project Member Role, Repository Group Role, and Operation.
A user with permission to add members can set a member to be reviewed as either Agree or Reject.
Feedback
Was this page helpful?
Provide feedbackThank you very much for your feedback. We will continue working to improve the documentation.See the reply and handling status in My Cloud VOC.
For any further questions, feel free to contact us through the chatbot.
Chatbot


