
Step 2: Create a Workspace
Workspace is a top-level workbench of SecMaster. Before using SecMaster, you need to create workspaces to group resources based on work scenarios. This will enable faster resource search and security operations.
This topic describes how to create a workspace.
Limitations and Constraints
- Paid SecMaster: A maximum of five workspaces can be created for a single account in a single region.
- Free SecMaster: Only one workspace can be created for a single account in a single region.
Procedure
- Log in to the management console.
- Click
 in the upper left corner of the management console and select a region or project.
 - Click
 in the upper left corner of the page and choose Security & Compliance > SecMaster.
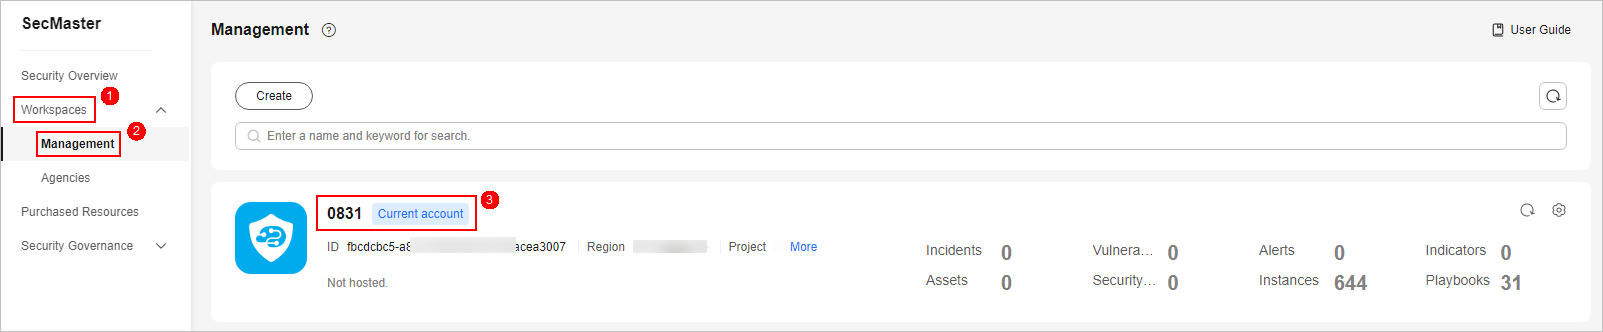
 - In the navigation pane on the left, choose Workspaces > Management. In the workspace list, click the name of the target workspace.
Figure 1 Workspace management page
- (Optional) On the displayed page for assigning permissions, select all required permissions (which are selected by default), select Agree to authorize, and click Confirm.
SecMaster depends on some other cloud services, so to better use SecMaster, you can authorize SecMaster to perform some operations on certain cloud services on your behalf. For example, you can allow SecMaster to execute scheduling tasks and manage resources.
Your authorization is required first time you try to use SecMaster.
- On the workspace management page, click Create. On the Create Workspace panel displayed, configure parameters.
Table 1 Parameters for creating a workspace Parameter
Example Value
Description
Region
AP-Bangkok
Select the region based on where your cloud resources are deployed.
Project Type
default
Project that the workspace belongs to
Workspace Name
SecMaster
Name of the security operations workspace, which cannot be modified once the workspace is created.
Tag
--
Tag attached to the workspace. The tag can be edited.
Description
--
Description of the workspace.
- Click OK.
Feedback
Was this page helpful?
Provide feedbackThank you very much for your feedback. We will continue working to improve the documentation.See the reply and handling status in My Cloud VOC.
For any further questions, feel free to contact us through the chatbot.
Chatbot


