
Help Center/
Huawei Cloud Flexus/
Getting Started/
FlexusRDS/
Buying and Connecting to a FlexusRDS Instance
Updated on 2024-06-17 GMT+08:00
Buying and Connecting to a FlexusRDS Instance
This section describes how to purchase a FlexusRDS instance and how to connect to it using Data Admin Service (DAS).
Step 1: Create a FlexusRDS Instance
- Go to the FlexusRDS console.
- If this is your first time to create a FlexusRDS instance, click Buy.
- Configure the instance information and click Buy.
- DB Engine: Select MySQL 8.0.
- Instance Class: Select Standard 2U4G (120 GB of storage).
- Required Duration: Select 1 year.
- Quantity: Enter 1.
Figure 1 Selecting an instance class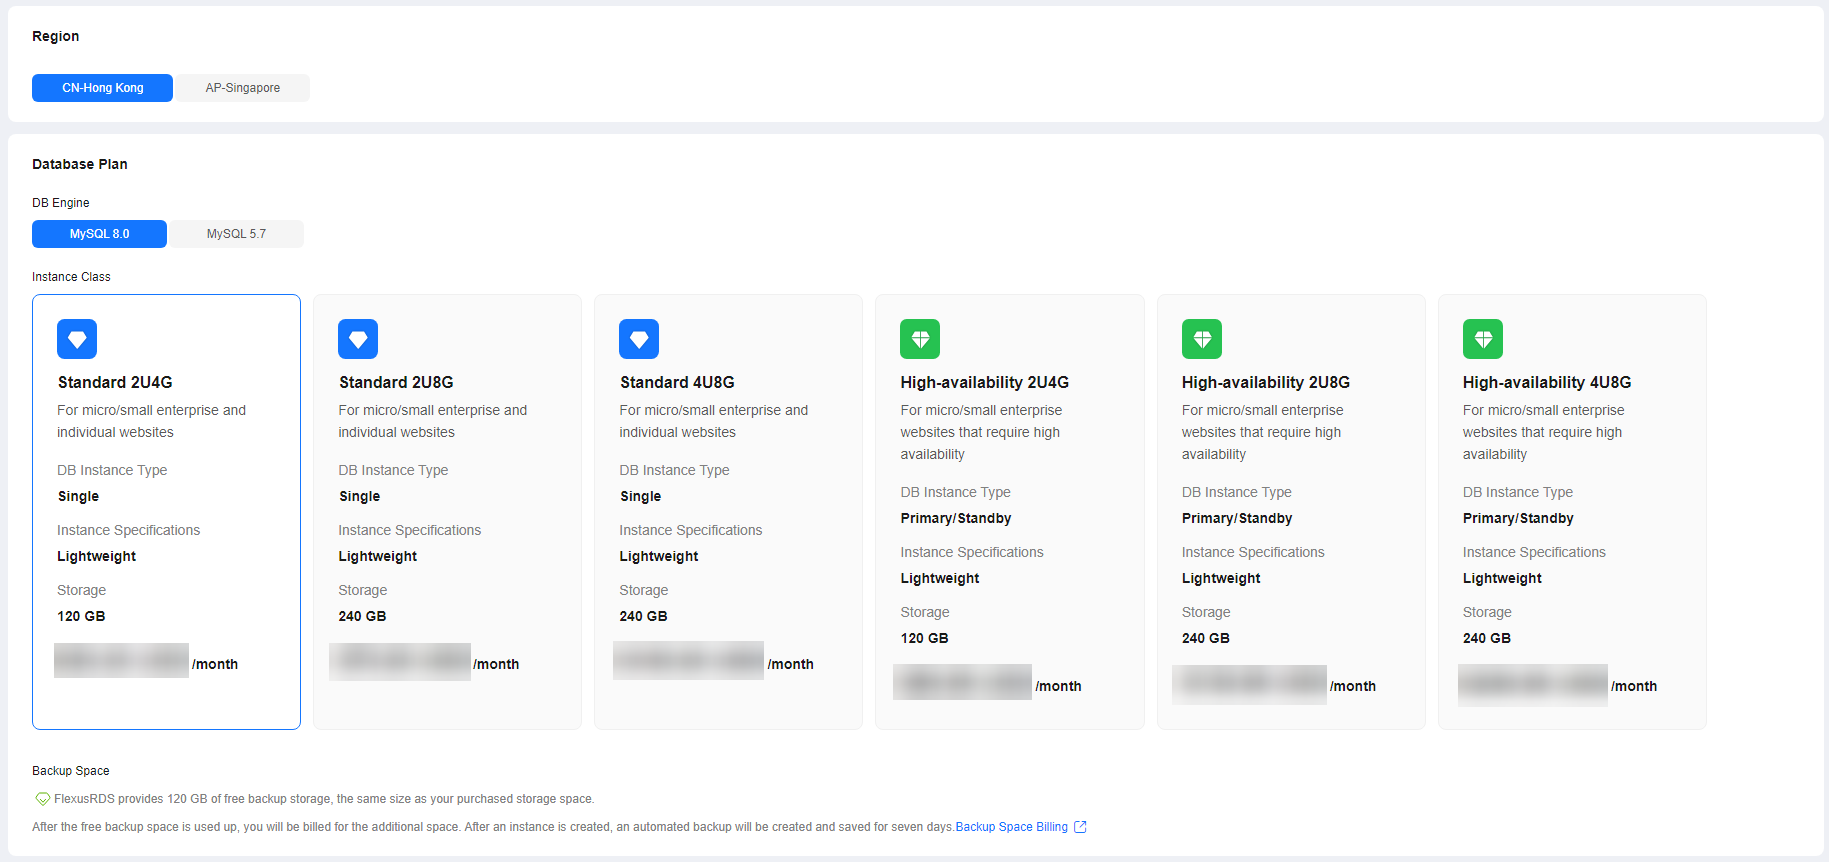 Figure 2 Selecting the required duration
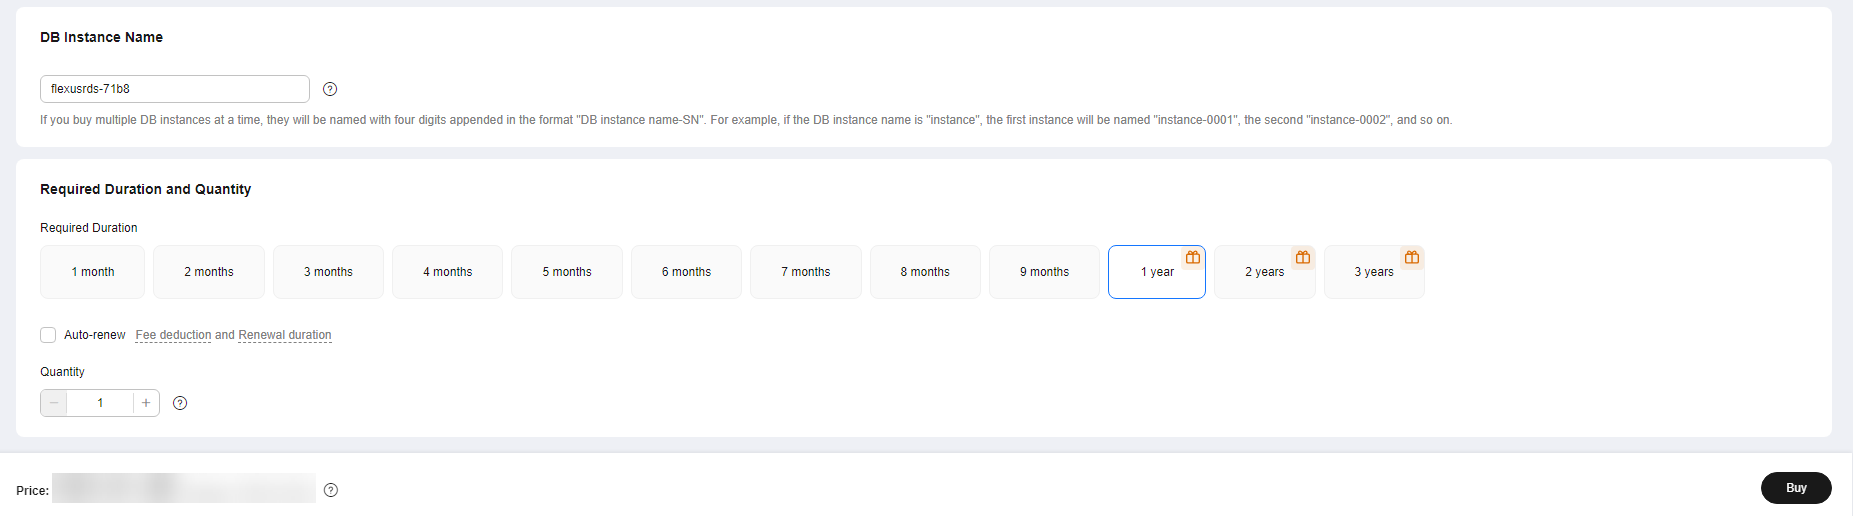
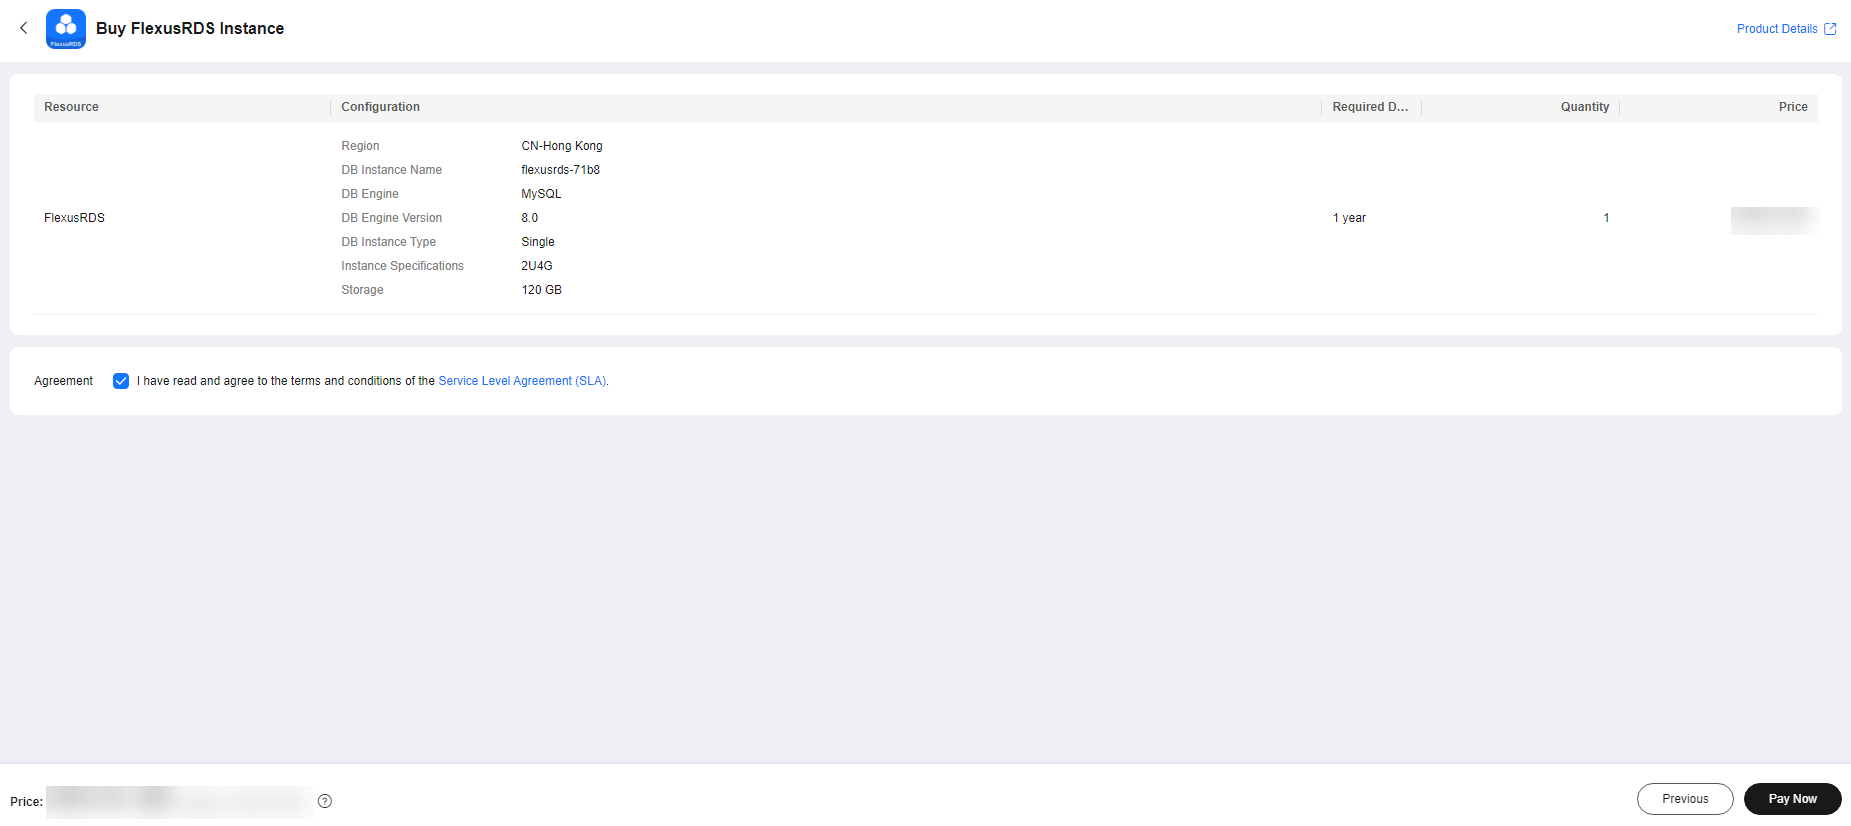
- Confirm the order and click Pay Now.
Figure 3 Order confirmation
- Select a payment method and complete the payment.
- View the purchased instance.
- Administrator account: root
- Password of the administrator account: The password is randomly set by the system. You need to reset the password when using the account.
Figure 4 Instance successfully purchased
Step 2: Connect to the FlexusRDS Instance
- In the instance list, locate the instance and click Reset Password in the Operation column.
Figure 5 Instance list

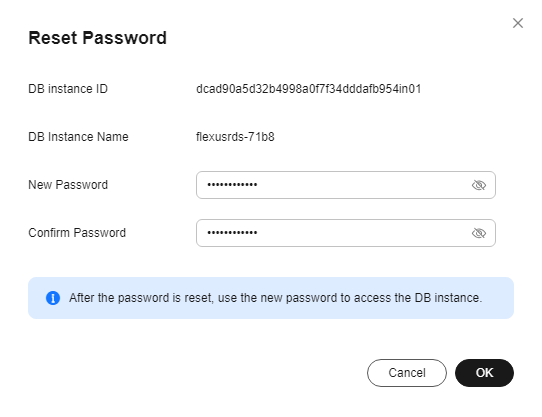
- Enter a new password, confirm the password, and click OK.
Figure 6 Resetting a password
- In the instance list, locate the instance and click Log In in the Operation column.
Figure 7 Instance list

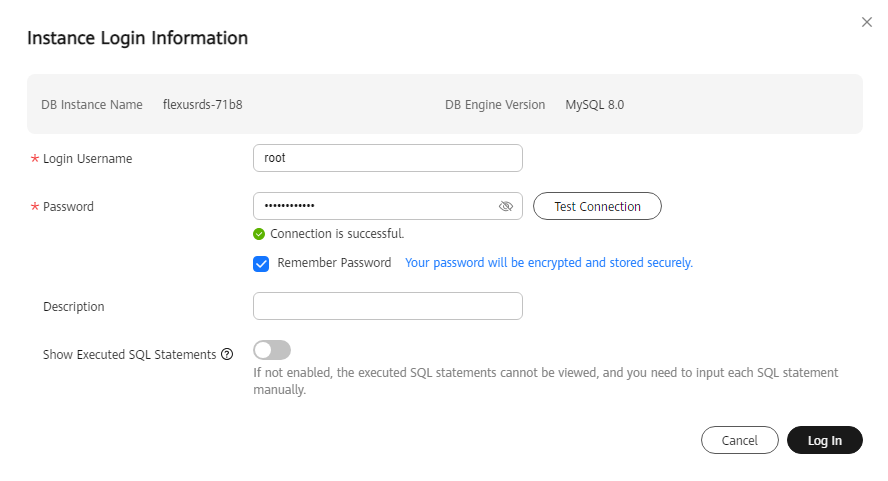
- Enter username root and its password, and click Log In.
Figure 8 Instance login
- Click Create Database.
Figure 9 Creating a database
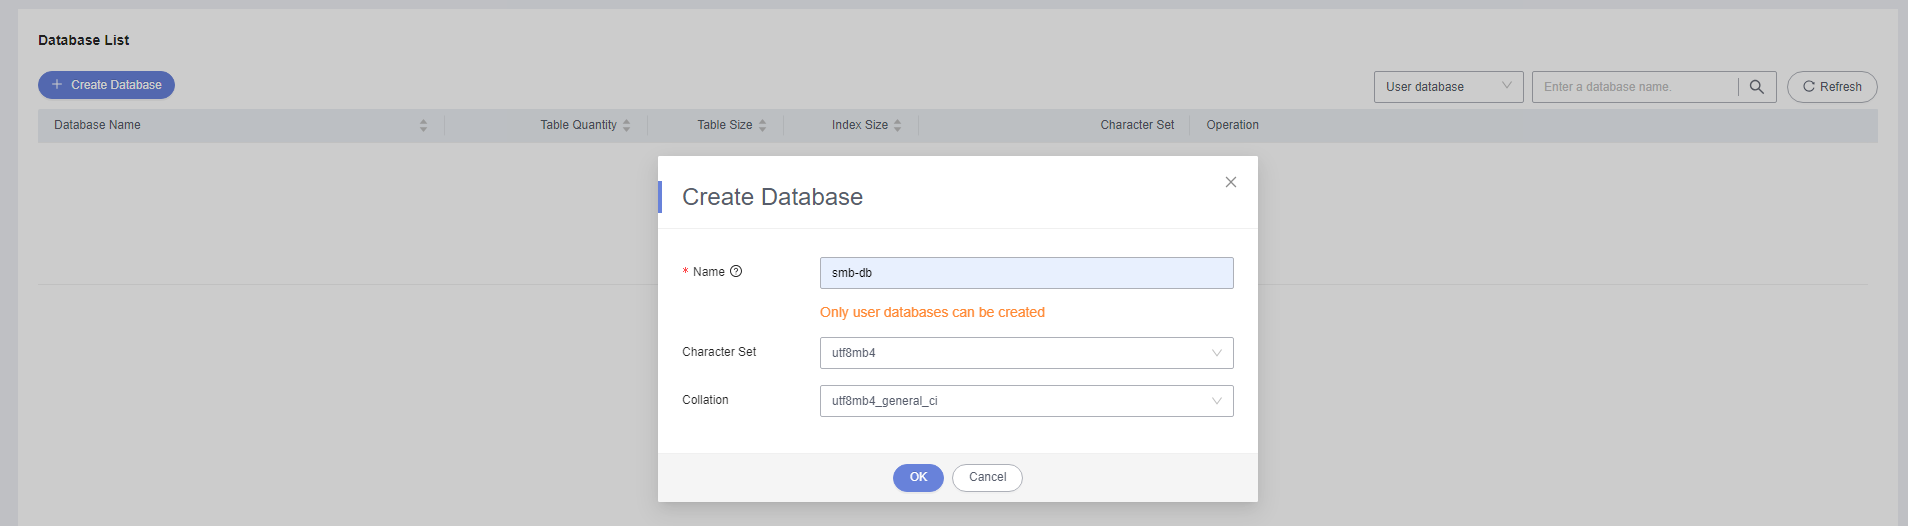
- Complete the database creation.
Figure 10 Database information

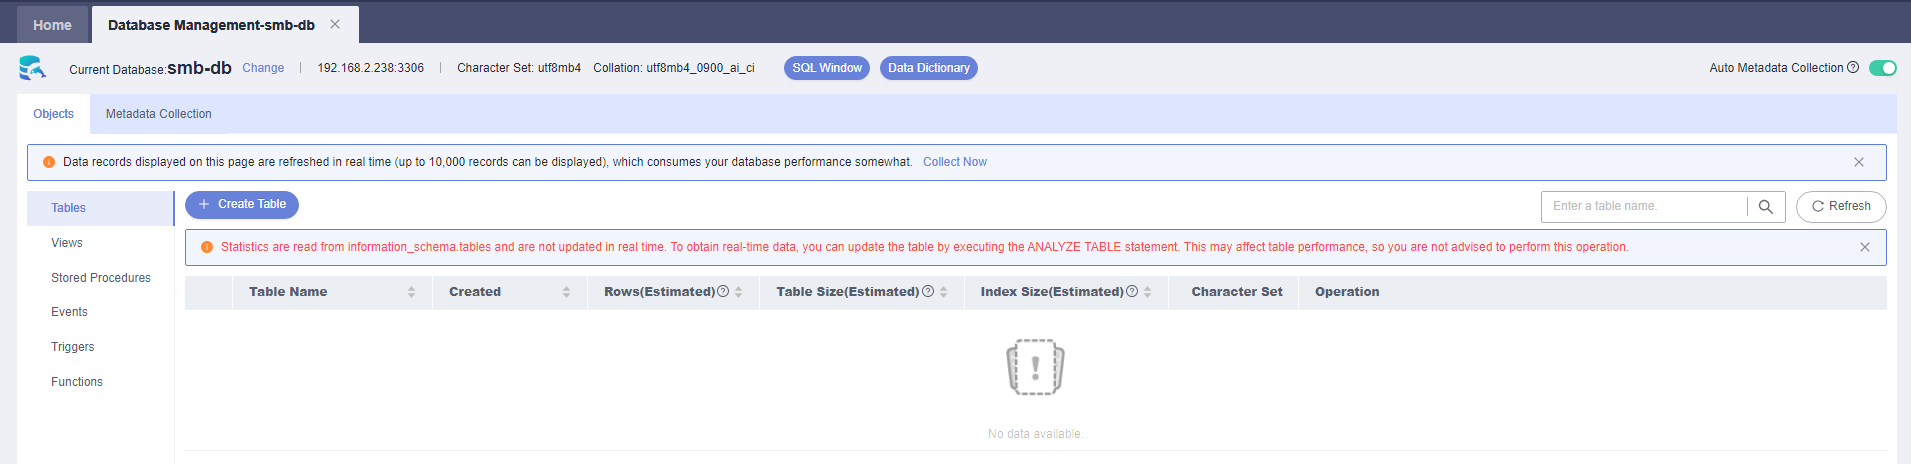
- Click the database name. On the displayed page, you can create tables, views, stored procedures, events, triggers, and functions.
Figure 11 Database management
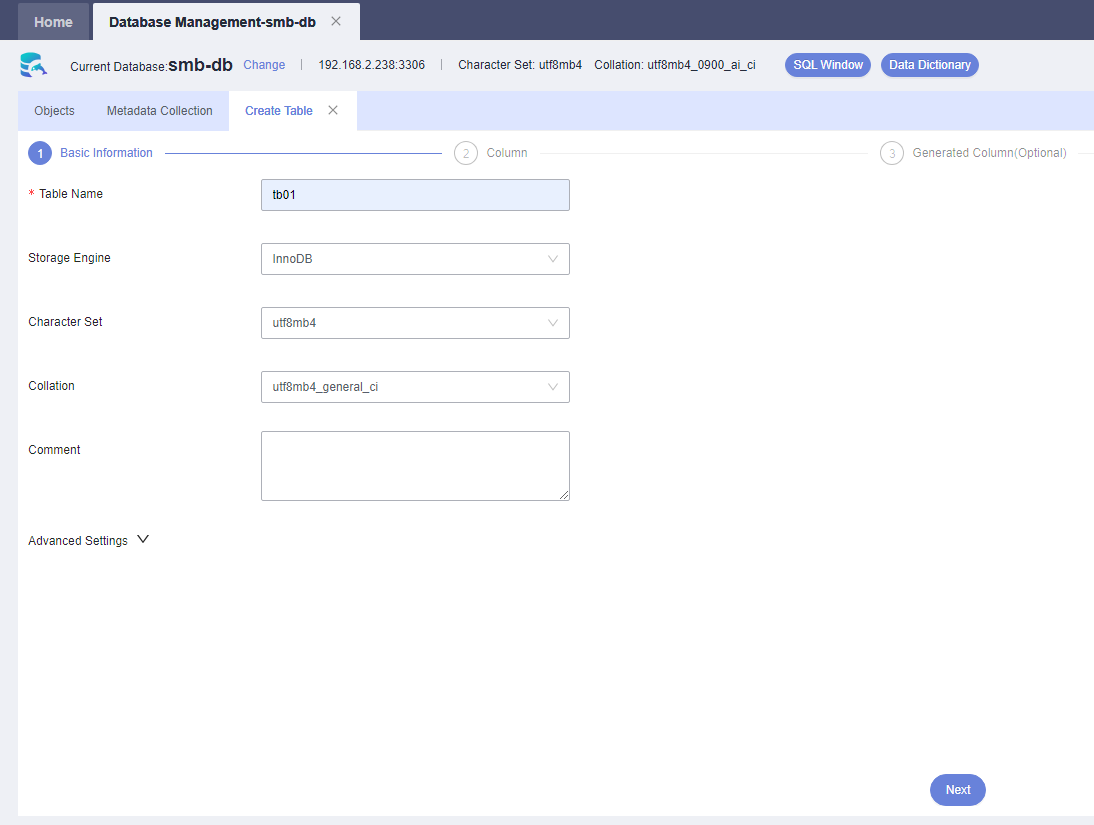
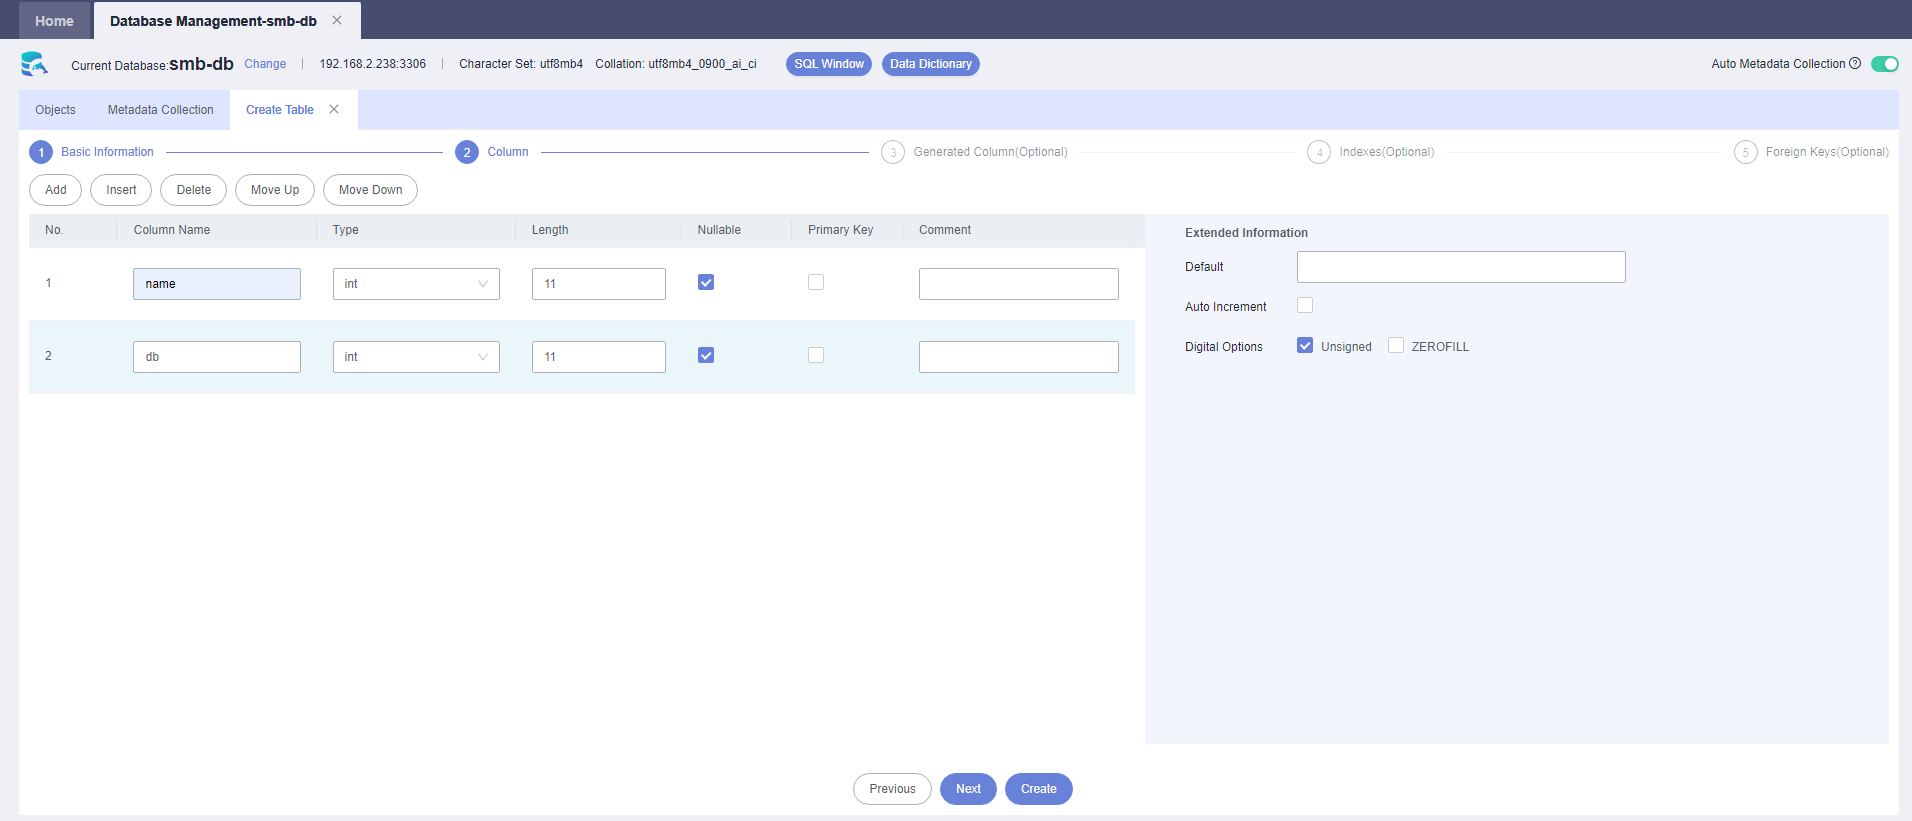
- Click Create Table.
Figure 12 Creating a table
- Insert table data and click Create.
Figure 13 Inserting data into the table
- View the new table.
Figure 14 Table information

Feedback
Was this page helpful?
Provide feedbackThank you very much for your feedback. We will continue working to improve the documentation.See the reply and handling status in My Cloud VOC.
The system is busy. Please try again later.
For any further questions, feel free to contact us through the chatbot.
Chatbot


