
Obtaining the Key Using the Staking Launchpad
The Staking Launchpad is an open source application that will help you become a staker. It will guide you through choosing your clients, generating your keys, and depositing your ETH to the staking deposit contract. A checklist is provided to make sure you have covered everything to get your validator set up safely.
Mainnet and Holesky testnet are supported on the Staking Launchpad. It is recommended to test your setup and operational skills on the Holesky testnet.
- Learn about staking.
The Staking Launchpad provides advisories for you to learn about staking.
Figure 1 Advisories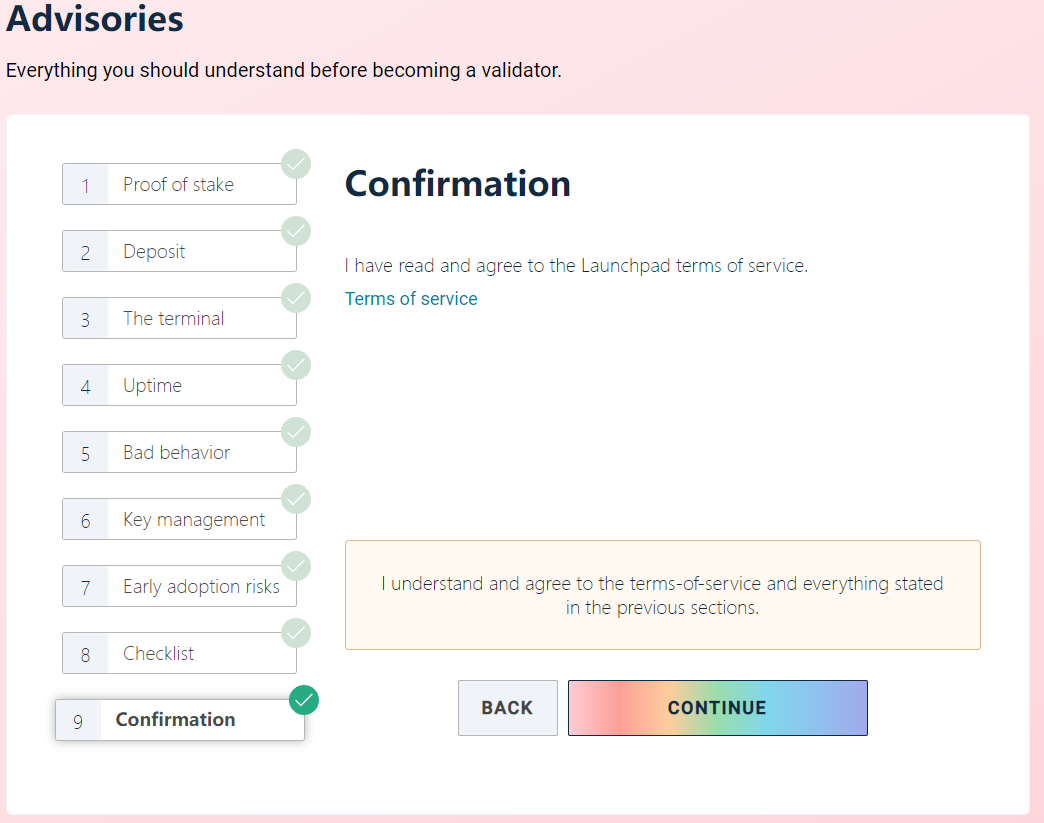
- Choose your execution client and consensus client. You can choose the clients from Eth1 and Eth2 providers and set up your nodes accordingly. If you have purchased Huawei Cloud staking nodes, NES will help you create execution nodes and consensus nodes, so that you can perform staking efficiently.

NES uses Geth as the execution client and Prysm and Lighthouse as the consensus client.
Figure 2 Choosing an execution client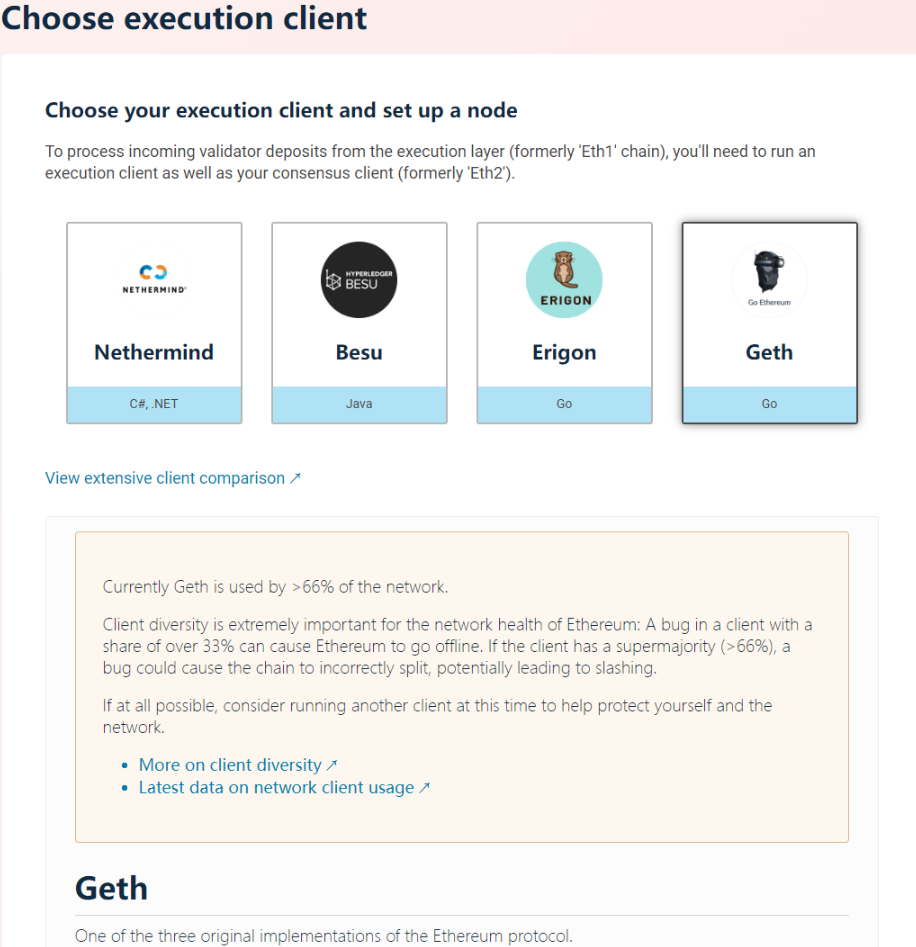 Figure 3 Choosing a consensus client
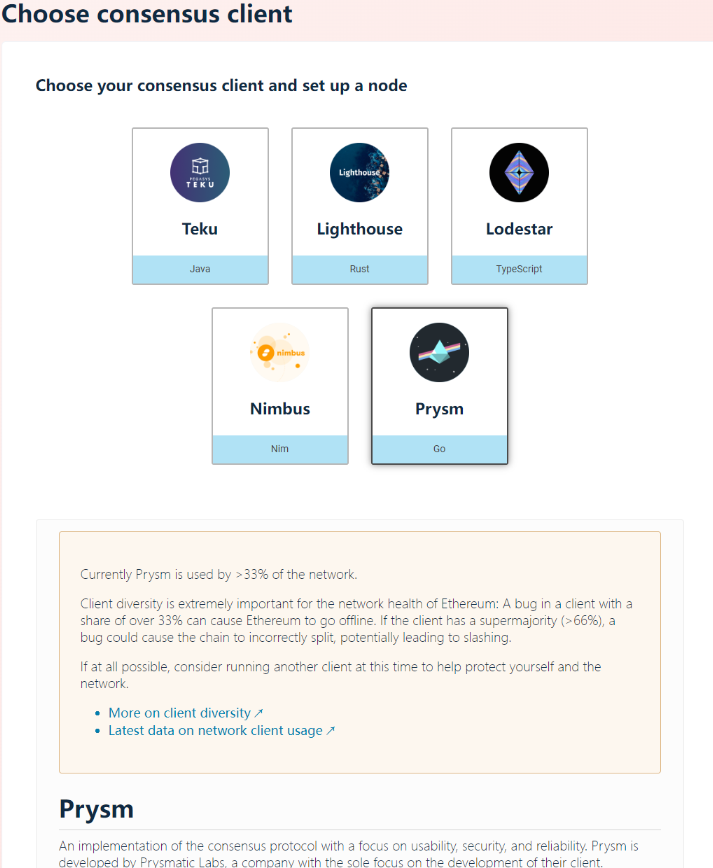
- Generate keys.
Generate keys using the key generation tool provided by Ethereum, and keep the keys safe.
The following shows how to generate keys by downloading the CLI app, that is, the deposit command line interface app.
Figure 4 Choosing a key generation tool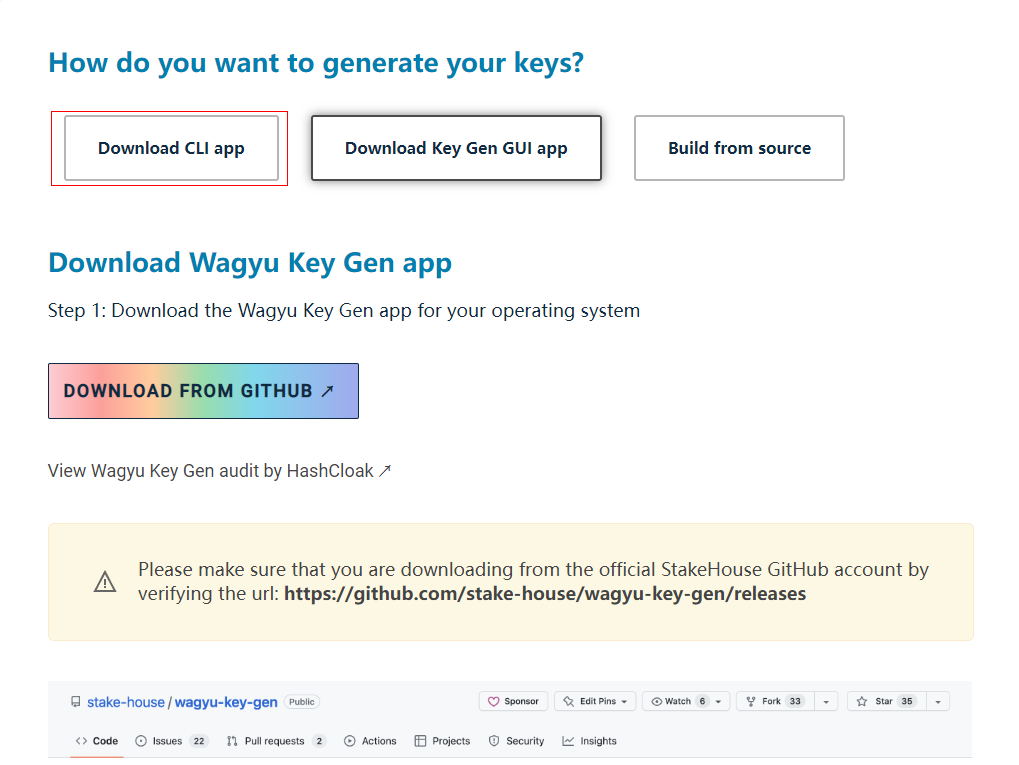
Download the deposit command line interface app from GitHub.
Figure 5 Downloading the tool
Decompress the file you just downloaded. Use the terminal/PowerShell to move into the directory that contains the tool and run the following commands:
Linux/Mac
./deposit new-mnemonic
Windows
.\deposit.exe new-mnemonic
Then, follow the instructions to generate your keys.
[root@ecs-devnet01 ~]# ./deposit new-mnemonic
***Using the tool on an offline and secure device is highly recommended to keep your mnemonic safe.***
Please choose your language ['1. العربية', ' '3. English', '4. Français', '5. Bahasa melayu', '6. Italiano', ]:  [English]:
Please choose the language of the mnemonic word list [ '4. English', '5. Italiano', ]:  [english]:
Please choose how many new validators you wish to run: 1
Please choose the (mainnet or testnet) network/chain name ['mainnet', 'goerli', 'sepolia', 'zhejiang']:  [mainnet]: goerli
Create a password that secures your validator keystore(s). You will need to re-enter this to decrypt them when you set up your Ethereum validators.:
Repeat your keystore password for confirmation:
This is your mnemonic (seed phrase). Write it down and store it safely. It is the ONLY way to retrieve your deposit.
warm merry prevent invalid crash potato tongue portion rapid render chair outdoor summer red chief lesson firm culture infant or island bread fade property
Press any key when you have written down your mnemonic.
Please type your mnemonic (separated by spaces) to confirm you have written it down. Note: you only need to enter the first 4 letters of each word if you'd prefer.
Figure 6 Completing the key generation process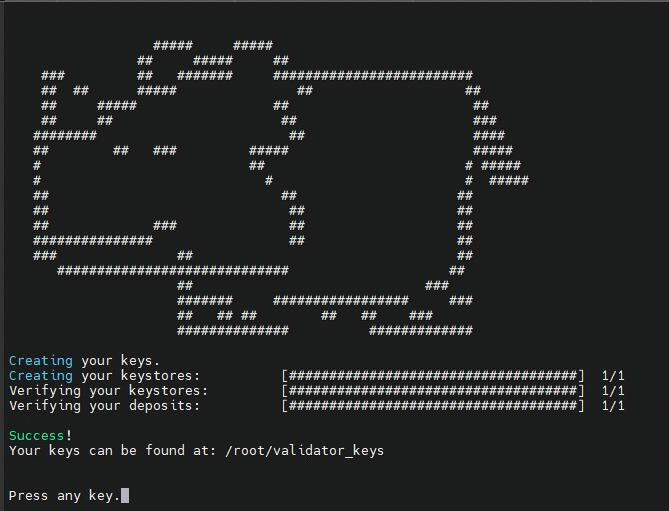
- Upload deposit data.
Upload the deposit data file you just generated. Ensure that the network appeared in the upper right corner is correct. If you generate a key on the wrong network, the console will prevent you from moving on.
Figure 7 Uploading deposit data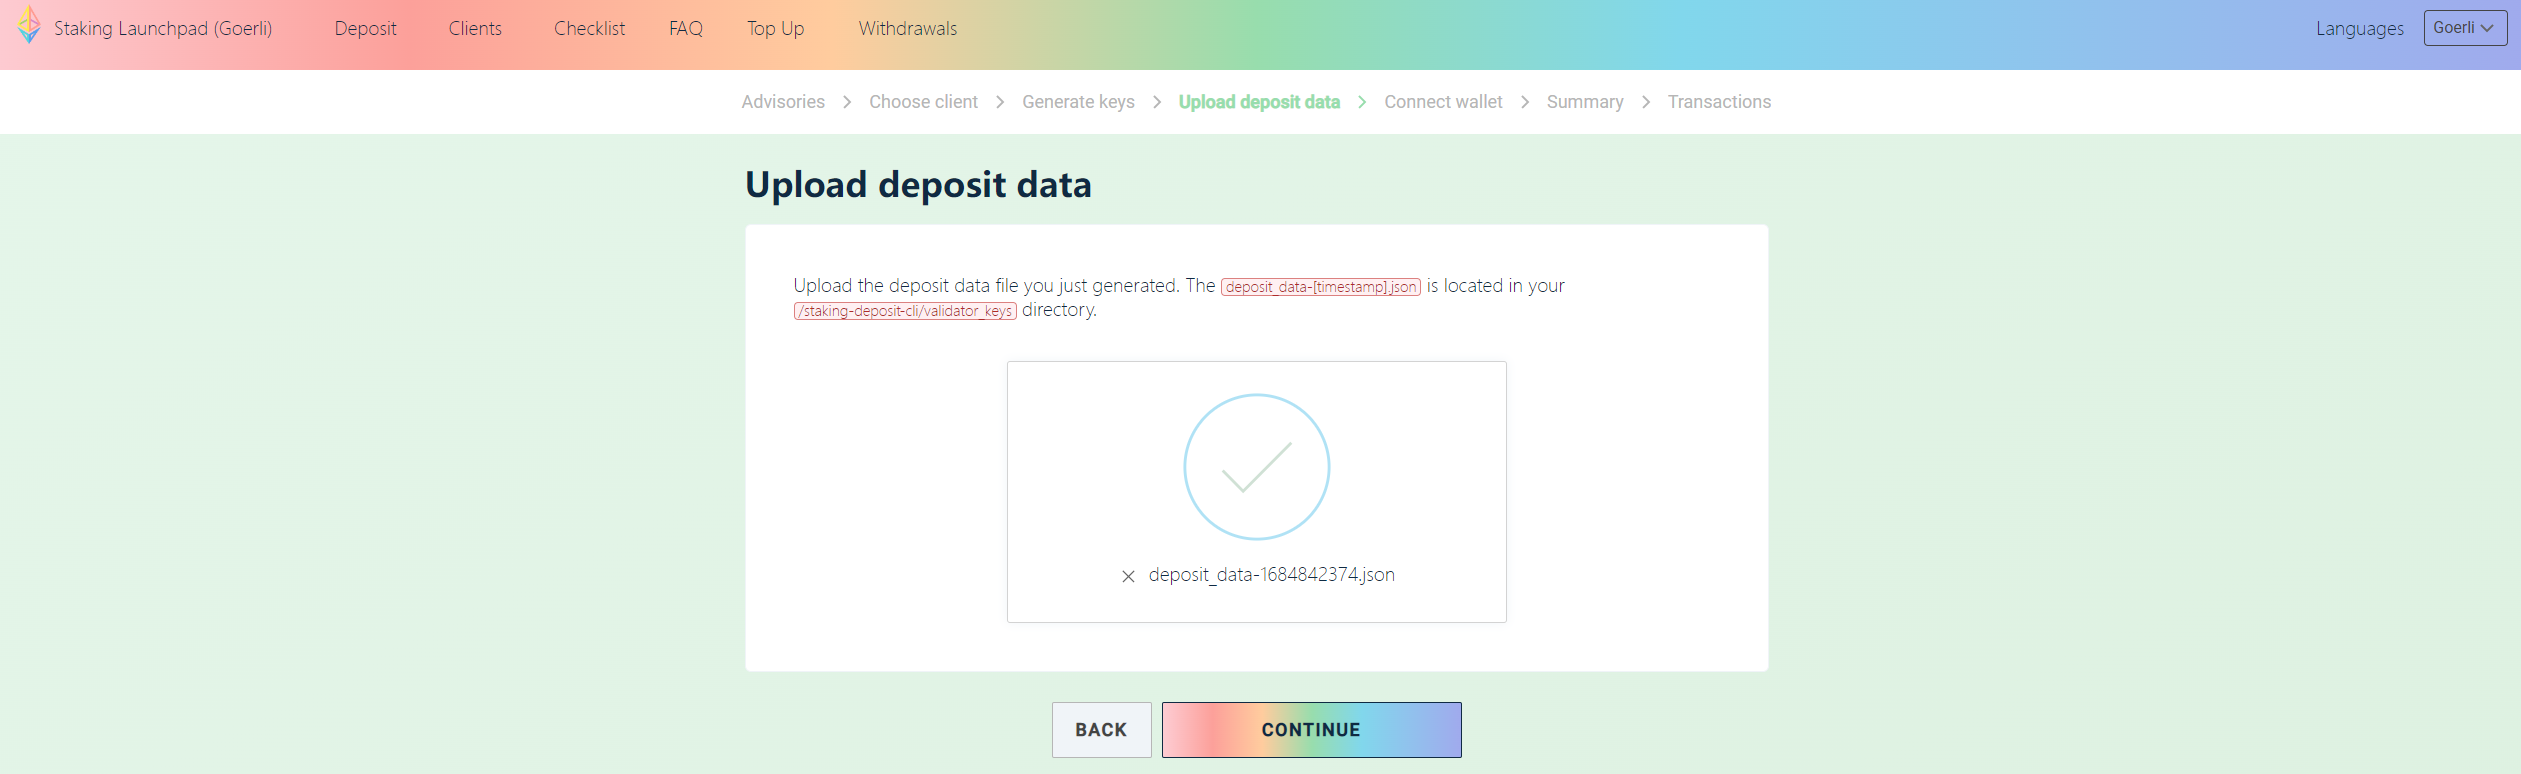
- Connect to the wallet.
Connect your wallet to the console and make sure you have 32 ETH in your account.
Figure 8 Connecting to the wallet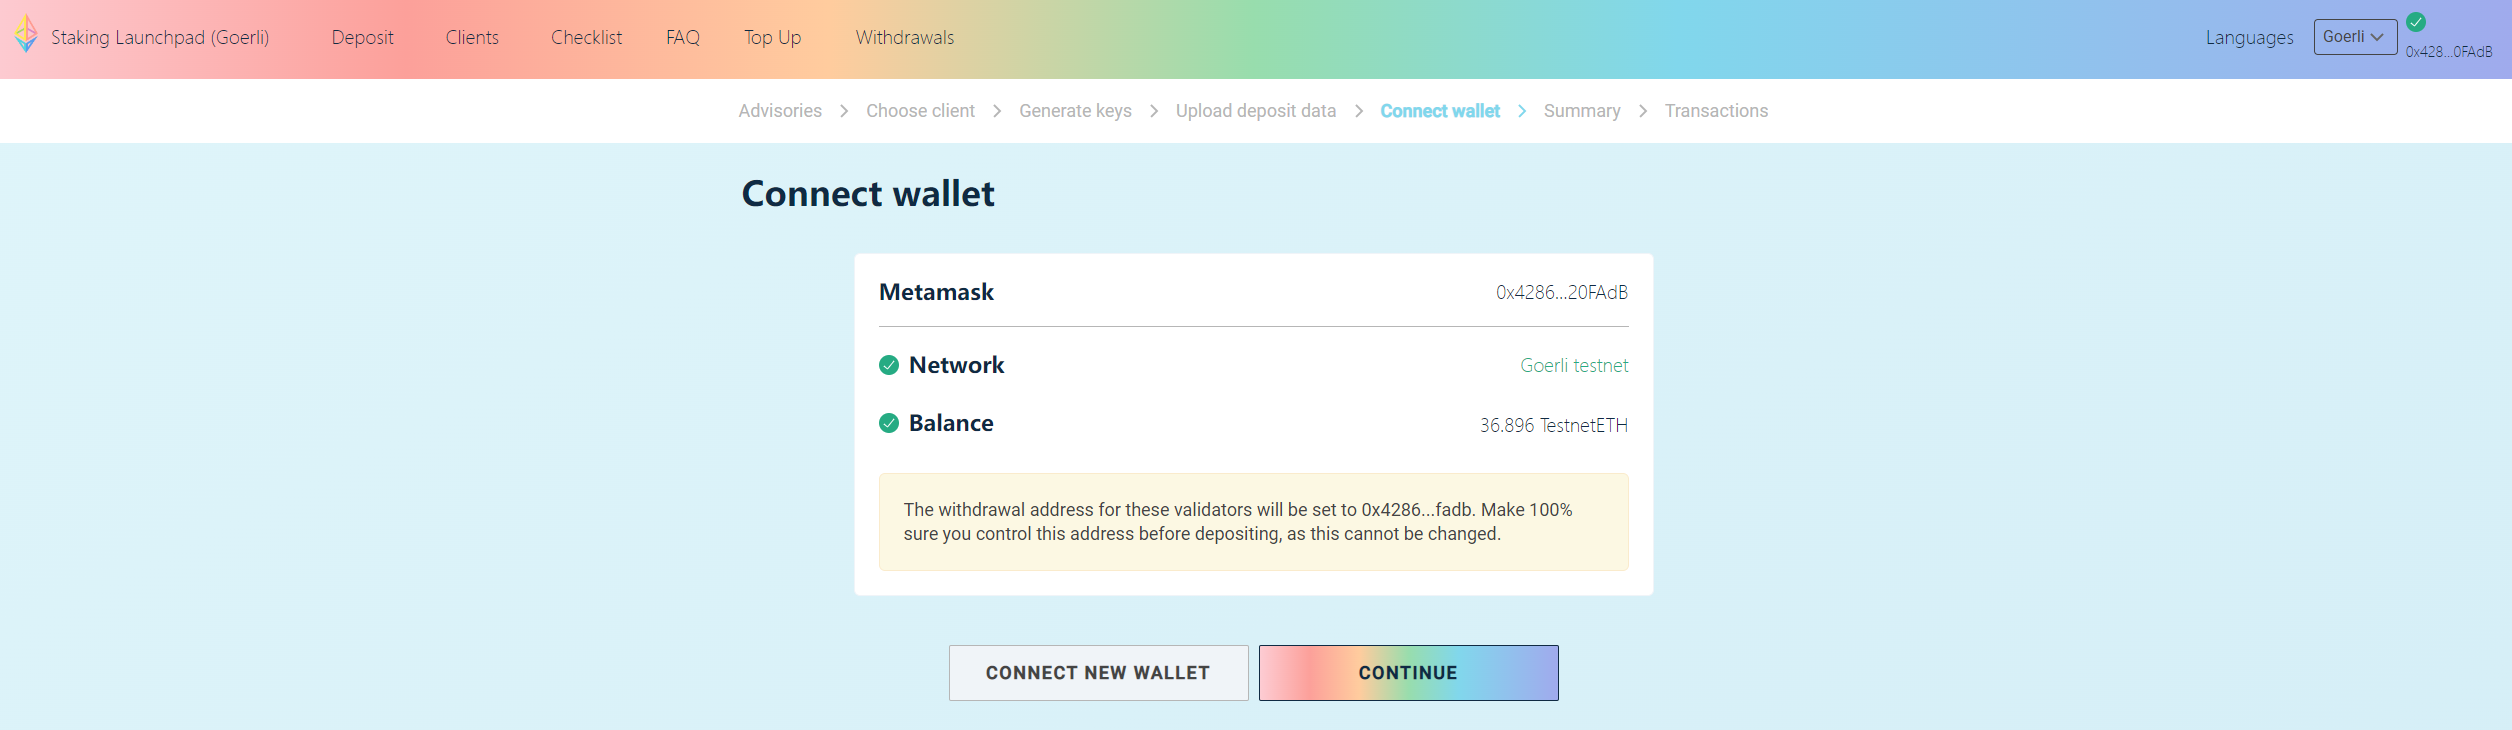
- Confirm the information.
Check the information to ensure it is correct.
Figure 9 Confirming the information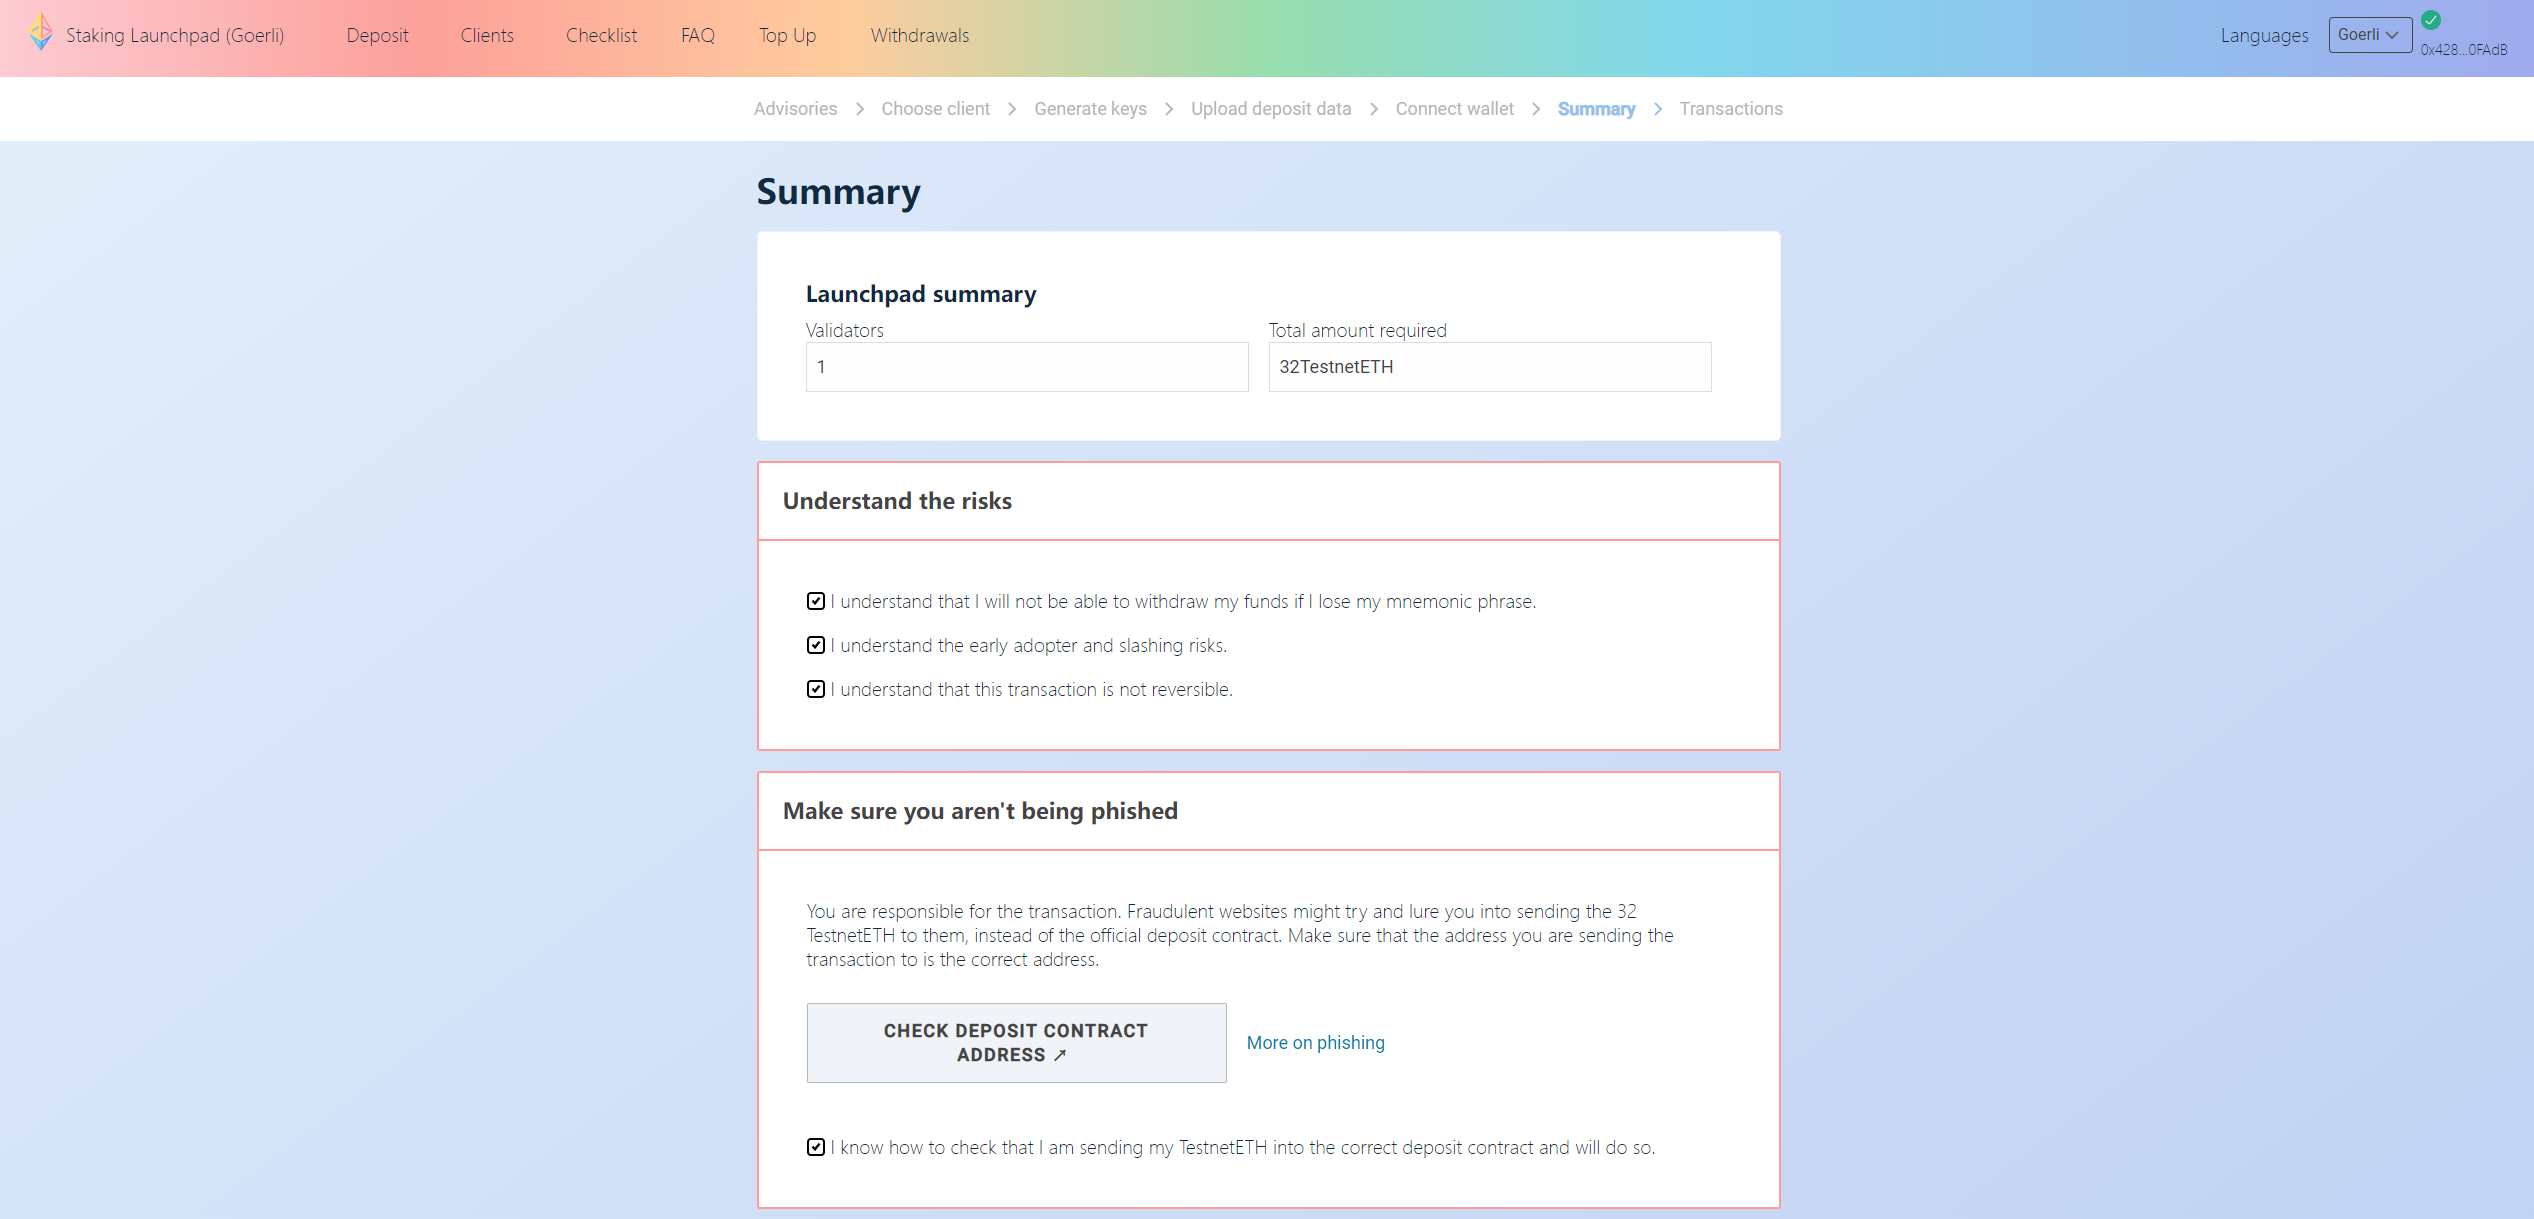
- Send the deposit.
Click CONTINUE to send the deposit to the Beacon Chain. Now, you have submitted a transaction. Next, you will start the client to complete staking.
Figure 10 Sending the deposit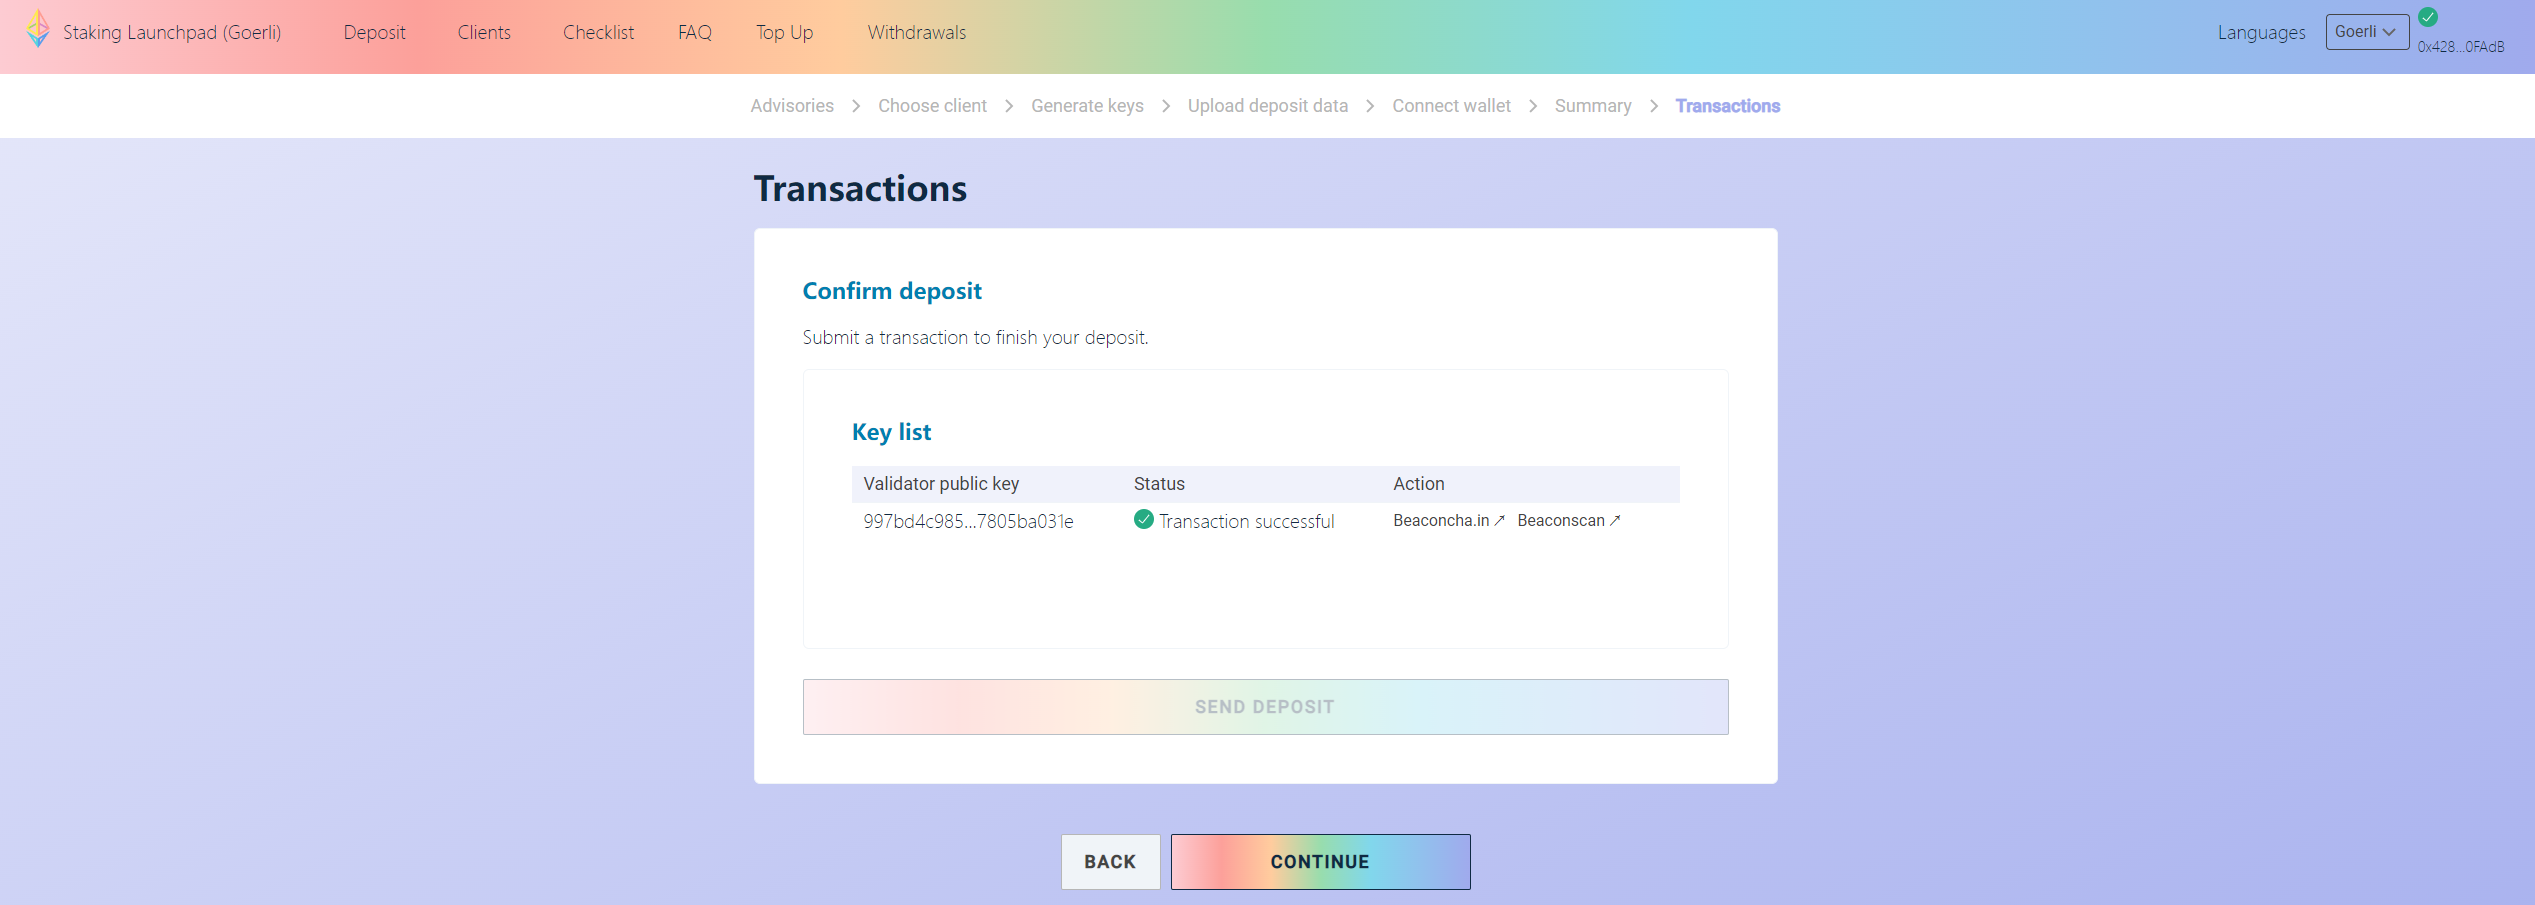
Feedback
Was this page helpful?
Provide feedbackThank you very much for your feedback. We will continue working to improve the documentation.See the reply and handling status in My Cloud VOC.
For any further questions, feel free to contact us through the chatbot.
Chatbot


