Initializing Matomo
The image application dashboard needs to be initialized only when you log in for the first time.
- On the Overview page, click Access in the Dashboard field in the Image area.

- Click NEXT.

- Wait until Matomo completes the system check and click NEXT.
Matomo automatically checks whether the server meets the requirements for installing Matomo and displays the check result for each item.
- Set up the MySQL database and click NEXT.
The MySQL database and a default database account have been preset in Matomo. The information about the default database account is automatically obtained. Retain the default settings and click NEXT.
- After Matomo automatically creates data tables, click NEXT.
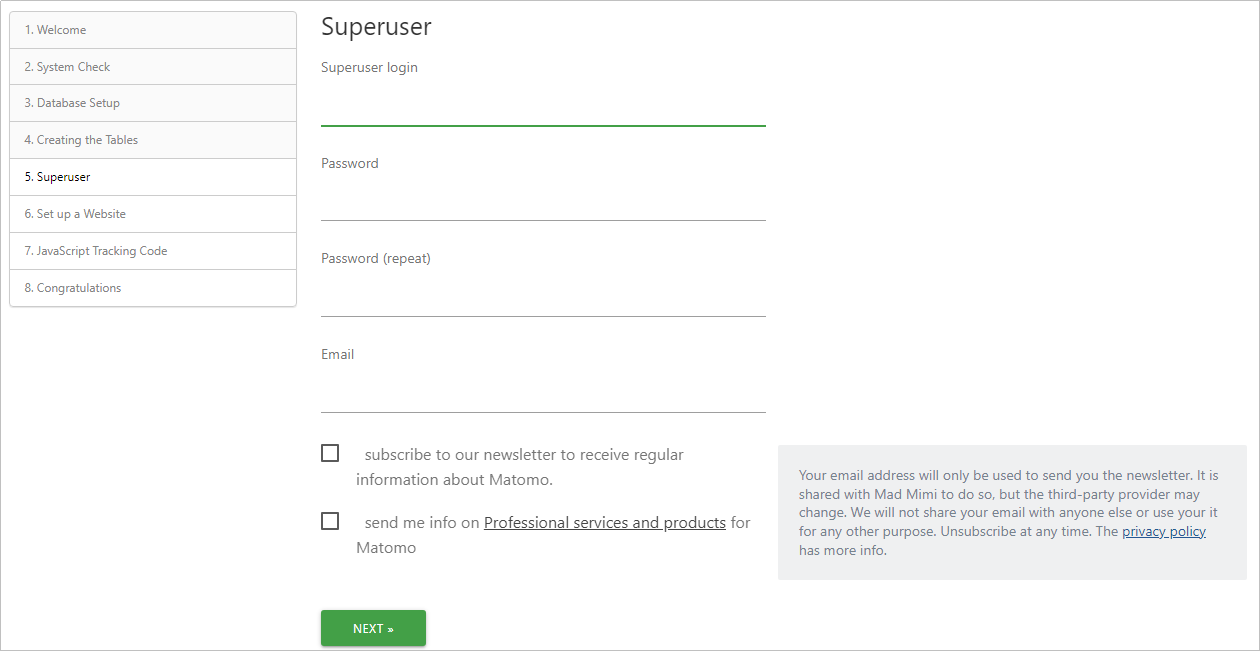
- On the Super User page, set the username, password, and email address of the Matomo administrator, and click NEXT.
The super user is the user that you created when you installed Matomo. Each Matomo has only one super user who has the highest permissions. Keep the username and password of the super user secure.

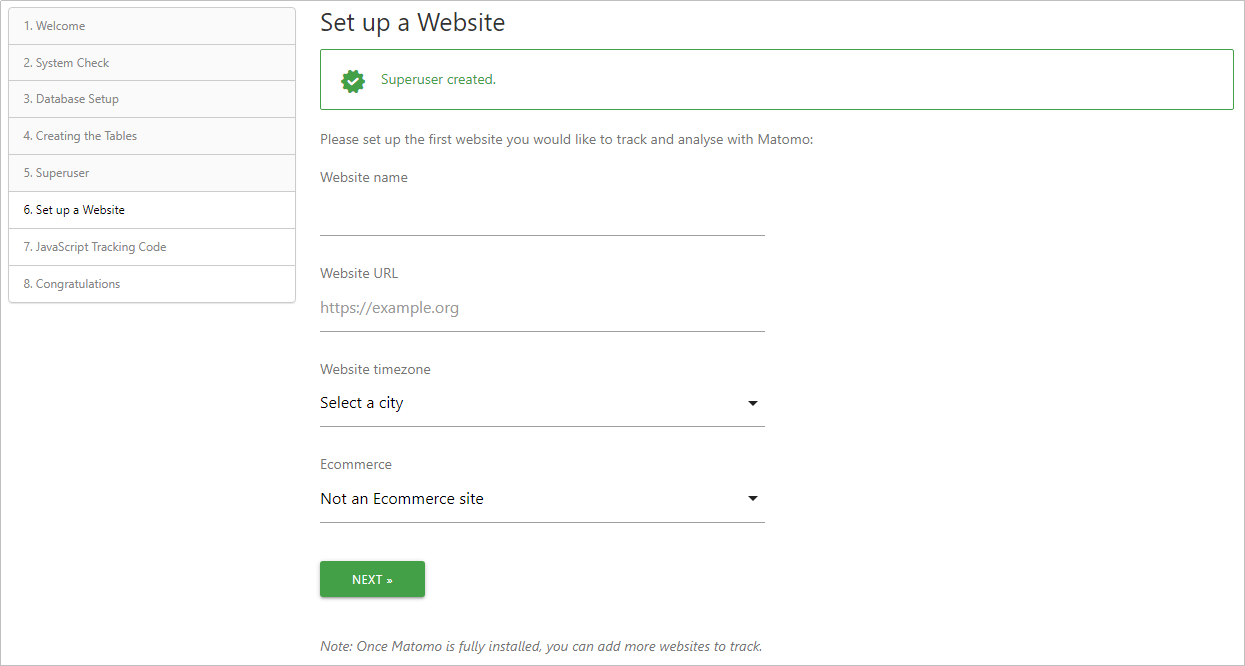
- On the Set up a Website page, add the name and URL of the first website you want to track and analyze with Matomo and click NEXT.
You can add more websites to track later.

- Learn about the JavaScript tracking code and click NEXT.
To track your web traffic with Matomo, you need to make sure that some extra code is added to each of your webpages. Matomo automatically generates a JavaScript tracking code. After the installation is complete, you can check the tracking code in the Tracking Code admin section.
- After the initialization configurations are complete, click Continue to Matomo.
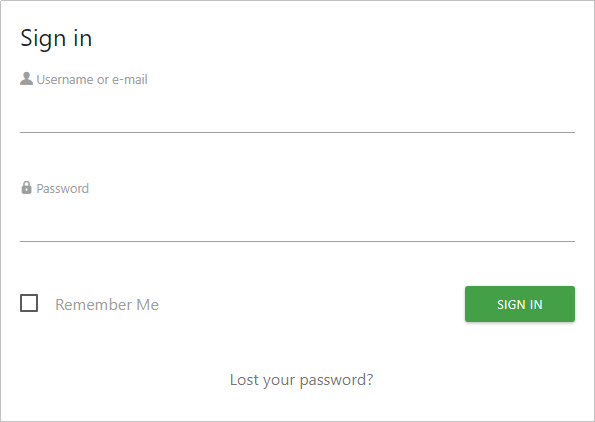
- Enter the username and password of the super user and click SIGN IN.

Then, you have obtained a Matomo hosting server. You can start using Matomo or follow the instructions provided in Using Matomo to Monitor Websites to monitor websites.
Feedback
Was this page helpful?
Provide feedbackThank you very much for your feedback. We will continue working to improve the documentation.See the reply and handling status in My Cloud VOC.
For any further questions, feel free to contact us through the chatbot.
Chatbot


