
Using GitLab
This section describes how to use GitLab to create a project, add project members, and integrate codes.
Creating a Project
This example demonstrates that how an administrator creates a project, initializes the project, adds a development branch dev, and hides the master branch main from developers.
- Click
 in the upper left corner and choose admin to access the management center.
 - Choose Projects and click New project.

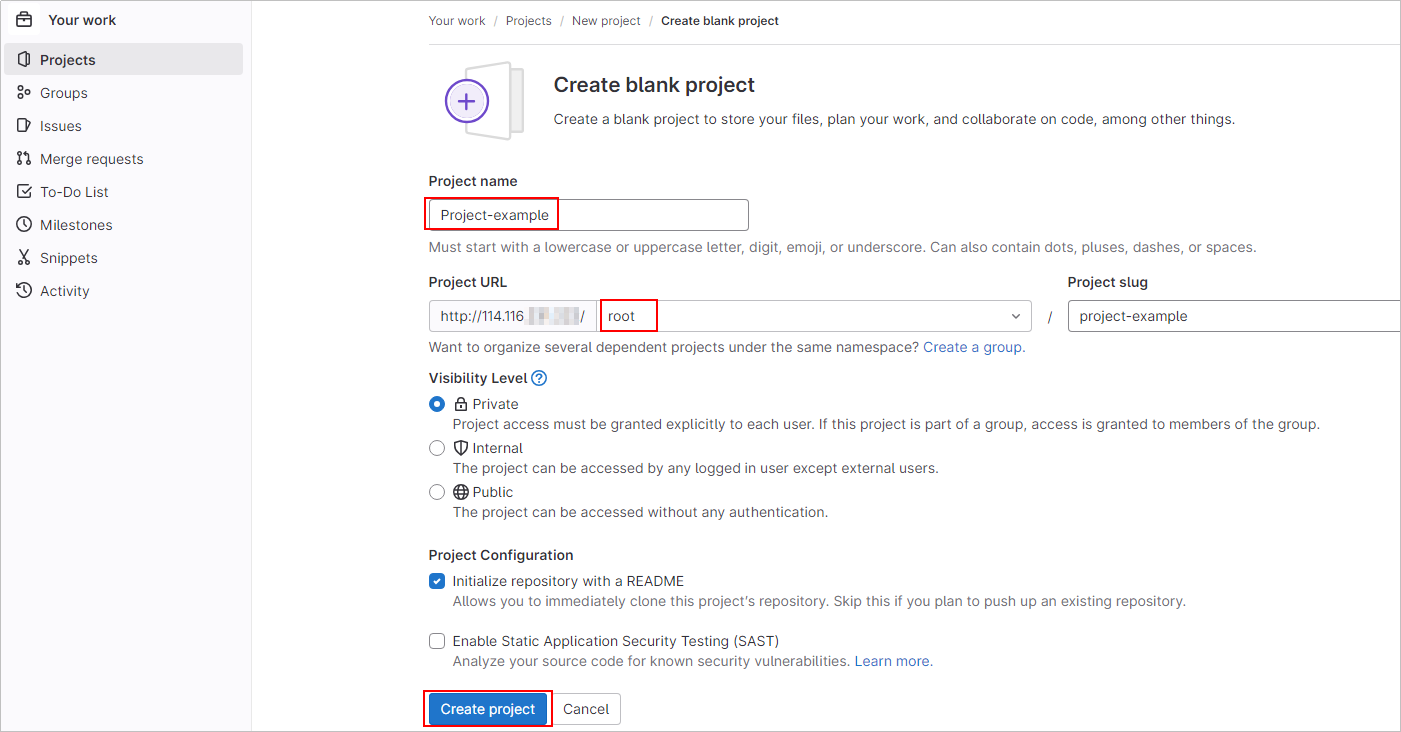
- Click Create blank project.
- Configure parameters for the project and click Create project.
- Project name: Enter a project name that is easy to identify, for example, Project-example.
- Project URL: It consists of the public IP address of the cloud service and the administrator account. Select root.
Retain the default values for other parameters.
- Choose Repository > Files, click
 > New file, add the index.html file to main, and click Commit changes.
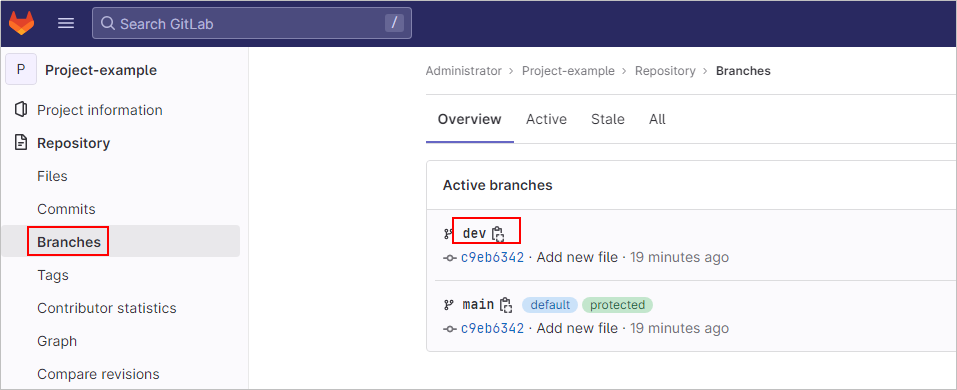
- Choose Repository > Branches, click New branch, and configure the development branch dev.
- Branch name: dev
- Create from: main
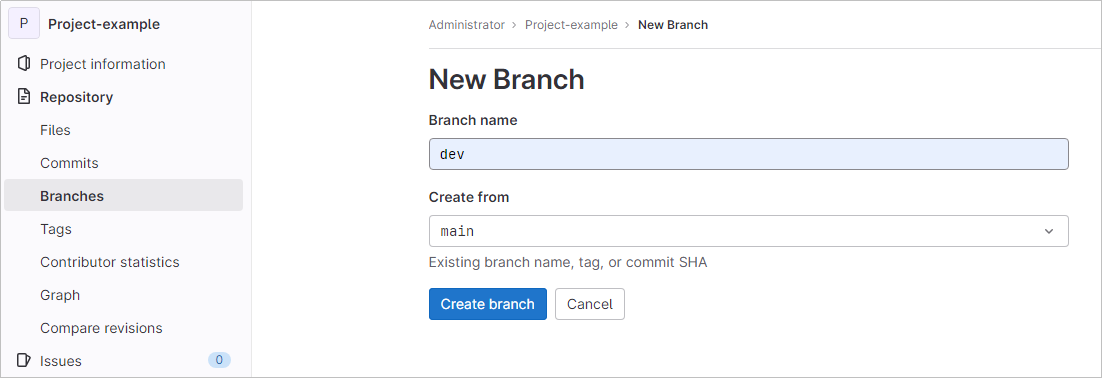
- Click Create branch. Then you can view the created development branch dev.

Adding Project Members
After registering an account, users cannot directly log in to GitLab. To let them log in, the administrator needs to approve their registration, invite them to be members of the project, and assign permissions to them.
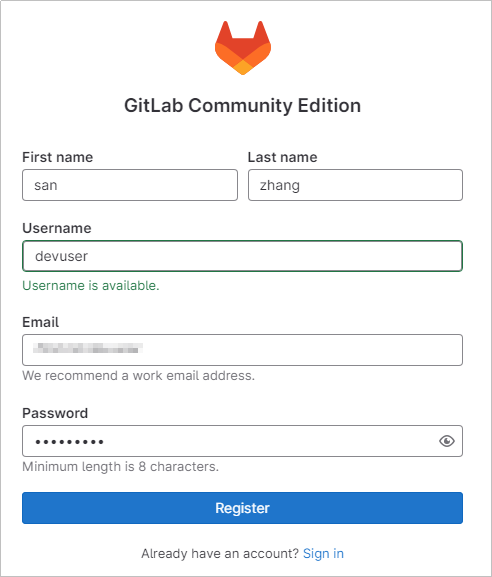
- Register an account.
- Visit http://public IP address of the server or http://domain name.
- Click Register now, enter registration information, and click Register.
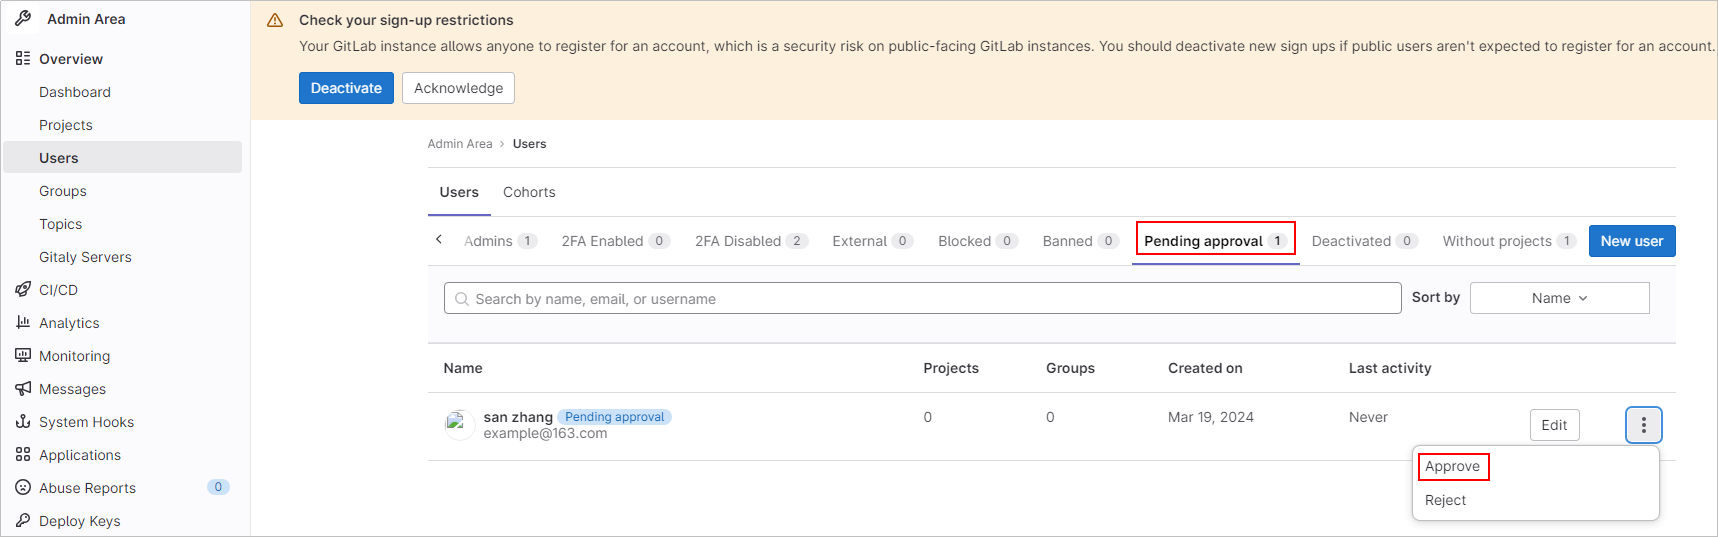
- The administrator approves the registration.
- Click
 in the upper left corner and select admin.
 - On the Users page, select Pending approval, and click Approve.
- Click
- The administrator invites users to join the project team and assigns permissions to them.
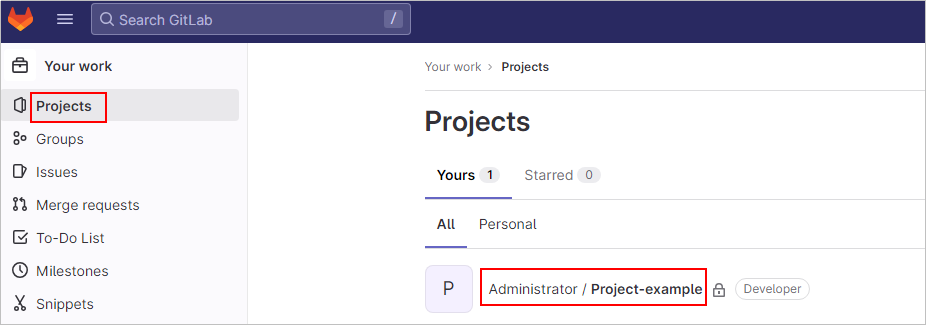
- Click
 in the upper left corner, choose Projects > View all projects, and click Administrator/Project-example.
 - Choose Project information > Members and click Invite members.
- Enter the username or email address, assign Developer permission to users, and click Invite.

You can assign users the following five roles: Guest, Reporter, Developer, Maintainer, or Owner.
- Guest: allows users to create issues and post comments, and denies them to read or write the repository.
- Reporter: allows users to clone codes, and denies them to submit code.
- Developer: allows users to clone, develop, submit, and push code.
- Master: allows users to create projects, add tags, protect branches, add new members to the project, and edit projects.
- Owner: allows users to assign permissions to access projects, delete or migrate projects, and manage project team members.
- Click
- Visit http://Public IP address of the server or http://Domain name. Enter the username and password to log in to GitLab.
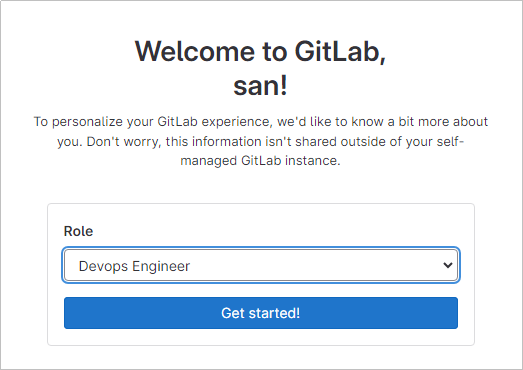
When members log in to GitLab for the first time, select a role for better experience.
Integrating Codes
- The developers edit and submit code.
- Visit http://Public IP address of the server or http://Domain name to log in to GitLab.
- Choose Projects and click the target project name.
- Choose Repository > Branch and click dev.
- Click Web IED, select a file to edit. For example, edit the index.html file.
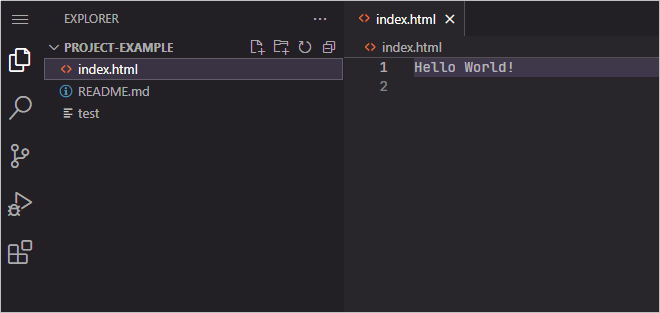
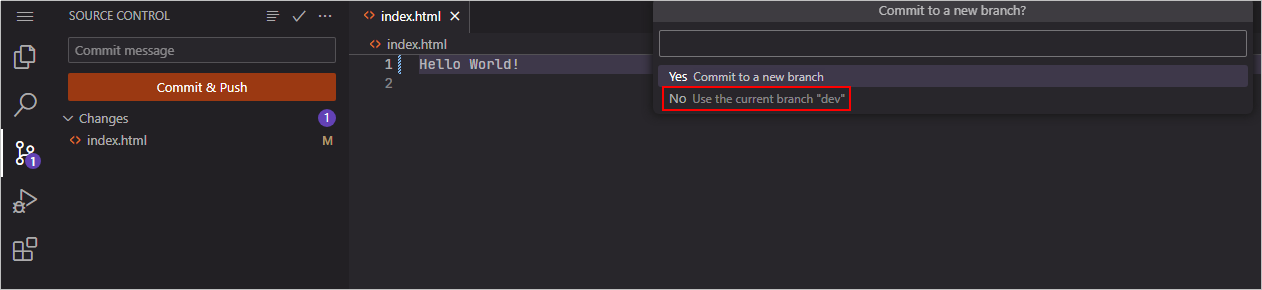
- Choose
 on the left navigation pane to go to the SOURCE CONTROL, and click Commit & Push.
Click No when Commit to a new branch? is displayed.
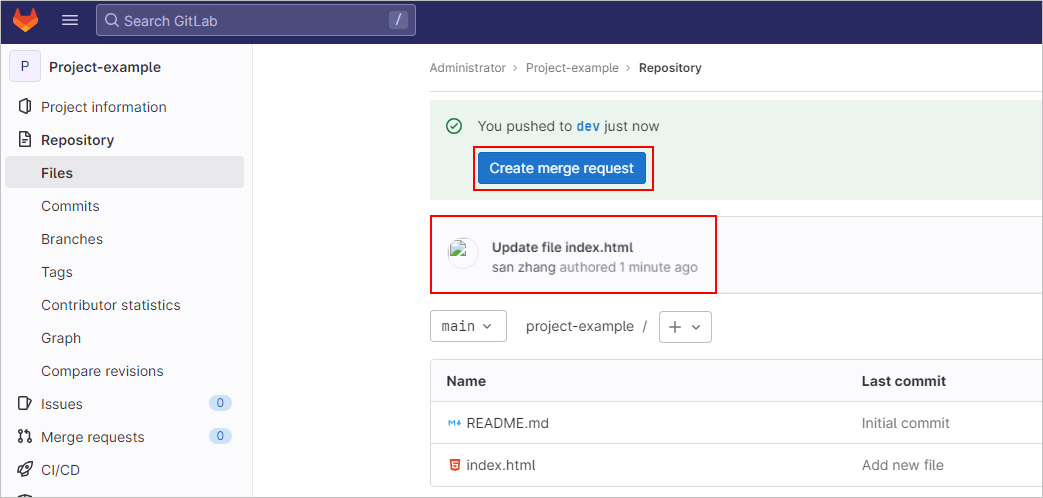
- Choose Repository > Files on the project menu bar. You can view Update file index.html. Click Create merge request
- Set request information and click Create merge request.
Specify the Reviewer to Administrator and retain the default values for other parameters.

- The administrator reviews the merge request.
- Click
 in the upper right corner, choose Merge requests > New merge request, and click the specific request title.
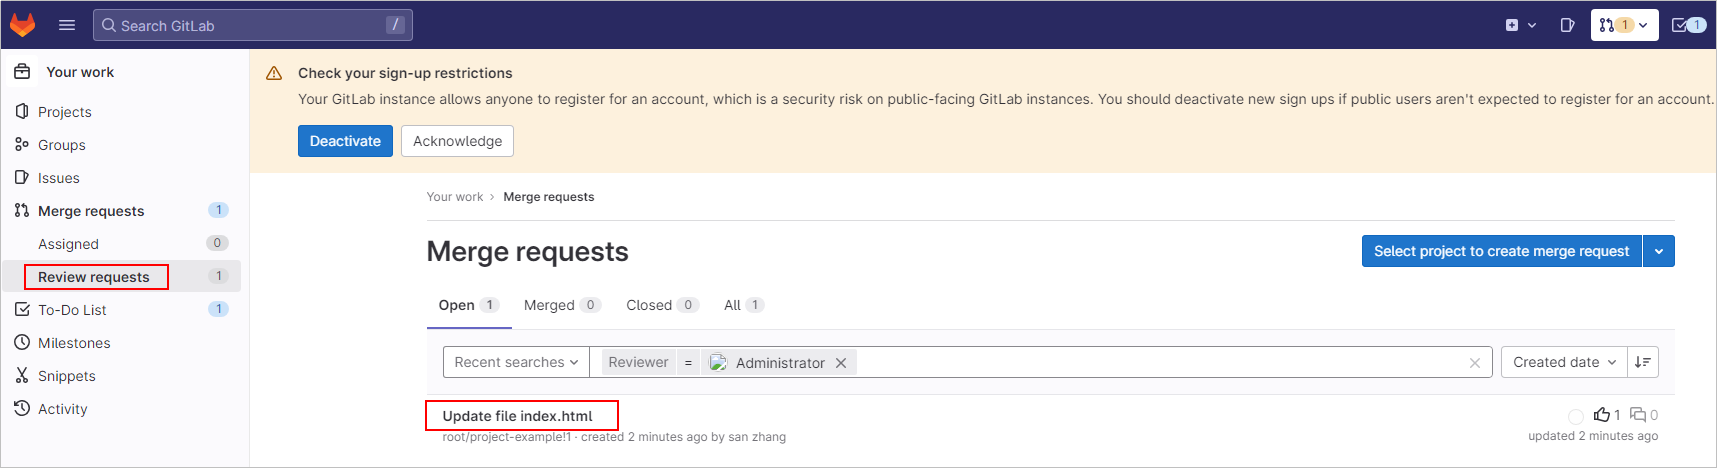
- Click Merge to merge the index.html file from dev into main.
- Click
Feedback
Was this page helpful?
Provide feedbackThank you very much for your feedback. We will continue working to improve the documentation.See the reply and handling status in My Cloud VOC.
For any further questions, feel free to contact us through the chatbot.
Chatbot


