
Updated on 2025-11-24 GMT+08:00
Grouping Pipelines
Group Management
A project usually involves multiple pipelines. You can group them to improve efficiency, for example, by environment level (production and testing), or by R&D stage (scheduled build, development self-test, integration test, and production deployment).
Notes and Constraints
- On the Permissions tab page, only the project admin and project manager can modify pipeline permissions in batches.
- Only pipelines with manual review tasks can be reviewed in batches.
Prerequisites
- You have enabled and authorized CodeArts Pipeline.
- Your role is a project administrator or pipeline creator. For details about how to configure permissions, see Authorizing CodeArts Pipeline.
Grouping Pipelines
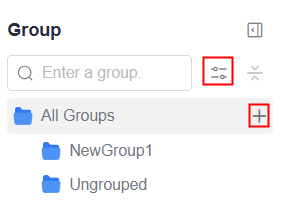
- Access the CodeArts Pipeline homepage through a project.
- Click All Groups to expand the pipeline group panel.
- Move the cursor to the row where All Groups is located and click
 to add a group. Alternatively, click
  . In the displayed window, move the cursor to the row where All Groups is located and click
  to add a group. Click to confirm the creation or click to cancel the creation.
- Move the cursor to the new group and click
 to set the group name. Alternatively, click
  . In the displayed window, move the cursor to the new group and click
  to set the group name. Then, click
  to confirm the setting or click
  to cancel the setting.
Figure 1 Pipeline groups
to cancel the setting.
Figure 1 Pipeline groups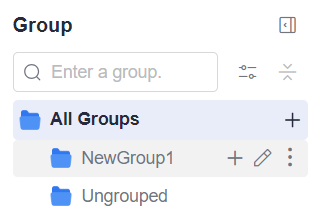 Figure 2 Managing groups
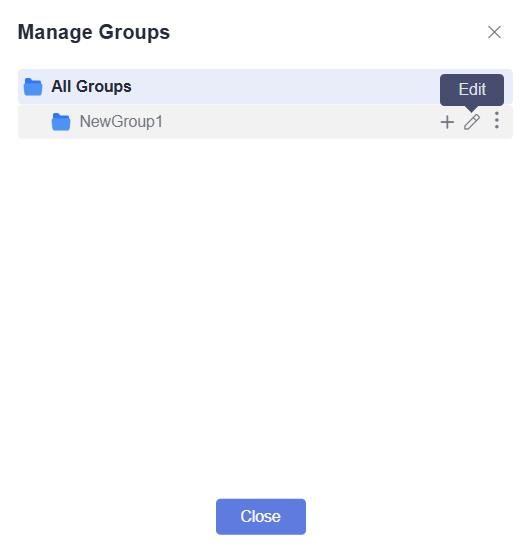
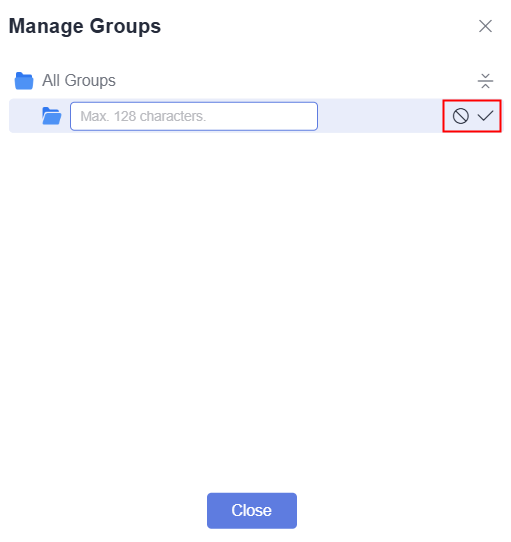
- Specify a group name. Click
 to confirm group creation or click
  to cancel group creation.
 After a group is created, you can perform the following operations:
- Click
 in the row where the group is located to create a subgroup. You can create a maximum of three levels of subgroups.
 - Click
 in the row where the group is located to change the group name.
 - Click
 in the row where the group is located to move or delete the group.

After the first group is created, Ungrouped is automatically generated for ungrouped pipelines.
- Click
- Click Close to return to the pipeline list page after all groups are created.
- Select desired pipelines and perform the following batch operations.
Figure 3 Operations on multiple pipelines

- Click Move To. The Move Group window is displayed. Select a group and click Confirm.
- Click Execute. In the displayed window, click OK to execute pipelines.
- Click Review. In the displayed window, you can review selected pipelines.
- Click Approve. In the displayed window, click OK. In the displayed Results window, you can check review results.
- Click Reject. In the displayed window, click OK. In the displayed Results window, you can check review results.
- Choose More > Permissions. In the displayed window, the project admin and project manager can configure permissions for selected pipelines.
- Enable Project-level permissions to inherit project-level permissions.
- Disable Project-level permissions to customize role and user permissions of specific pipelines.
- Choose More > Disable. In the displayed window, disable selected pipelines.
- Choose More > Enable. In the displayed window, enable selected pipelines.
- Choose More > Set Tag. In the displayed window, set tags for selected pipelines.
- Choose More > Delete. In the displayed window, enter the prompt information and click OK. A maximum of 20 pipelines can be deleted at a time.
Feedback
Was this page helpful?
Provide feedbackThank you very much for your feedback. We will continue working to improve the documentation.See the reply and handling status in My Cloud VOC.
The system is busy. Please try again later.
For any further questions, feel free to contact us through the chatbot.
Chatbot


