
Issue Management
Creating an Issue Ticket
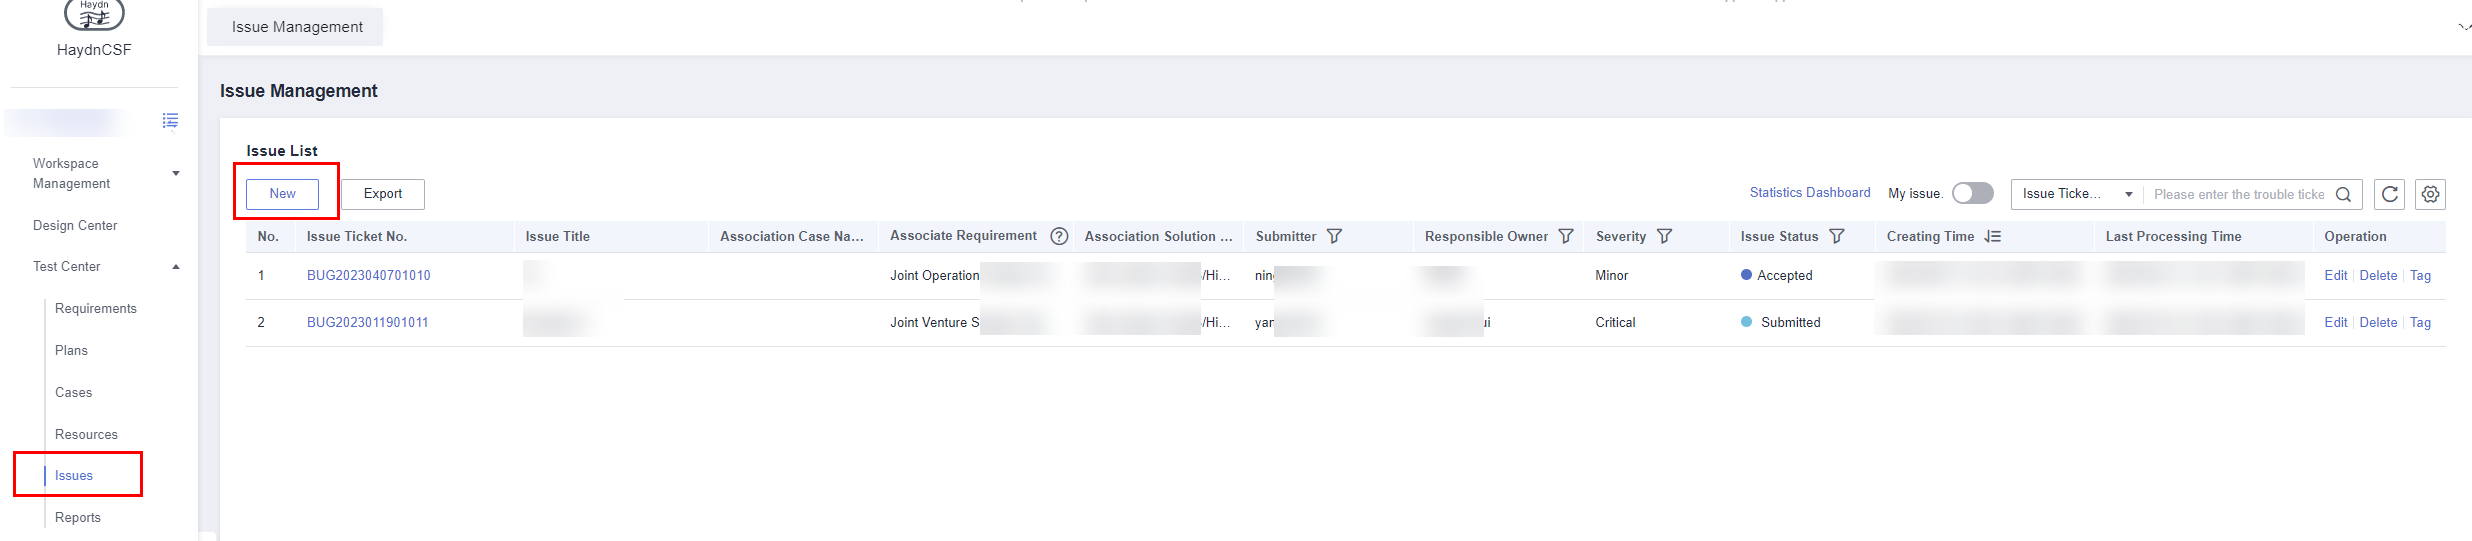
Navigation path 1: Log in to HaydnCSF, select the desired workspace, and choose Verification Center > Issues. On the Issue Management page, click Create to create an issue ticket.
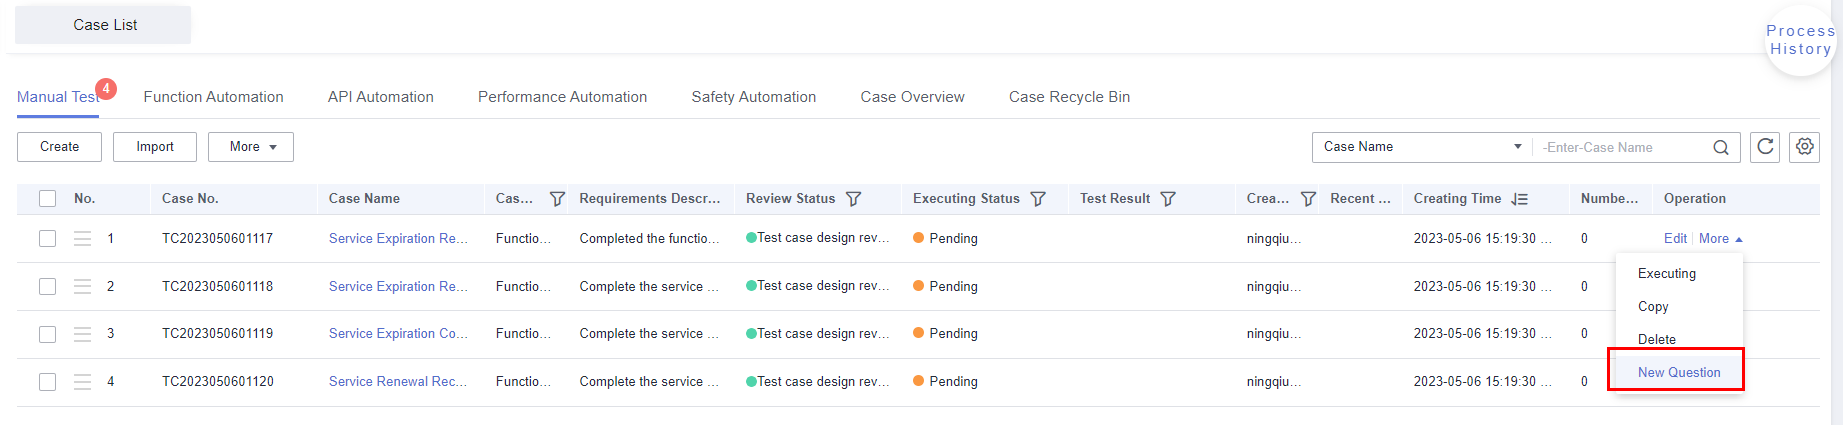
Navigation path 2: Log in to HaydnCSF, select the desired workspace, and choose Verification Center > Cases. On the Case Management page, choose More > Create Issue to create an issue ticket.
- On the displayed page, configure parameters under Issue Description and Basic Information. Parameters marked with a red asterisk (*) are mandatory.
Figure 3 Creating an issue

Table 1 Parameters required for creating an issue Parameter
Description
Issue Title
Enter a title for the new issue ticket. The title can contain key information such as the issue proposer, cloud service, or test case name.
Issue Description
Describe the issue in detail.
Associated Solution
Select the solution associated with the issue from the drop-down list.
Associated Requirement
Select the requirement associated with the issue from the drop-down list.
Requirement Type
Select the type of the requirement associated with the issue from the drop-down list.
Associated Case
Enter the name of the test case in which the issue occurs.
Service Ticket No.
If there is no issue ticket, create one as prompted and then enter the ticket ID.
Severity
- Critical: Critical issues that paralyze the system, for example, incorrect code, infinite loops, database deadlocks, and abnormal database connection or communication. As a result, the system or application breaks down, the system is suspended, or the data is lost. The key functions also become unavailable, and their modules or related modules are abnormal.
- Major: Major issues that congest services, for example, major statement errors, API errors, and database tables, service rules, and default values without integrity constraints. As a result, some key functions become unavailable and the data is lost. The auxiliary functions also become unavailable and their modules are abnormal.
- Minor: Common functional issues, for example, information errors, invalid module functions, incorrect log content, and unsatisfactory user experience and efficiency. As a result, some auxiliary functions are adversely affected, but can be used.
- Information: Non-functional issues, for example, spelling mistakes, non-standard interfaces, unclear descriptions, test object issues, and other issues proposed by testers. As a result, some software defects cause inconvenience to the operators, but have little impact on function implementation.
Responsible Owner
Select an owner in the workspace who is responsible for handling the issue from the drop-down list.
Expected Rectification date
Select an expected date when the issue is resolved.
Overdue Reminder
A notification email will be sent for overdue tickets. This function is enabled by default.
Tag
Add a tag to the issue for users to easily query the issue by the tag on the Issue Management page.
- Upload the related attachments and click OK.
Handling an Issue Ticket
After an issue ticket is created, the responsible owner will receive a to-do task and can view the issue details.
The responsible owner can handle the issue as follows:
- Go to the issue details page as a user of any role. (The issue status is Submitted.)
- Review the issue and check whether the issue is reasonable.
- If the issue is reasonable, handle or rectify the issue. The issue status is changed to Acceptance. Enter the handling description, and change the responsible owner to the issue submitter.
- Perform acceptance on the issue.
- If the acceptance is passed, the issue status is changed to Closed.
- If the acceptance fails, the issue status is changed to Repair. The issue will be rejected to the responsible owner again until the issue passes the acceptance and the issue status is Closed.
Procedure
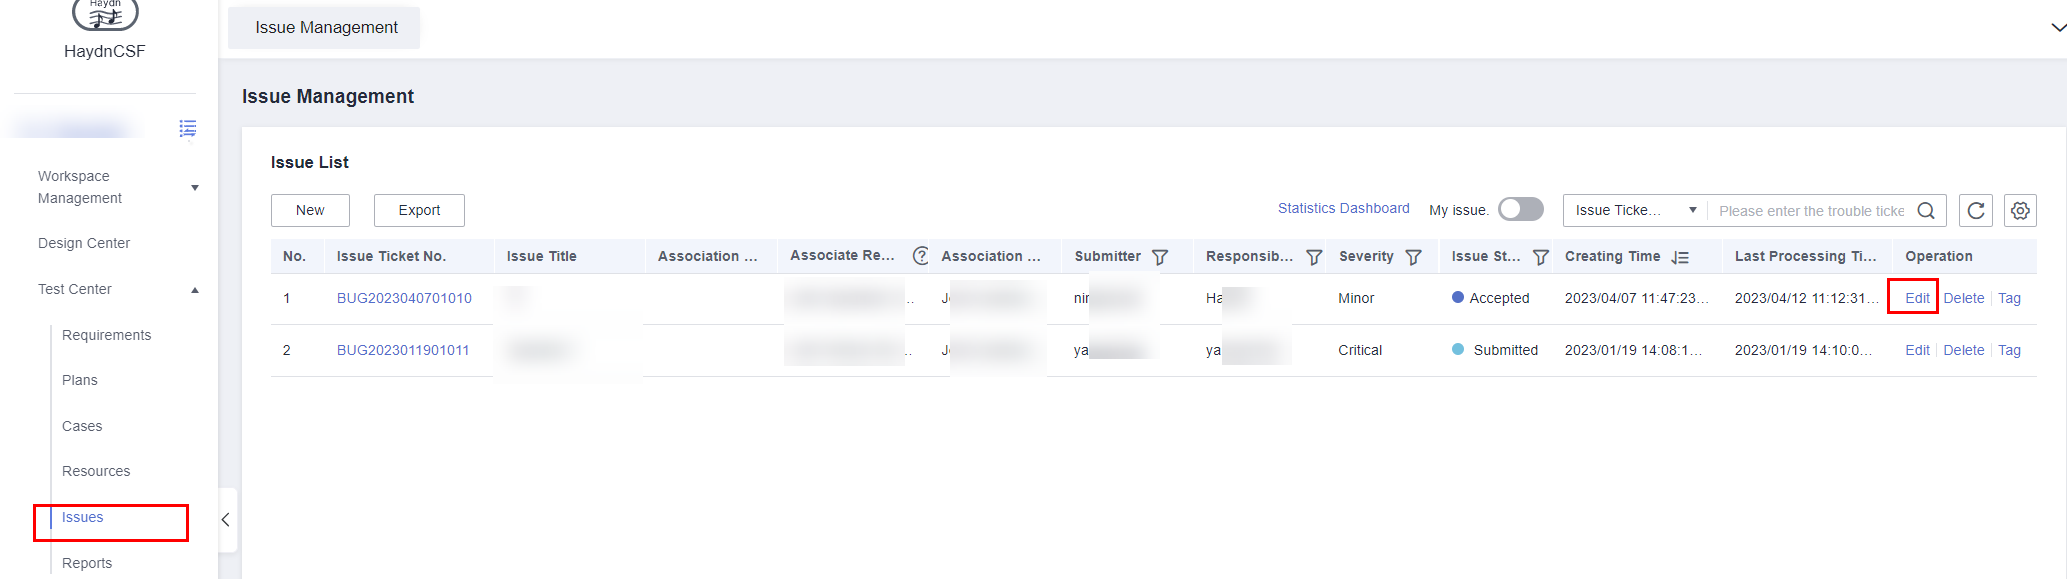
- Go to the Issue Management page, locate the issue ticket, and click Edit in the Operation column.
Figure 4 Issue Management
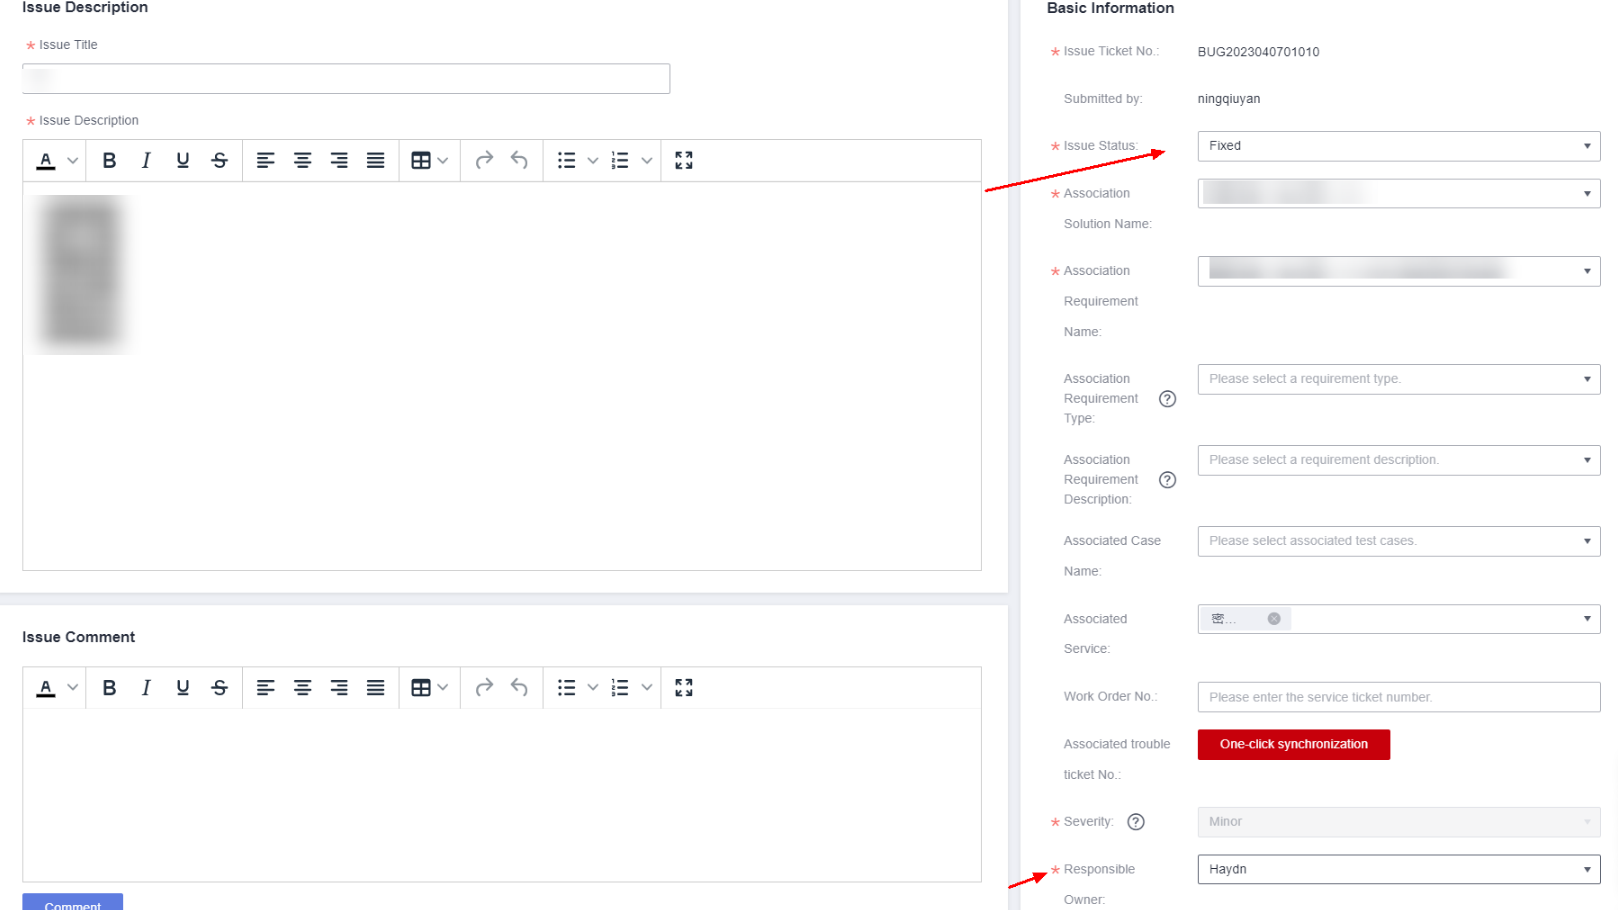
- Enter the handling description and other information, change the issue status to Acceptance, and wait for acceptance. The issue submitter is selected as the responsible owner by default.
Figure 5 Editing the issue
- Check that the issue has been resolved, enter acceptance comments, and change the issue status to Closed.
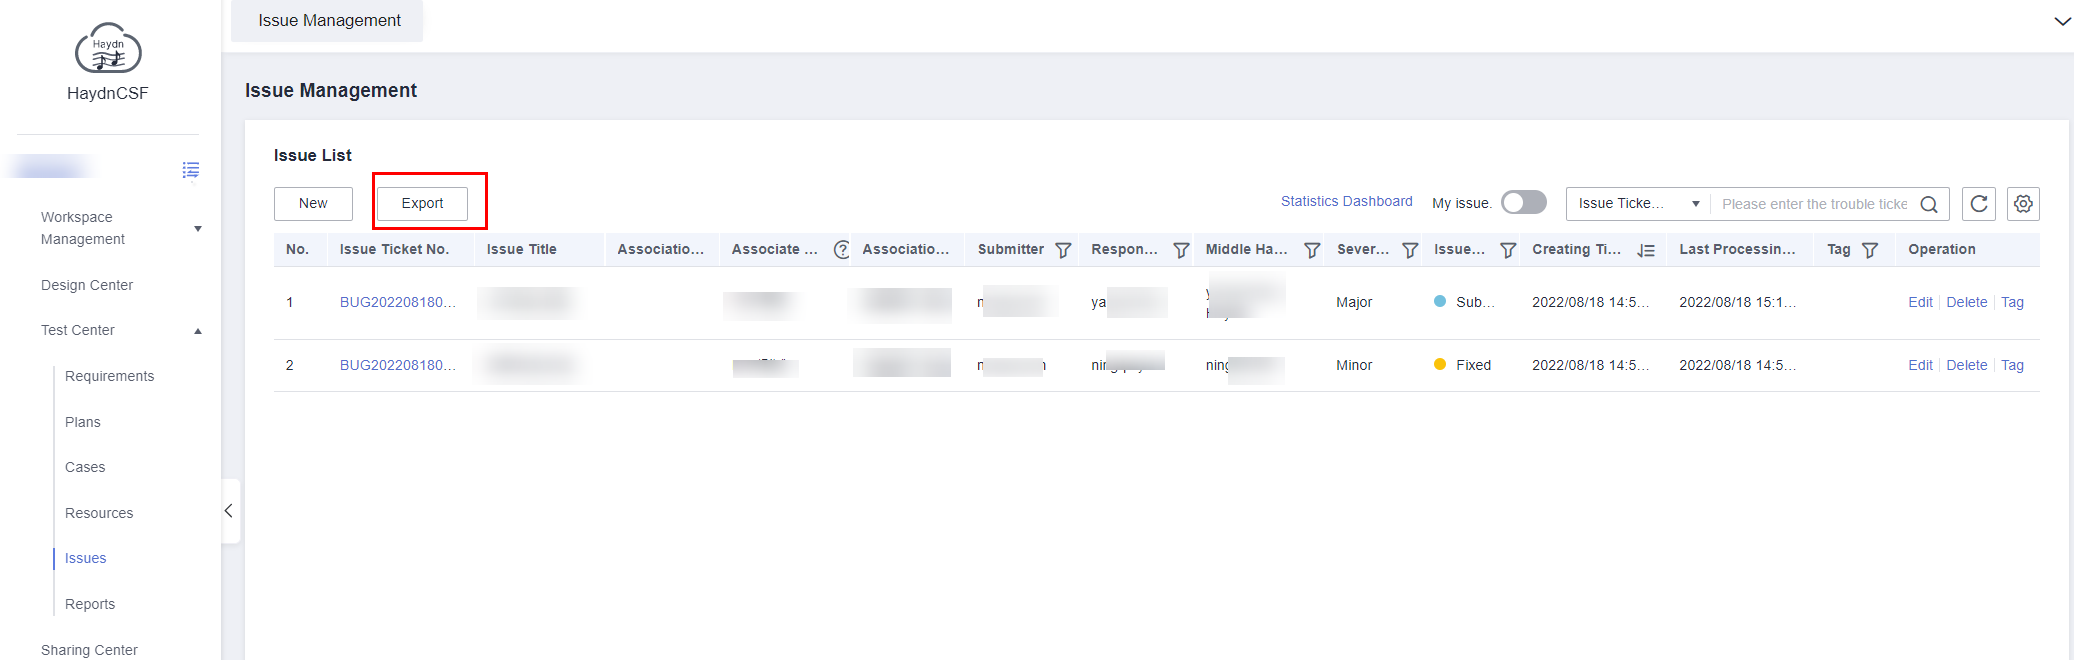
Export the Issue Ticket
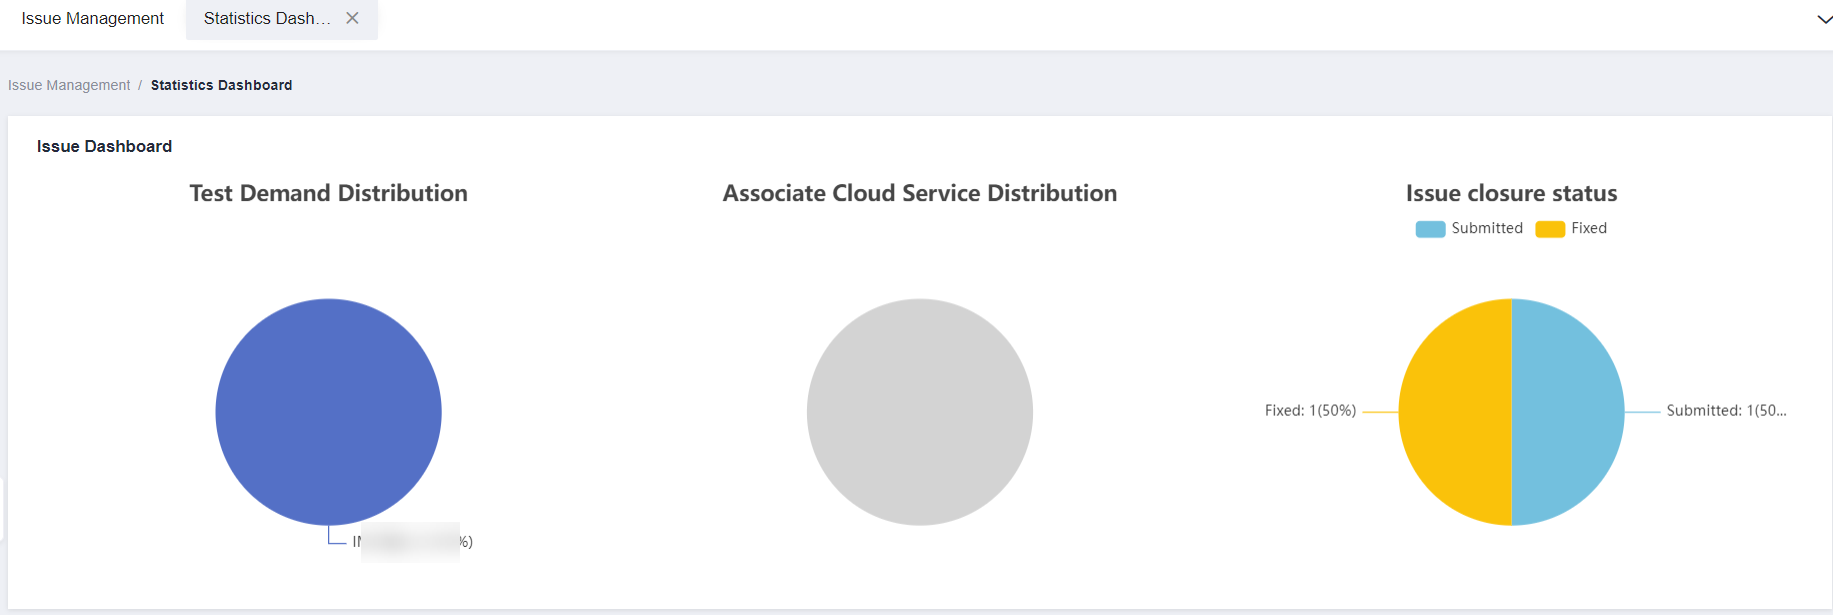
Issue Dashboard
On the Issue Management page, click Statistics Dashboard to view the issue closure status.
- Test Requirement Distribution: displays the proportion of issues in different requirements.
- Associated Cloud Service Distribution: displays the number and proportion of cloud services associated with issues.
- Issue Closure Status: displays the proportion of issues in each phase.
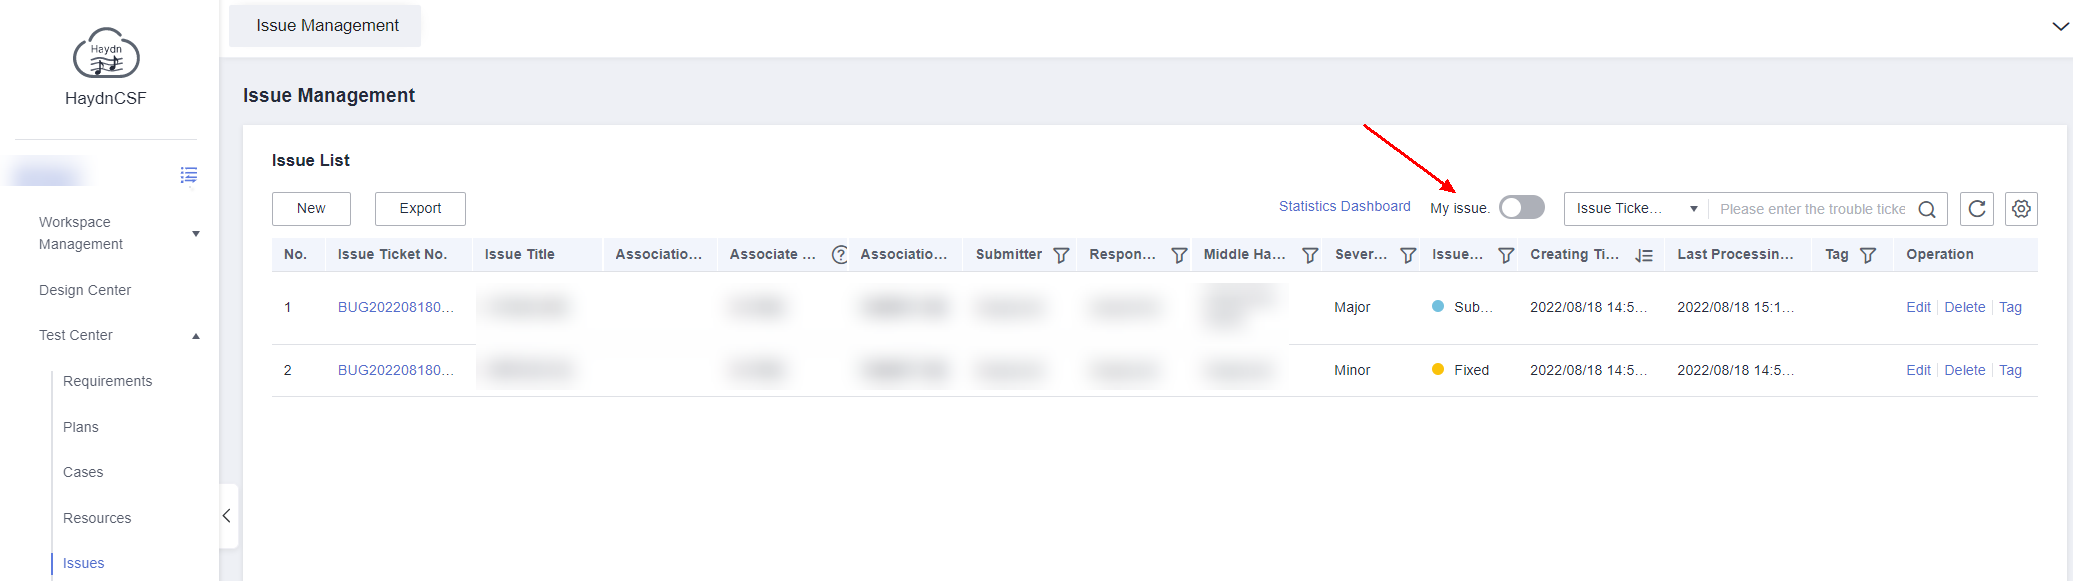
Viewing My Issues
On the Issue Management page, you can click My issue to view the issues handled by yourself.
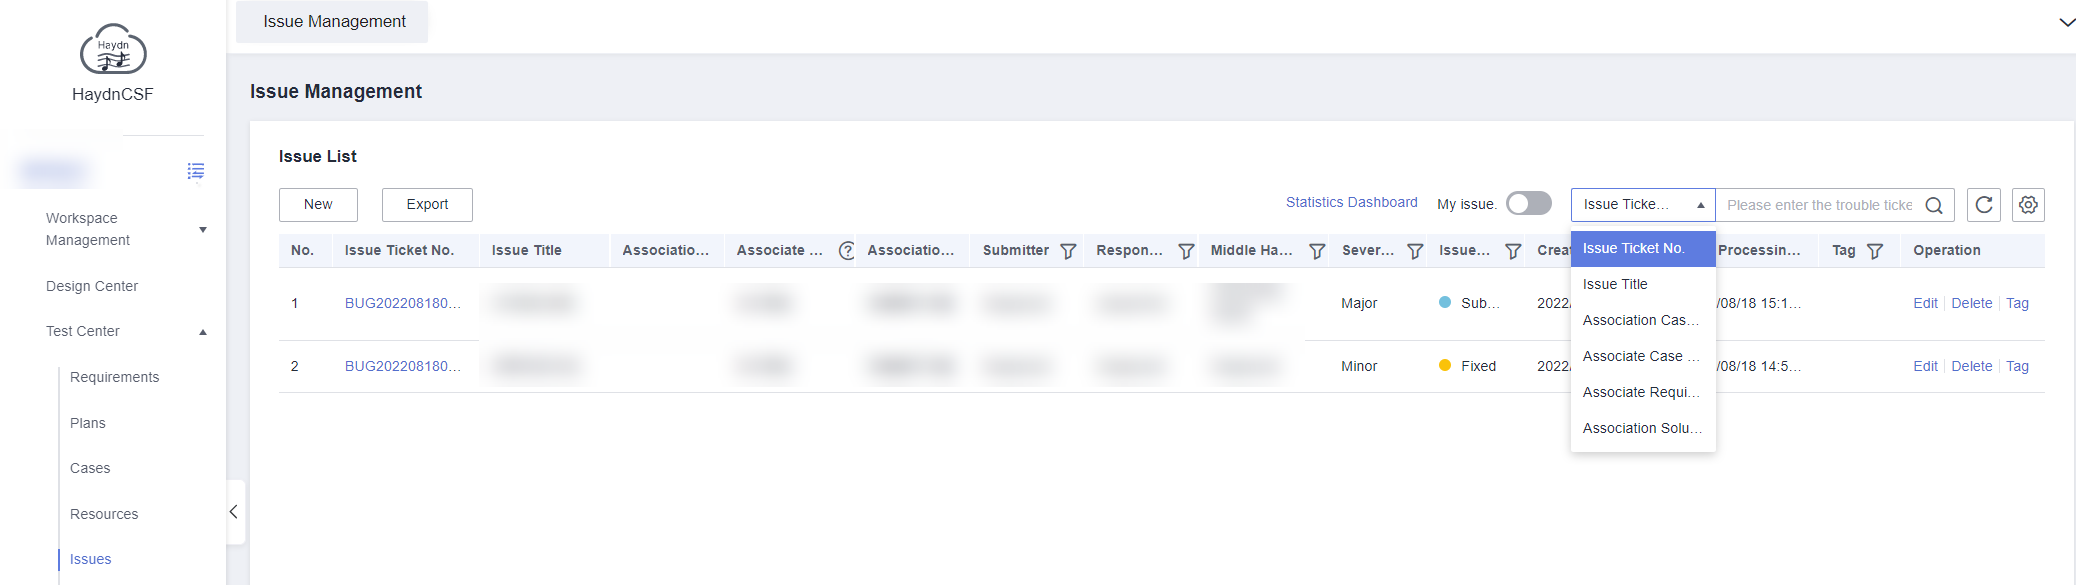
Querying Issues
On the Issue Management page, you can quickly query issues by search criteria and filtering conditions.
- Search criteria: The current options are the issue ticket ID, issue title, associated test case name, associated test case ID, associated requirement, and associated solution.
- Filtering conditions: The current options are the issue submitter, responsible owner, severity, status, creation time, and tag.
Feedback
Was this page helpful?
Provide feedbackThank you very much for your feedback. We will continue working to improve the documentation.See the reply and handling status in My Cloud VOC.
For any further questions, feel free to contact us through the chatbot.
Chatbot


