
Help Center/ ModelArts/ ModelArts User Guide (Standard)/ Development Environments/ Using Moxing Commands in a Notebook Instance/ Using MoXing in Notebook
Updated on 2025-05-28 GMT+08:00
Using MoXing in Notebook
This document describes how to call MoXing Framework APIs in ModelArts.
Logging In to ModelArts and Creating a Notebook Instance
- Log in to the ModelArts console. In the navigation pane, choose Development Workspace > Notebook to access the Notebook page.
- Click Create. On the Create Notebook page that is displayed, create a notebook instance by referring to .
- After a notebook instance is created and enters the Running status, click Open in the Operation column to go to the JupyterLab Notebook page.
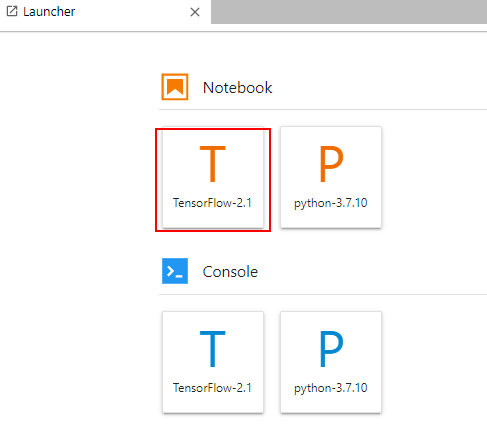
- On the Launcher page of JupyterLab, for example, click TensorFlow to create a file for encoding. Figure 1 Selecting an AI engine
After the file is created, the JupyterLab page is displayed by default.
Figure 2 Encoding page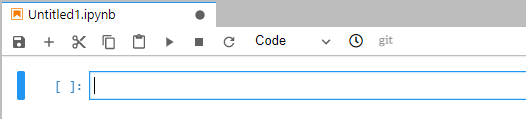
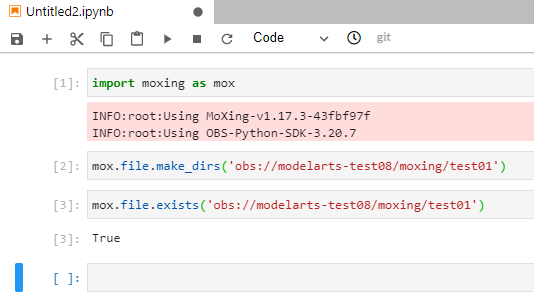
Calling mox.file.
Enter the following code to implement the following simple functions:
- Introduce MoXing Framework.
- Create the test01 folder in the existing modelarts-test08/moxing directory.
- Check whether the test01 folder exists. If the folder exists, the preceding operation is successful.
1 2 3 4 | import moxing as mox mox.file.make_dirs('obs://modelarts-test08/moxing/test01') mox.file.exists('obs://modelarts-test08/moxing/test01') |
Figure 3 shows the result. Note that each time you enter a line of code, click Run. You can also go to OBS Console and check whether the test01 folder has been created in the modelarts-test08/moxing directory. For more common MoXing operations, see Sample Code for Common Operations.
Copying Data to OBS
On the Notebook JupyterLab page, copy the yolov8_train_ascend.zip file to an OBS bucket. The sample code is as follows:
import os
import zipfile
import moxing as mox
mox.file.copy('yolov8_train_ascend.zip','obs://pcb-data-me/pcb.zip')
Parent topic: Using Moxing Commands in a Notebook Instance
Feedback
Was this page helpful?
Provide feedbackThank you very much for your feedback. We will continue working to improve the documentation.
The system is busy. Please try again later.


