
Enabling Cold Storage
Cold storage is mainly used to store historical data with low query frequency. As the amount of historical data increases, the need to reduce storage costs becomes necessary. GeminiDB Influx provides cold storage to help you store cold data at low costs in just a few clicks.
In addition, GeminiDB Influx can separate cold data from hot data based on the retention policy. If you need to separate cold data from hot data, create cold storage and set the time boundary between hot and cold data. In this way, hot data will be automatically archived in cold storage after the retention period expires.
Both new and existing instances support cold storage. This section describes how to create cold storage.
Usage Notes
- Cold data cannot be written.
- Cold storage is supported only when the kernel version of an existing instance is 1.7.4.6 or later. If the kernel version is earlier than 1.7.4.6, choose Service Tickets > Create Service Ticket and contact customer service.
- GeminiDB Influx does not back up cold storage data.
- Cold storage cannot be disabled after being enabled.
- For cluster instances, this function is now in OBT. You can choose Service Tickets > Create Service Ticket in the upper right corner of the console and contact customer service.
Creating Cold Storage for a New Instance
You can specify Purchase Cold Storage on the page for purchasing an instance. For details, see Buying a GeminiDB Influx Instance.
Creating Cold Storage for an Existing Instance
If you select No for Purchase Cold Storage on the page for purchasing an instance. To create cold storage, you can perform the following steps:
- Log in to the Huawei Cloud console.
- In the service list, choose Databases > GeminiDB.
- On the Instances page, locate the instance that you want to create cold storage for and click its name.
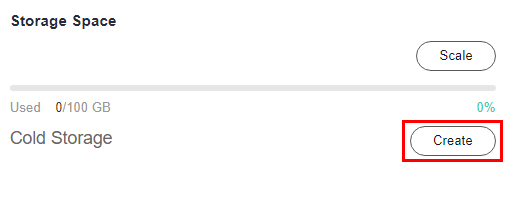
- In the Cold Storage area on the Basic Information page, click Create.
Figure 1 Creating cold storage
- On the displayed page, specify the amount of cold storage and click Next.
Figure 2 Specifying cold storage
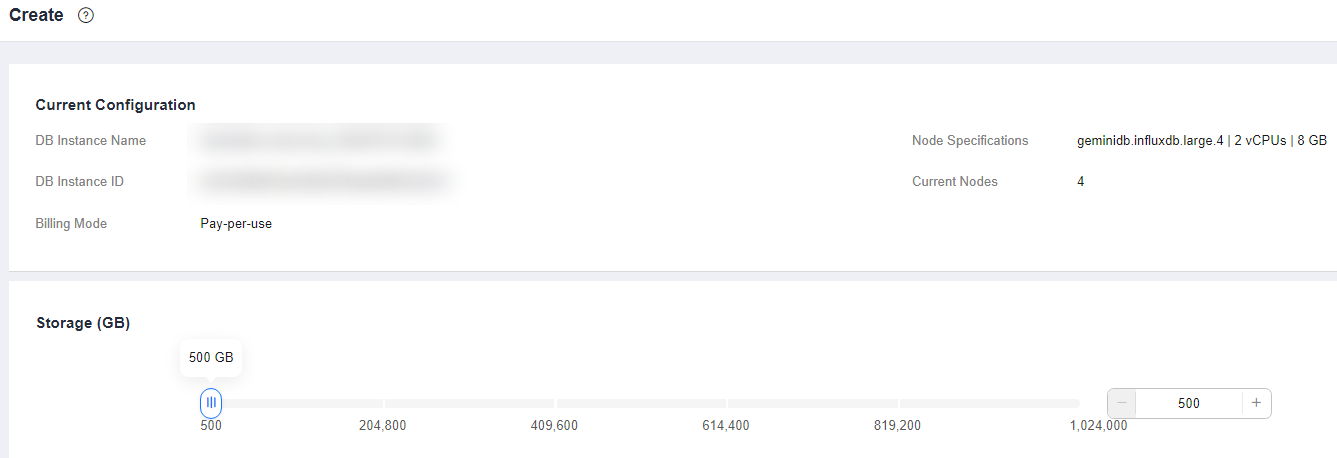
The cold storage is an integer from 500 GB to 1,024,000 GB. You can add a minimum of 1 GB each time you scale up storage space.
- On the displayed page, confirm the cold storage space.
- Yearly/Monthly
- If you need to modify your settings, click Previous.
- If you do not need to modify your settings, click Next and complete the payment.
- Pay-per-use
- If you need to modify your settings, click Previous.
- If you do not need to modify the settings, click Submit.
- Yearly/Monthly
- Check the results.
- When the cold storage is being created, the instance status is Creating cold storage.
- After the cold storage is created, the instance status becomes Available.
- Click the instance name. In the Cold Storage area on the Basic Information page, you can view the cold storage capacity after the cold storage is created.
Feedback
Was this page helpful?
Provide feedbackThank you very much for your feedback. We will continue working to improve the documentation.


