
Help Center/ ModelArts/ ModelArts User Guide (Standard)/ Development Environments/ Using a Notebook Instance for AI Development Through JupyterLab/ Creating a Scheduled Job in JupyterLab
Updated on 2025-05-28 GMT+08:00
Creating a Scheduled Job in JupyterLab
You can create a scheduled job in a ModelArts notebook instance. This section describes how to create a scheduled job and run a notebook file with one click to improve efficiency.
Highlights
- One-click running: You can run a notebook file with one click.
- Scheduled task: You can set the time and frequency for executing code blocks. The time can be set by second, minute, hour, day, week, or month.
- Parameter-based execution: You can transfer parameters to a notebook job during its runtime, so that the notebook job can adjust its behavior as required.
- Task management GUI: A user-friendly GUI is provided for viewing, adding, and deleting scheduled tasks.
- Task execution record: The status and output of each job are recorded for future query and debugging.
Procedure
- Open ModelArts Notebook.
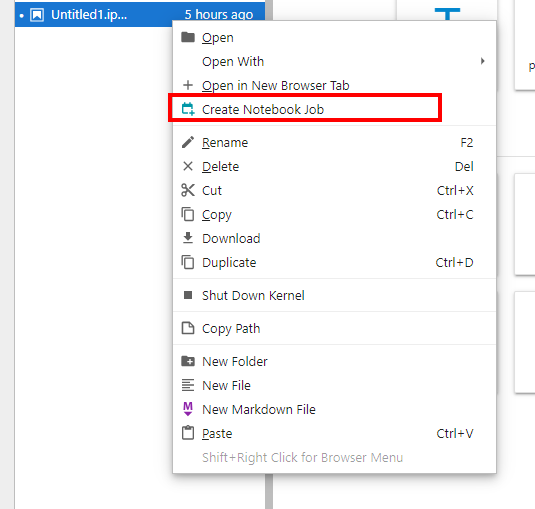
- Choose a notebook file (IPYNV file) to create a scheduled job. Figure 1 Opening notebook jobs
- On the Create Job page, configure the parameters and click Create. Figure 2 Parameters for creating a scheduled job

- Job name: Enter the scheduled job name.
- Environment: Choose a Python environment where the notebook job is to be run.
- Output formats: Select the output file type of the execution result
- Parameters: Click the plus sign (+) to set the Python variables for running the job.
- Schedule: Choose Run now or Run on a schedule. The cron expression is supported.

- The cron expression must be in the format supported by Linux OS. Otherwise, an error will be reported. If the expression contains a question mark (?), replace it with an asterisk (*).
- After a scheduled job is configured, modify the file name and content. The created jobs are not affected.
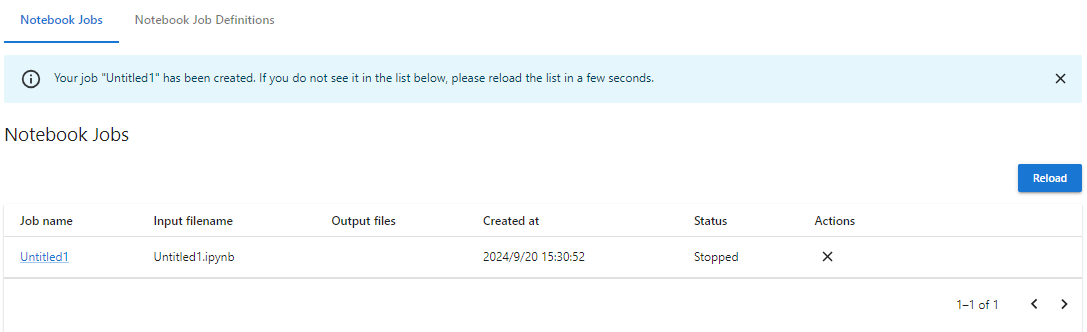
- Run the job. You can view the job running records in the Notebook Jobs tab. Click Reload in the upper right corner to get the latest records. Figure 3 Viewing the running records of scheduled jobs
- After the job is executed, you can download the output files. Click the file name to view the execution result. Figure 4 Viewing the execution result of a scheduled job

- In the Notebook Job Definitions tab, view all jobs. Click a job name to access the Job Definition page. You can start, stop, or delete a scheduled job. You can also click Edit Job Definition to update the scheduling information or view the running history of a scheduled job. Figure 5 Notebook Job Definitions tab
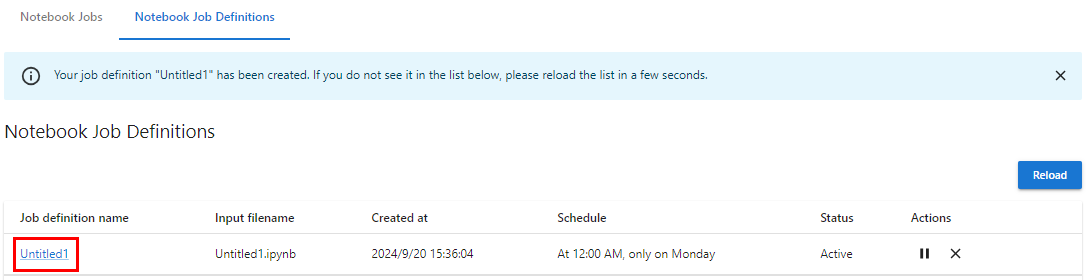 Figure 6 Configuring a scheduled job
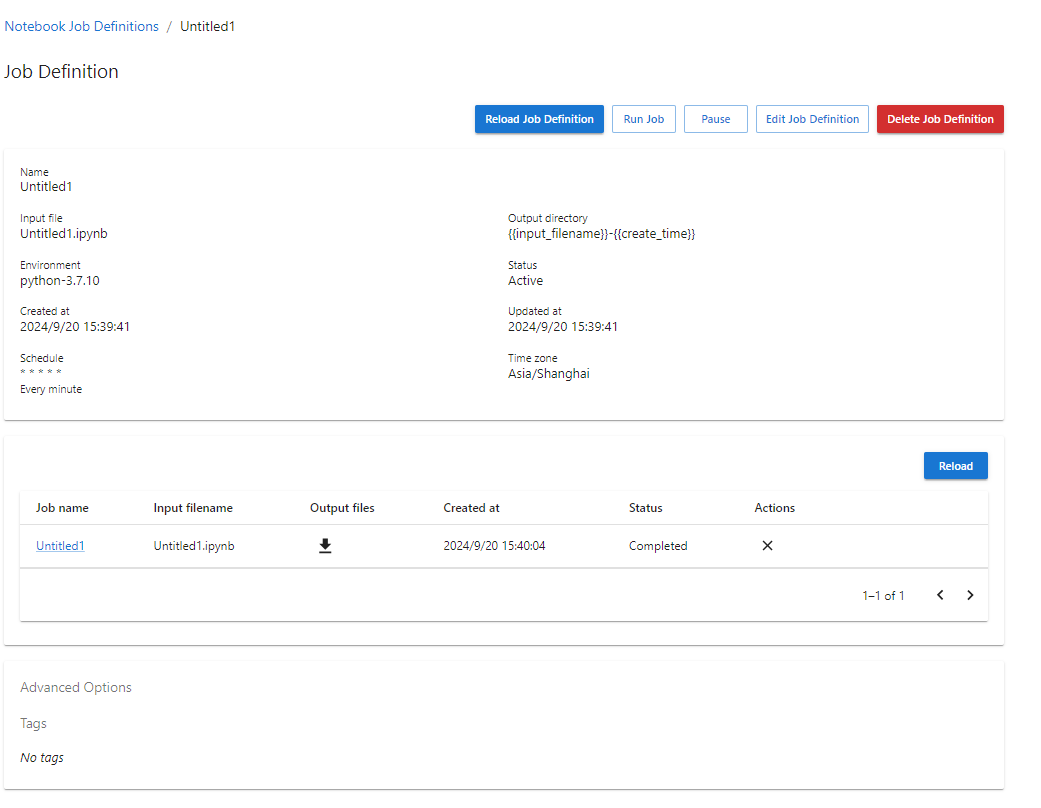
Feedback
Was this page helpful?
Provide feedbackThank you very much for your feedback. We will continue working to improve the documentation.
The system is busy. Please try again later.


