How Can I Install a MongoDB Client?
MongoDB official website provides client installation packages for different OSs. Download the official package at https://www.mongodb.com/try/download/community.

- The following uses RedHat/CentOS 8.0 ×64 and MongoDB 5.0.28 as examples to describe how to obtain the required installation package and install the MongoDB client.
- During the installation, select a client version that matches the instance version based on the actual operating system.
Procedure
- Obtain the installation package.
- Visit the MongoDB official website.
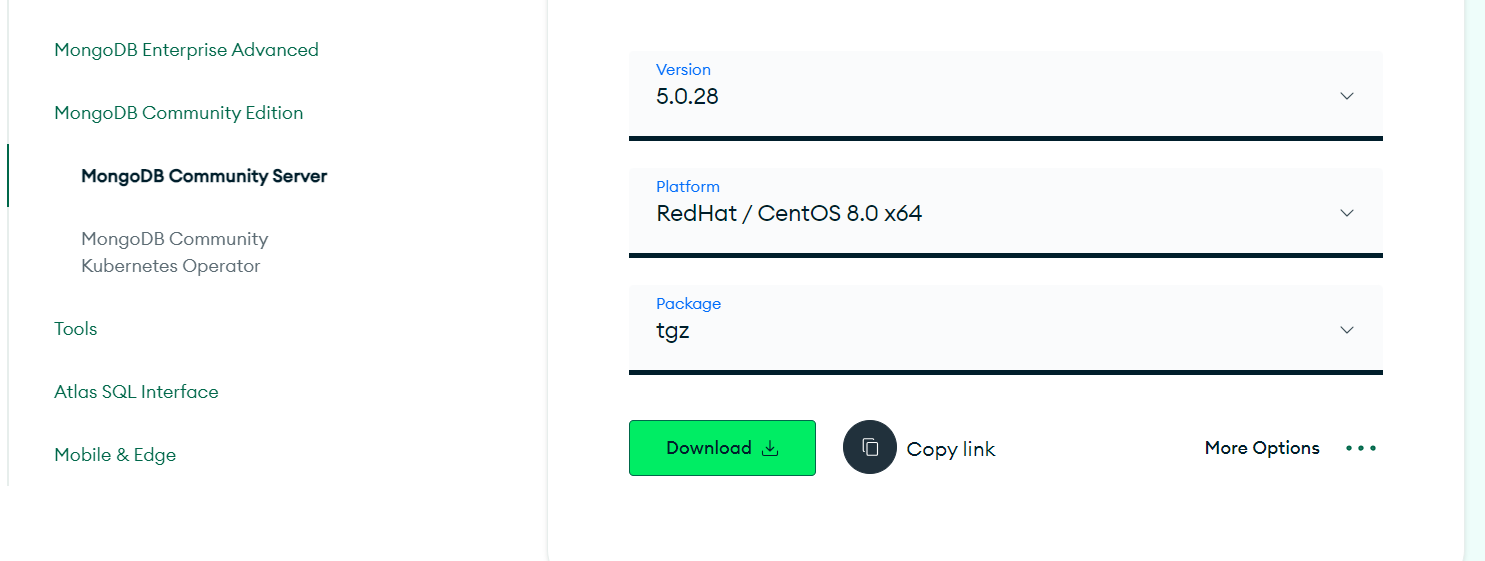
- Select version 5.0.28, platform RedHat/CentOS 8.0 ×64, and package tgz. Figure 1 shows an example.
- Use either of the following methods to upload the installation package to the ECS:
- Click Download to obtain the binary installation package of version 5.0.28. The name of the installation package is mongodb-linux-x86_64-rhel80-5.0.28.tgz. Upload the installation package to the ECS.
- Click Copy link to obtain the download address. Log in to the ECS and run the wget copylink command.

Replace copylink with the actual download address.
- Decompress the installation package on the ECS.
tar zxvf mongodb-linux-x86_64-rhel80-5.0.28.tgz

Replace the installation package name with the actual one.
- Access the bin directory where the installation package is located.
cd mongodb-linux-x86_64-rhel80-5.0.28/bin

Replace the installation package name with the actual one.
The common tools are as follows:
- MongoDB client mongo
- Data export tool mongoexport
- Data import tool mongoimport
- Make the packages executable.
- Run the chmod +x mongo command to grant a client permission to connect to an instance.
- Run the chmod +x mongoexport command to grant a client permission to export data.
- Run the chmod +x mongoimport command to grant a client permission to import data.
- Connect to an instance from the client. For details, see Connecting to a Cluster Instance, Connecting to a Replica Set Instance, and Connecting to a Single Node Instance.
Feedback
Was this page helpful?
Provide feedbackThank you very much for your feedback. We will continue working to improve the documentation.


